You have the gig, the playlist and the controller, and the venue has a screen or a projector sitting dark behind the booth. You want visuals that make the room feel the music, but you do not have a VJ, a budget or a spare pair of hands while you mix. This guide covers what visuals at a DJ set are actually for, three rigs that work without a second person, how to build a small library of content, how to get the music into the picture and the picture onto the screen, a plan for the night in three energy levels, and the checklist that stops the screen going black at midnight.
Visuals at a DJ set do one job: make the room feel the drop
Nobody at a club watches the screen the way they watch a film. They glance at it, and it either confirms what they hear or it distracts from it. So the visuals that work behind a DJ share three qualities:
- They follow the music. The picture breathes with the bass, hits with the kick, and changes character when the track changes. When it moves on the beat, the room reads it as part of the performance.
- They rest between peaks. A screen that moves at full intensity all night becomes wallpaper. Restraint in the warm-up is what makes the drop land.
- They have moments. A different look on the drop, a freeze on the break, a colour change at the peak hour. These are the seconds people film.
Where the usual advice goes wrong
The common advice is one of two extremes. Either put a long YouTube visualizer or a folder of stock loops on repeat and forget it, or hire a VJ. The first ignores the music: a loop cut at 128 BPM drifts against a 124 BPM set within a minute, and a pre-rendered visualizer knows nothing about your drops. The second is right for a festival stage and wrong for a Friday residency, a house party or a small club night where nobody will pay for a second performer.
There is a middle that did not exist a few years ago: visuals that listen to the room and follow the music on their own, with a handful of pads for the moments you want to play by hand. That is what most of this guide is about.
Three rigs that work without a second person
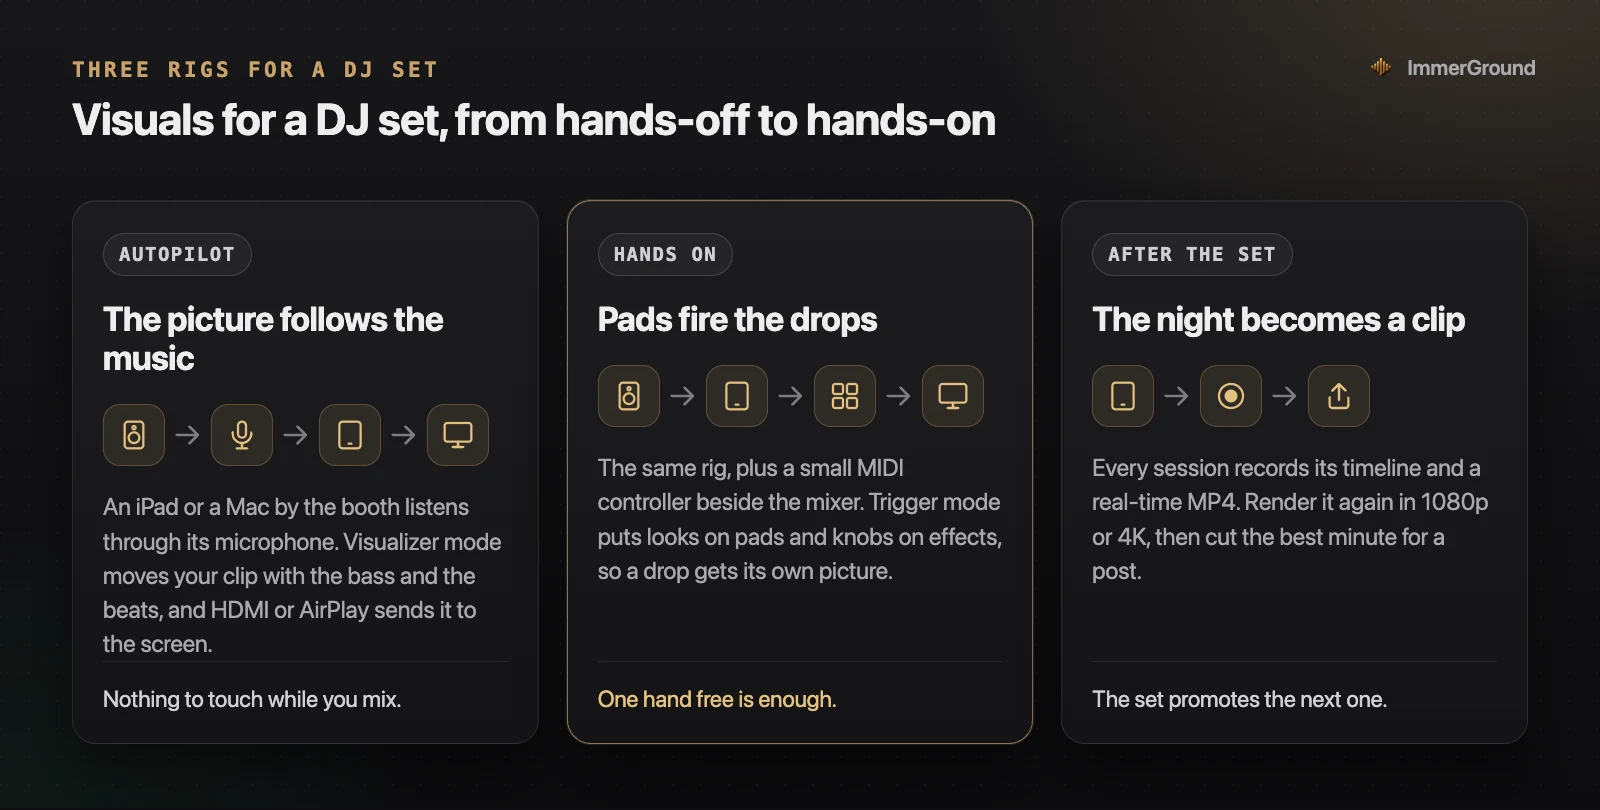
1. Autopilot: the picture follows the music
An iPad, an iPhone or a Mac sits by the booth, listens through its microphone, and moves your clips and photos with the bass, the mids, the highs and the beats. In ImmerGround this is Visualizer mode: one source, ambient motion, the picture breathing with the music. The output goes to the screen over HDMI or AirPlay while the controls stay on the device. You set it up before doors and do not touch it again.
It is the right rig for a warm-up slot, a bar, a house party, or any night where your hands are busy with the decks.
2. Hands on: pads fire the drops
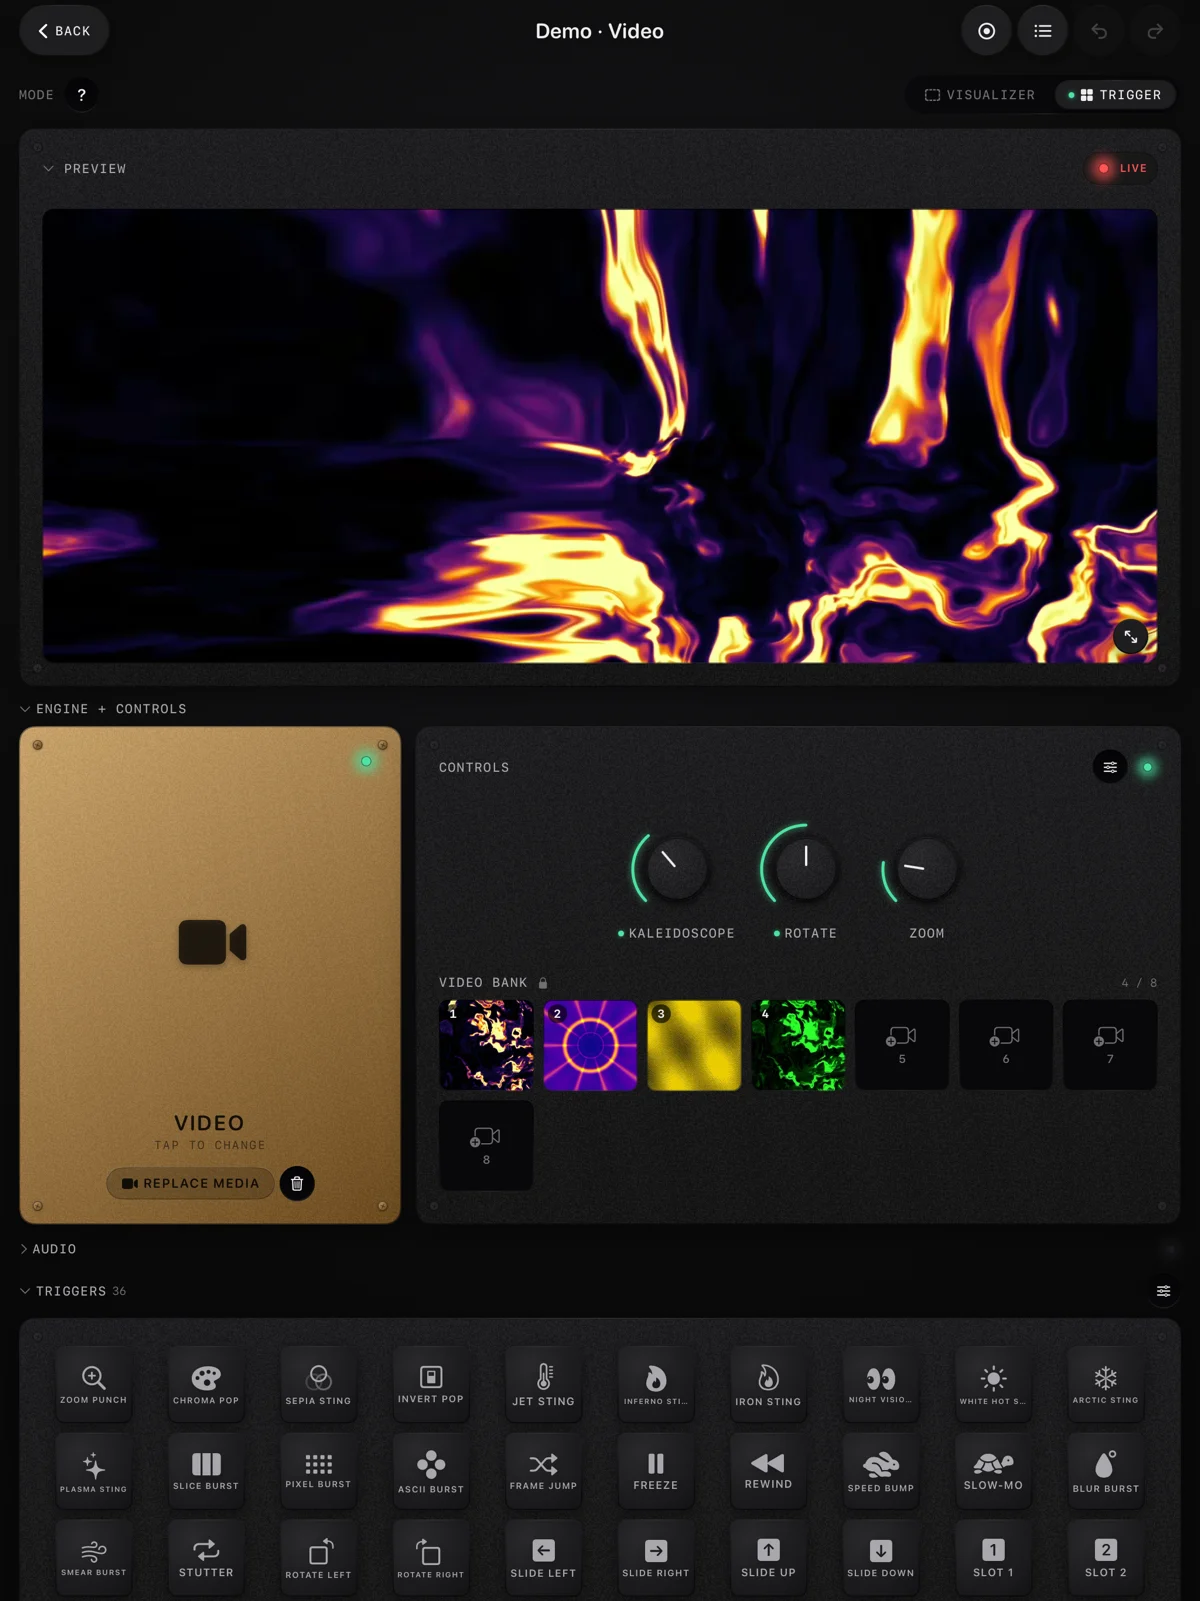
The same rig, plus a small MIDI controller beside the mixer. Trigger mode turns a bank of looks into an instrument: each pad swaps the content and fires a set of effect changes, and a pad scene recalls a whole look in one hit. Between pads, the music keeps moving the picture, so you only touch the controller for the moments that matter: the drop, the breakdown, the last track. Our MIDI tester shows exactly what each pad and knob of your controller sends before you map it.
3. After the set: the night becomes a clip
Every ImmerGround session records its timeline and a real-time MP4 of the output. After the gig you have the visuals of your whole set, and Render HD makes it again in 1080p or 4K, from which you cut the best minute for a post. A clip of your own set, with visuals that moved to it, promotes the next booking better than a phone video of a dark room.
And when there is a second person
If a friend runs visuals while you play, the split changes: they take the controller and the timing, and the screen becomes a second performance. Clip-based VJ software such as Resolume or VDMX on a laptop is built for that, with layers and projection mapping; our guide to Resolume alternatives sorts the options by job. The rest of this guide still applies to them: the library, the signal, the screen and the plan.
Build a small library before you build a rig
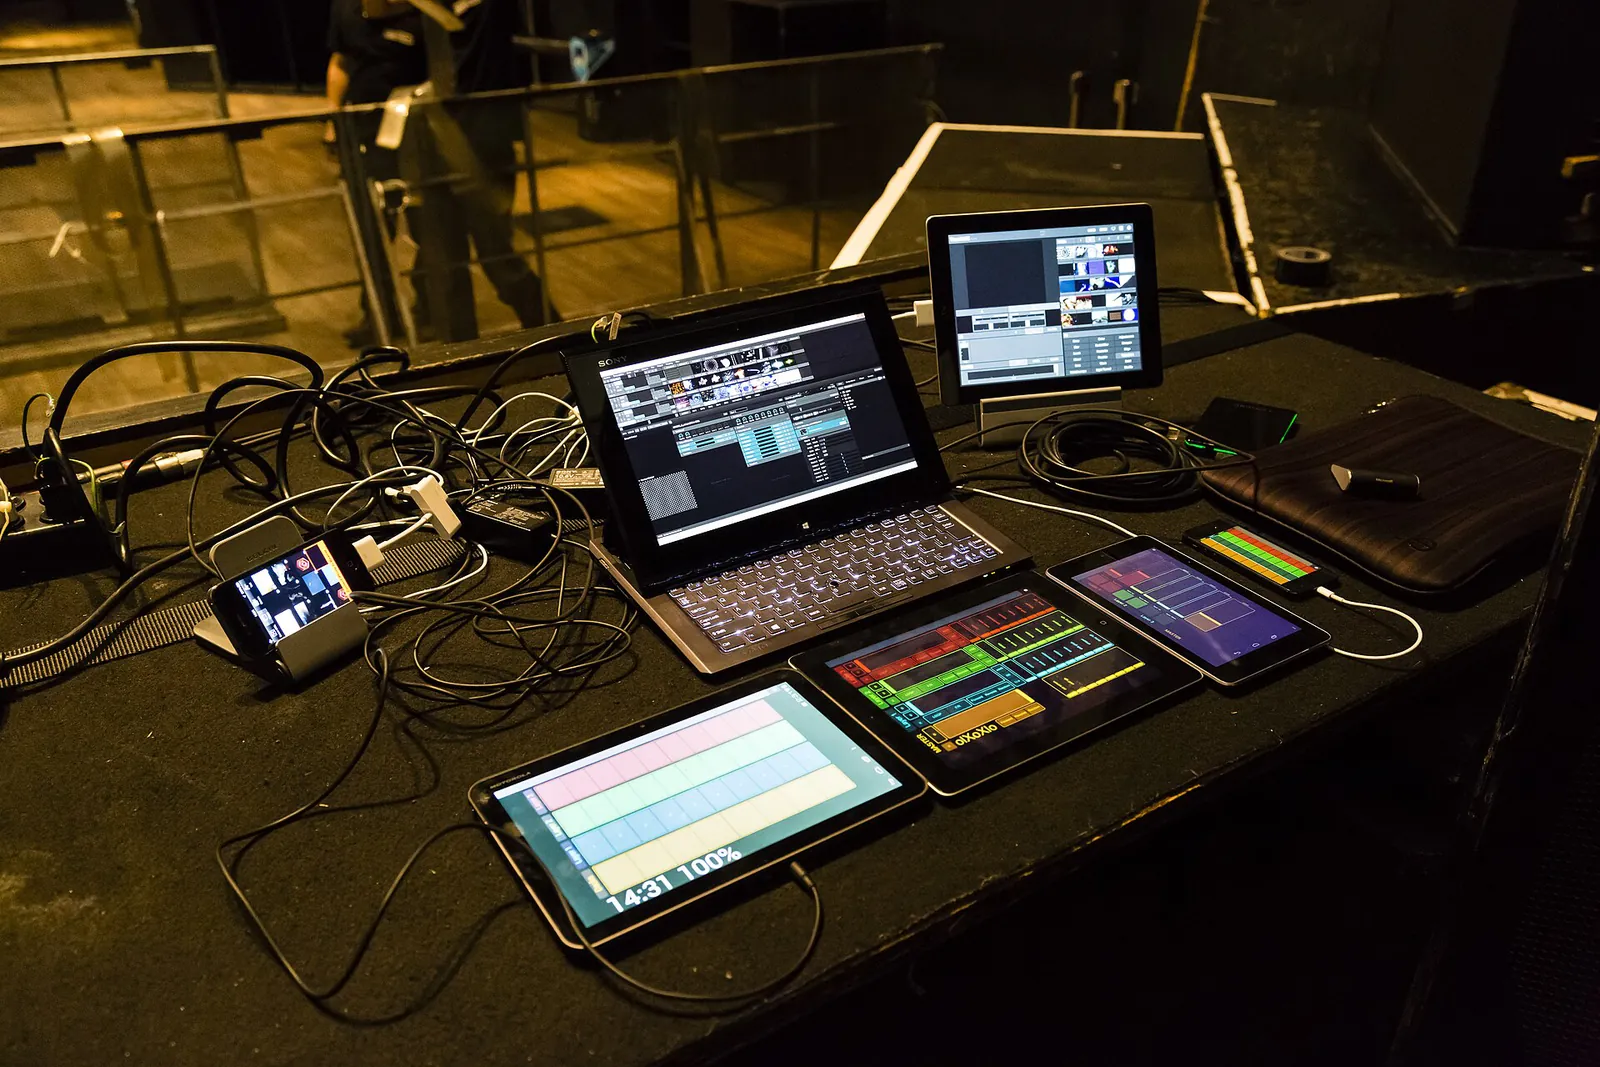
The rig matters less than what you put on the screen. Thirty good minutes of content beat four hours of random clips.
- Your own footage first. Clips from your last gigs, the city at night, the venue itself, your artwork. The effects make ordinary footage look designed; they cannot make someone else's footage look like you.
- Loops for the gaps. Abstract loops fill the hours between your own clips. Ours are free: 4K and 1080p, 32 beats at 120 BPM, no visible join, CC0, so there is nothing to credit and nothing to clear. Our guide to free VJ loops covers the other sources and what their licenses allow at a paid gig.
- Photos and artwork. The event poster, the label's logo artwork, portraits of the headliner. A still with a slow zoom on the bass and a colour shift on the loudness holds a screen for a whole track.
- A palette per part of the night. Warm, low-contrast material for the warm-up, harder and brighter looks for the peak. Sort your library by energy, not by where the files came from.
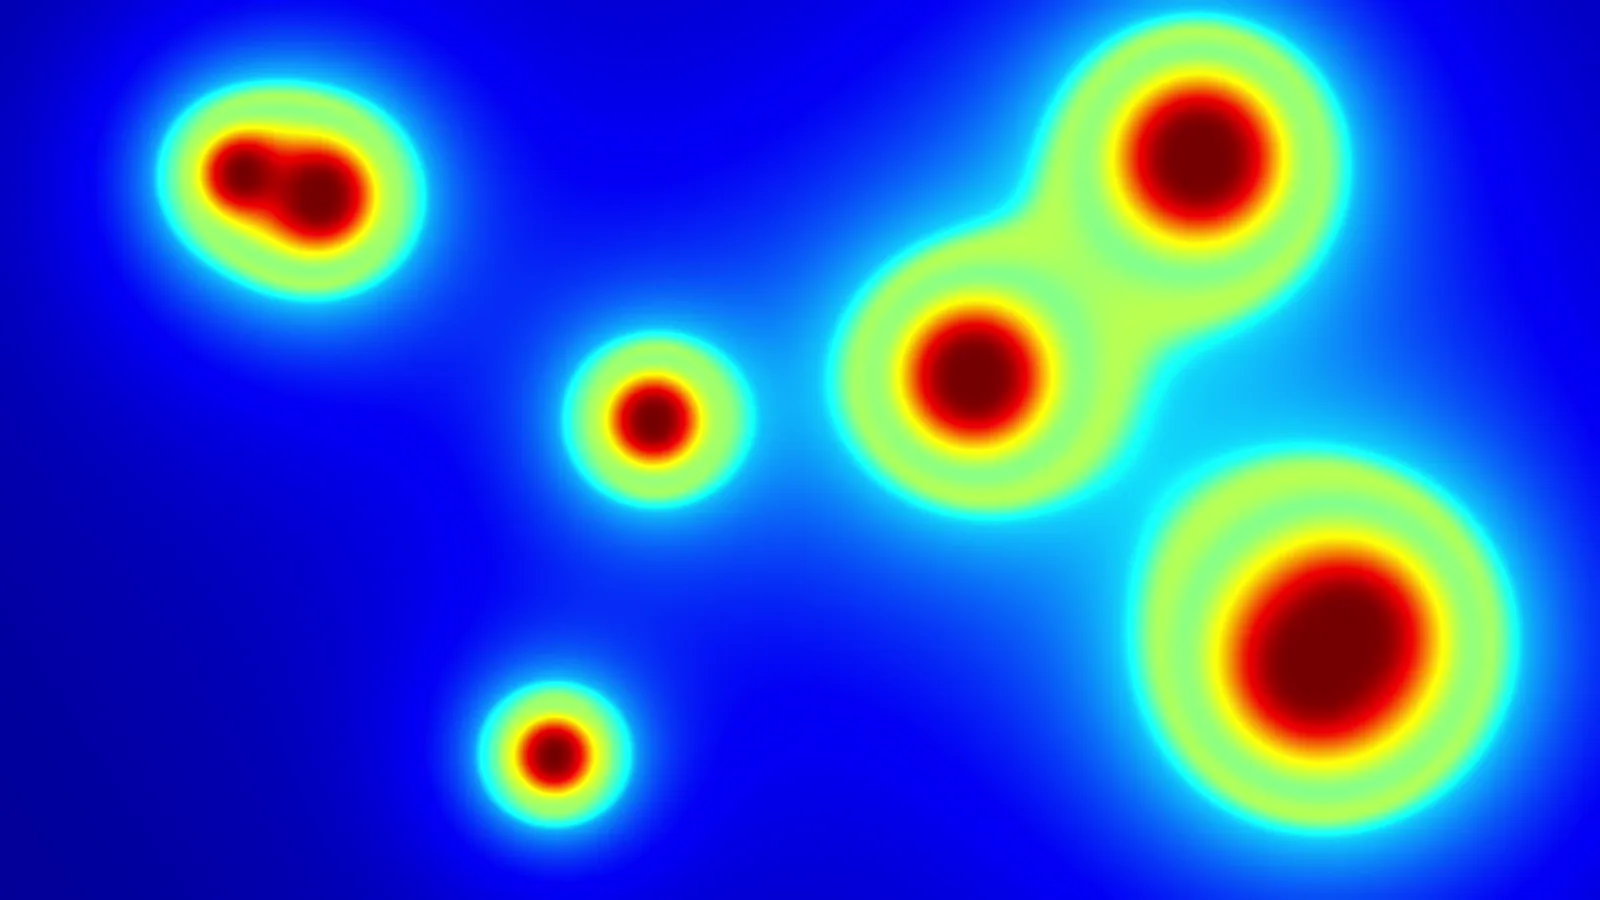
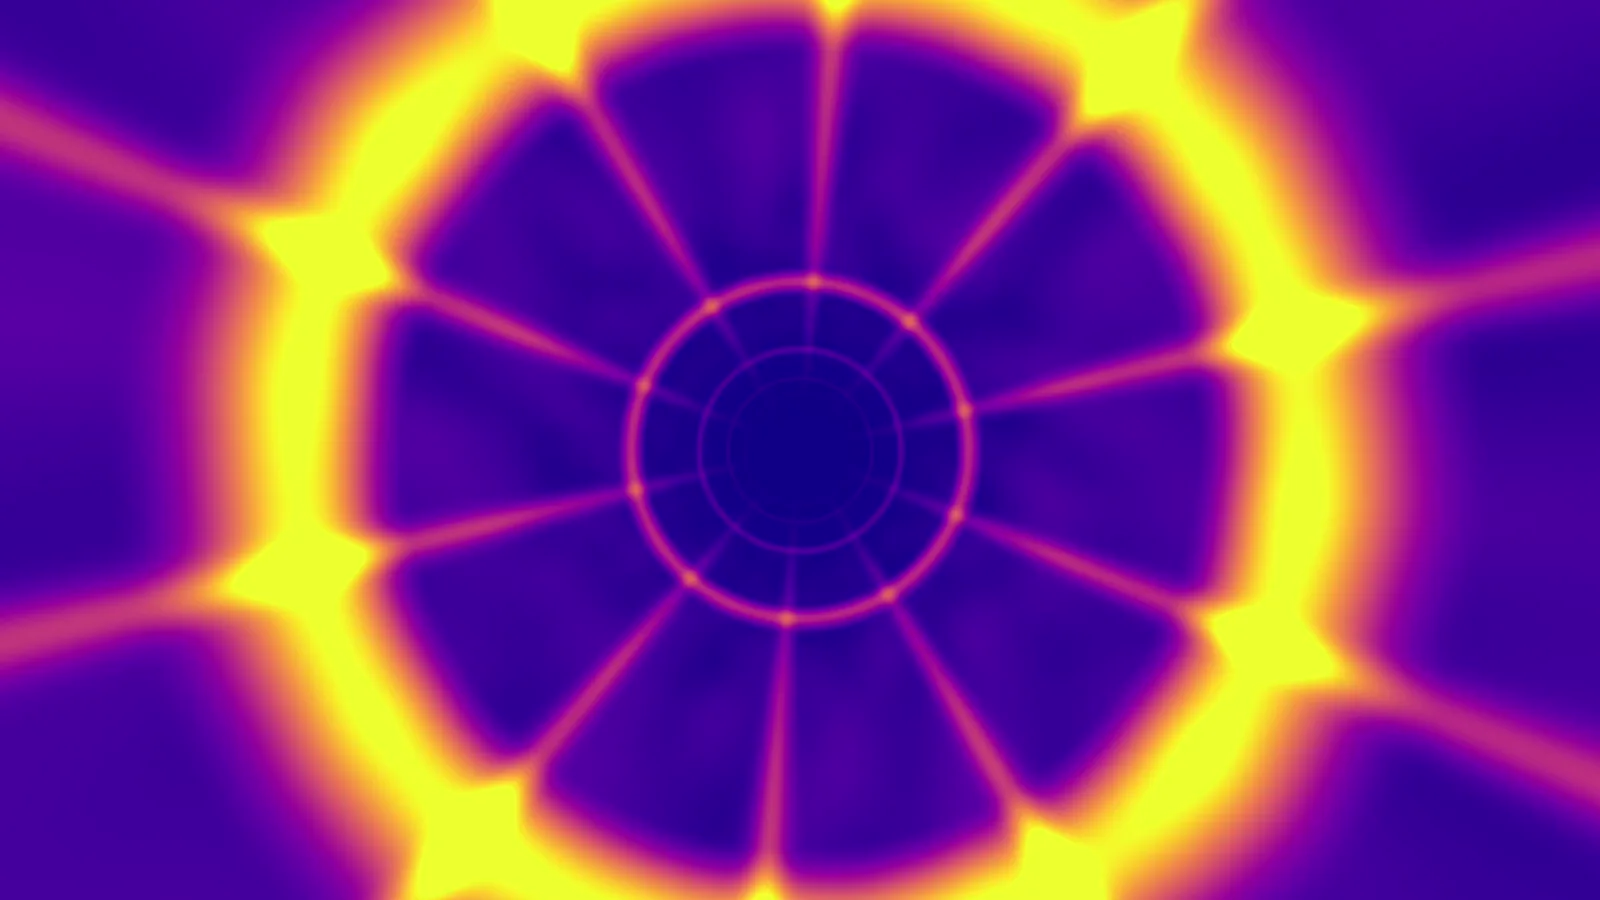

In ImmerGround the library lives in banks: a video bank and an image bank per project, with pads that hot-swap the loaded content. Build one project per set, not one per venue, and the night stays organised.
Getting the music into the visuals: the room, a line or a clock
Visuals that follow the music need to know what the music is doing. There are three ways to tell them, and they suit different rigs.
The room: a microphone by the booth
The simplest route is the one that needs no cable at all: the device running the visuals listens to the room. ImmerGround works this way. It evens out the level with automatic gain, so a quiet warm-up and a loud peak both drive the picture, and a noise gate keeps the picture still when the room is quiet. Because it hears what the dance floor hears, it stays in time with the room, speaker delay included, and it works whatever you play from, vinyl included.
Put the device where it hears the music clearly and the crowd less: near a booth monitor or facing the main speakers, not beside the bar. Check the meters during soundcheck, at gig volume.
A line from the mixer
Most club mixers have a booth or a record output. Visual software that analyses an audio input can take that output through an audio interface for a clean signal with no crowd noise in it. It is worth the extra cable for a laptop rig at a long residency; for a phone or a tablet on the booth, the room is usually enough.
A clock from the DJ software
Clip-based VJ software can lock its loops to the DJ's tempo, and there are two ways to share it. Ableton Link shares the tempo and the beat over the local network, with no cable. MIDI clock sends a tempo pulse over a MIDI connection. Here is what the main DJ programs support, from their own manuals, along with the video features they have built in: If you play live from Ableton rather than DJ, our guide to audio-reactive visuals from Ableton Live covers the same choices for a producer's set.
| DJ software | Ableton Link | MIDI clock out | Video built in |
|---|---|---|---|
| rekordbox | Yes | Not in the manual | Two video decks and effects; full video output needs the Creative or Professional plan |
| Serato DJ Pro | Yes, with Serato hardware connected and Sync on | Not documented | Serato Video, part of DJ Suite ($14.99 a month or $499) |
| Traktor Pro 4 | Yes | Yes (External Sync in Preferences) | None listed |
| VirtualDJ | Yes, through a plugin | Yes (assign a controller as MIDI clock output) | Video mixing and visualizations; removing the video logo needs Pro or Business, and playing paid gigs needs Pro ($19 a month) |
| djay Pro | Yes | Not documented | Video mixing in PRO, on Mac and iOS |
Two readings of that table. If you DJ from a laptop and mostly play music videos, the video features of your DJ software may be all you need. If you want your own footage moving with the music, a separate visual tool is the way, and it either needs a clock to follow or, like ImmerGround, listens to the music itself. ImmerGround does not take a clock; it finds the beats in the sound, so it follows a vinyl set or a live band as readily as a synced laptop.
The screen: getting the picture from the booth to the wall
The last metre is where most visual setups fail, so plan it like the sound: know the connector, the cable and the screen before you arrive. Our guide to a live visuals setup with an iPad and a projector covers the adapter, the projector and a soundcheck routine step by step.
From the device to the cable
- An iPad or iPhone with USB-C: Apple's USB-C Digital AV Multiport Adapter gives you HDMI, up to 4K at 60 Hz on recent models, plus a USB-C port so the device charges while it drives the screen. It costs $69.
- An iPad or iPhone with Lightning: the Lightning Digital AV Adapter, up to 1080p, at $49. The HDMI cable is separate.
- A Mac: its own HDMI port, or a USB-C to HDMI adapter.
- AirPlay to an Apple TV: no cable, but it depends on the venue's network. Use it at home or at a house party; at a club, the cable is the safer choice.
ImmerGround sends the output to the second screen while the controls stay on the device in front of you, so you can change the look without the crowd seeing menus.
The cable run
HDMI is happy over a few metres and unreliable over long runs. A passive cable is dependable up to about 7.6 metres (25 feet); beyond that you need an active cable, an active optical cable, or an HDMI extender that runs over network cable, which carries 1080p up to 100 metres. At a venue with the projector at the back of the room, ask what is already installed before you buy a long cable.
The screen itself
- A TV is bright, simple and usually already on the wall of a bar. Check that you can switch off its picture processing, which adds delay.
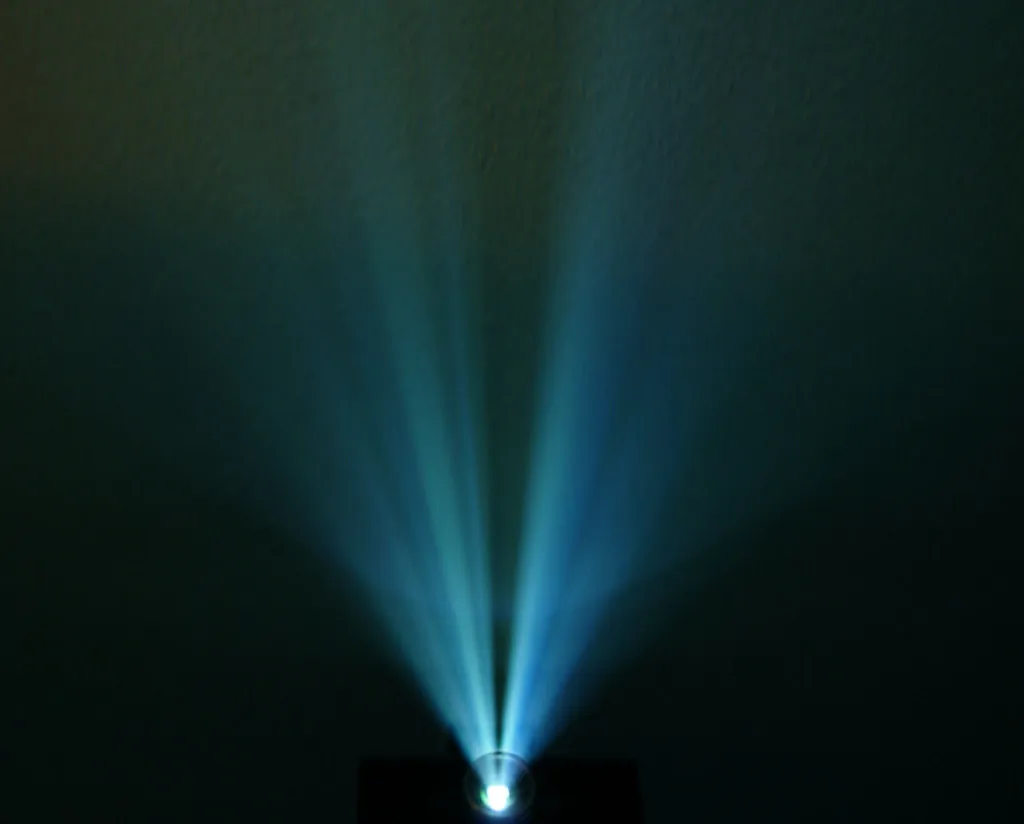
- A projector needs a dark room and enough light. Epson's guide asks for at least 1,500 lumens in a dim room and 2,500 in one with windows, and warns that colour brightness can be as little as a third of a single headline figure. BenQ suggests 1,500 to 2,000 lumens for a 100 to 120 inch picture in the dark, and 3,000 or more with ambient light.
- An LED wall is the club's own gear, with its own processor and resolution. Ask the resolution in advance and send the picture at that size.
Wherever the screen is, keep it behind or above the DJ rather than in their eyeline, and keep the warm-up dark: a bright screen at nine o'clock kills a room that is still filling up.
Run the night in three energy levels
A plan beats improvisation, even when the music is improvised. Split the night into three parts and give each one its own picture, mappings and pads.
| Part of the night | Picture | Mappings | Pads |
|---|---|---|---|
| Warm-up | Slow footage, photos, the venue, warm colours | Bass to a small zoom with heavy smoothing; loudness to a slow colour shift | Rarely: change the picture every few tracks |
| Peak | High-contrast clips, thermal looks, the hardest loops | Bass to zoom, the beat to a short flash or a freeze, the highs to an RGB split | Often: a look for each drop, a freeze for each break |
| Closing | Your best clip, the artwork, something that feels like an ending | Back to the warm-up settings, with more motion on the bass | Once: the last track gets its own look |
Inside each part, follow the tracks. When the DJ mixes into a new record, change the picture on the first downbeat of the new track, not in the middle of the blend: the room hears the change when the new bassline lands, and a picture that changes at the same moment reads as part of the mix. A bank of images or clips on pads makes this a single tap, and between taps the mappings keep the picture moving with whatever is playing.
Build this as pad scenes before the gig. A pad scene snapshots every setting, so one hit takes the whole screen from warm-up to peak without touching a single fader while you mix. Keep the flashes short: fast full-frame strobing is uncomfortable for many people and a real risk for some, and a warning at the door does not make it kind.
What a DJ visuals rig costs, from nothing to a laptop
You can start with what you already own and add pieces only when a gig asks for them. Prices below are the makers' own, checked in September 2026.
| Rig | What you need | Rough cost |
|---|---|---|
| Try it tonight | A laptop with a browser, the venue's TV, our free loops and the free browser visualizer, with the laptop's microphone listening | Nothing |
| Autopilot on a tablet | An iPad or iPhone you own, an HDMI adapter, an HDMI cable, a visuals app that listens to the room | $49 or $69 for Apple's adapter, plus your visuals software |
| Hands on | The tablet rig plus a small class-compliant MIDI controller | Add about $59 to $130 for a controller such as an Akai LPD8 MK2, an Akai APC Mini MK2 or a Novation Launchpad Mini MK3 |
| Laptop VJ rig | A laptop with a strong graphics chip, clip-based VJ software, a controller, and a line or a clock from the DJ | Software from about $199 (VDMX6) or €299 (Resolume Avenue), plus the laptop |
ImmerGround itself is free to download, and ImmerGround Pro is $6.99 a week or $39.99 a year. For a first gig the free route is worth trying before you buy anything: it tells you whether the room wants visuals at all, and which part of the night benefits most.
The costs that catch people out are not the software. They are a projector that is too dim for the room, a cable run that is too long for passive HDMI, and a tablet that dies at midnight because nothing was charging it. Spend on those first.
The checklist that stops the screen going black at midnight
Run this at home the week before and again at the venue before doors.
- Power through the whole night. A charging adapter or a powered hub, not the battery alone. A tablet driving a screen for four hours will not last on its own.
- Keep the screen awake. On an iPad or iPhone, set Auto-Lock to Never for the night (Settings, Display and Brightness), and turn on a Focus mode so nothing pops up while you play.
- Everything on the device. Clips that live only in cloud storage may not open on the venue's Wi-Fi. Download every file you plan to use.
- Test on their screen. Plug in at soundcheck and check the whole picture fits, nothing is cropped at the edges, and the colours are not washed out.
- Check the microphone at gig volume. Watch the meters during a loud track. Clipped meters mean the device is too close to a speaker; flat meters mean it is too far or covered.
- Test the controller. Every pad you mapped, once, before doors. Our MIDI tester shows whether a control sends anything at all.
- Bring spares. A second adapter and a second cable weigh nothing and save the night.
- Have a fallback. A long looping video file on a USB stick: many TVs and projectors can play a file on their own if the rig fails.
- Keep the flashes short. Fast full-frame strobing is uncomfortable for many people and a risk for some. A few short flashes a second at most, and never a strobe that runs by itself for minutes.
App mode and feature guides
- Visualizer Mode Guide
- Trigger Mode Guide
- Audio Signal Analysis Guide
- Video Engine Guide
- Image Engine Guide
- Motion Tracking Guide
- Audio Midi Mapping Guide
- Midi Controller Setup Guide
- Pad Scenes Preset Guide
- Recording 4k Render Guide
- External Display Routing Guide
- Effect Processing Stack Guide
Where to get it
- Free VJ loops. Thermal, ASCII and glitch, dither and halftone packs: 4K and 1080p, 32 beats at 120 BPM, CC0, no email.
- MIDI tester. Plug in your controller and see every note, CC and pad it sends, in Chrome, Edge or Firefox on a computer. Free.
- Song key finder. Drop a folder of tracks and get each one's key and Camelot code, to plan which songs mix before the night. Free, in your browser; our guide to finding the key of a song covers checking it by ear, and our guide to the Camelot wheel covers which keys mix.
- Free live audio visualizer. Try the look in a browser before the gig: your mic or a song, your clip or photo, the app's effects. Free, nothing uploaded.
- ImmerGround. The rig for the booth: the microphone or a song file in, your footage out over HDMI or AirPlay, MIDI pads for the drops, the whole set recorded. iPhone, iPad and Mac. Free to download; ImmerGround Pro is $6.99 a week or $39.99 a year.
What to do next
- Collect thirty minutes of content: your own clips first, loops for the gaps, sorted into warm-up, peak and closing.
- Decide the rig: autopilot for a first gig, pads when you know where your drops are.
- Test the whole chain at home with the adapter, the cable and the controller you will take, playing a set at gig volume.
- Build three pad scenes, one per part of the night, and practise hitting them without looking.
- Arrive early and run the checklist above at the venue, on their screen, before doors.
- Record the night and cut the best minute for the next promo. If you are choosing a controller for the pads, our guide to the best MIDI controllers for visuals sorts them by what your hands should do.
.jpg)