Routing video from an iOS or macOS device to stage projectors and LED walls requires strict control over signal paths, resolution matching, and user interface separation. ImmerGround splits your workspace automatically: it retains all touch controls, parameter knobs, and clip grids on your primary device screen, while firing a clean, full-screen render of the visual output to your connected secondary display. This guarantees that your audience only sees the final visual composition, keeping your workflow isolated and professional.
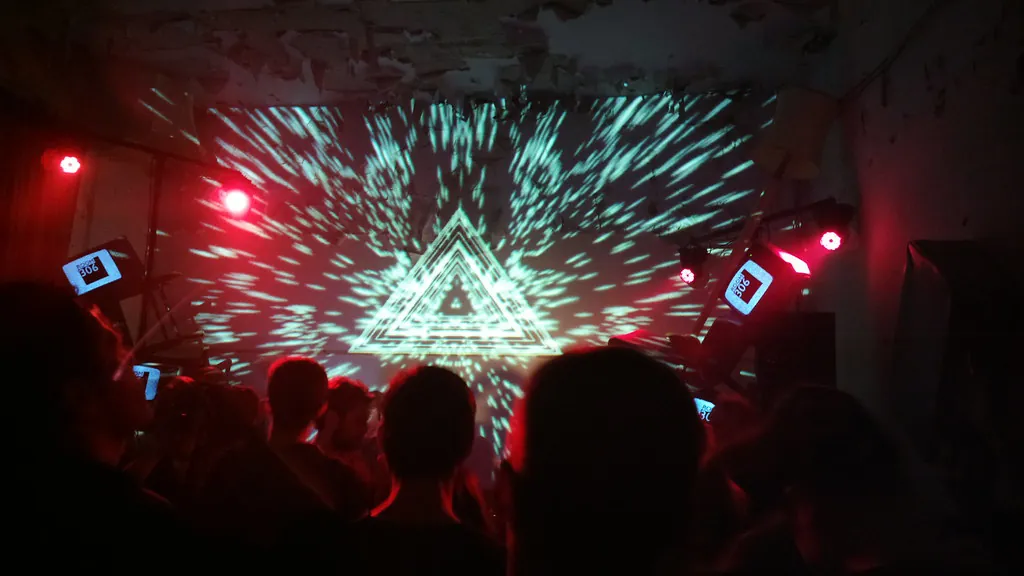
External Screen Output Architecture in ImmerGround
ImmerGround relies on the native secondary display API within iOS, iPadOS, and macOS to separate control interfaces from visual renders. When the application detects a connected external display via a wired or wireless connection, it initiates a dual-screen mode.
The engine creates a distinct view hierarchy for the external hardware. The primary screen becomes your control center.
You manage video clips, select blending modes, tweak parameters, and monitor audio inputs. The secondary screen becomes the destination for the final rendered output.
The application strips all user interface elements from this secondary feed. There are no menus, no status bars, and no cursor artifacts.
The output is a pure, edge-to-edge render of your visual layers. This separation occurs at the hardware rendering level.
ImmerGround leverages Metal to draw the visual composition directly to the secondary display frame buffer. This direct draw approach reduces latency.
The control interface on your device screen operates on a separate thread, ensuring that your touch inputs do not interrupt the frame rate of the outgoing video signal. The application queries the connected display to determine its native resolution and refresh rate.
It adjusts the render pipeline to match these specifications. If you connect to a 1080p projector, the engine renders at 1920 by 1080 pixels.
If you plug into a 4K television, it scales up to 3840 by 2160 pixels. This dynamic resolution matching prevents the device from wasting processing power on pixels the display cannot show, while maximizing visual clarity on high-resolution screens.
Understanding this architecture is critical for live performance. Because the secondary output operates independently, you can swap clips, navigate folders, and test layer combinations on your device screen without the audience seeing your preparation process.
The external display only updates when you explicitly trigger a new visual state or route a specific layer to the main output bus. Managing the aspect ratio is a core component of this architecture.
Not all displays use the standard 16:9 ratio. Some LED walls have custom dimensions, and older projectors may use 4:3.
ImmerGround provides scaling options to handle these discrepancies. You can choose to stretch the visual, fit it within the screen bounds with letterboxing, or crop it to fill the entire frame.
These settings live on the primary control screen, giving you immediate access to output configuration.
Wired Display Protocols: HDMI, USB-C DisplayPort and Adapters
Physical connections offer the highest reliability and lowest latency for stage visual setups. Wired protocols guarantee bandwidth and eliminate the compression artifacts associated with wireless transmission.
For professional environments, a wired signal path is a strict requirement. USB-C and Thunderbolt ports on modern iPads and Macs provide direct DisplayPort alt-mode output.
Connecting a USB-C cable straight into a compatible monitor or projector delivers a clean, high-bandwidth signal. This direct connection often supports charging the device simultaneously, preventing battery depletion during a long set.
Most venue projectors and LED processors require HDMI inputs. To bridge this gap, you need a USB-C to HDMI adapter or a dedicated dock.
The Apple Digital AV Multiport Adapter is a common choice. It provides an HDMI output, a USB-A port for MIDI controllers, and a USB-C port for power delivery.
When selecting third-party adapters, you must verify their specifications. 4, which limits 4K output to 30 frames per second.
1, which can deliver 4K at 60 frames per second. The cable quality dictates the integrity of your signal.
A standard HDMI cable works fine for distances up to five meters. When you need to send a signal from a stage booth to a ceiling-mounted projector, you require much longer runs.
For distances beyond five meters, you should use an active optical HDMI cable. These cables use fiber optics to transmit the video data, preventing signal degradation over long distances.
Active cables are directional; they have a specific source end and a display end. Reversing them results in a blank screen.
Let us compare the common connection methods for stage visuals.
| Connection Method | Max Resolution / Refresh Rate | Latency | Stability | Primary Use Case |
|---|---|---|---|---|
| Direct USB-C (DisplayPort) | 4K / 60fps | Minimal (under 5ms) | Excellent | Studio monitors, modern projectors with USB-C input |
| USB-C to HDMI 2.1 Adapter | 4K / 60fps | Minimal (under 5ms) | Excellent | Standard venue projectors, LED processors, club TVs |
| USB-C to HDMI 1.4 Adapter | 4K / 30fps or 1080p / 60fps | Minimal (under 5ms) | Good | Older hardware, budget setups, non-critical motion |
| AirPlay (Wi-Fi 6) | 1080p / 60fps (typical) | Variable (50ms to 150ms) | Moderate | House parties, casual presentations, backup connections |
When connecting multiple devices through a USB-C hub, bandwidth sharing becomes an issue. A hub that handles an HDMI output, a USB audio interface, and a MIDI controller splits the available data rate.
If the hub is overloaded, the video signal may drop frames or blank out entirely. To prevent this, use high-quality docks and separate the audio and video loads if possible.
On a Mac, plug the HDMI adapter into one port and the audio interface into another.
Wireless AirPlay Output for Screen Mirroring and Presentation
AirPlay provides a cable-free method for routing video from your device to compatible receivers. This protocol is highly convenient for casual setups, art installations, or situations where running a long HDMI cable is impossible.
Apple TVs, many modern smart televisions, and certain hardware receivers support AirPlay natively. When you activate AirPlay, ImmerGround detects the wireless display exactly like a wired connection.
It automatically routes the clean visual output to the AirPlay receiver while keeping the control interface on your device. The process functions the same way, but the underlying data transmission is fundamentally different.
AirPlay relies on your local Wi-Fi network. The device compresses the video stream, transmits it over the wireless network, and the receiver decompresses and displays it.
This encoding and decoding process introduces latency. Even on optimal networks, you can expect a delay between triggering a clip on your iPad and seeing it appear on the screen.
This latency ranges from 50 milliseconds to 150 milliseconds or more. For beat-matched visual performances or tight audio-reactive synchronization, this delay is unacceptable.
For slow, ambient visual sets, the latency might not matter. Network bandwidth dictates the quality and stability of an AirPlay stream.
A congested Wi-Fi network in a crowded venue will cause the video feed to stutter, drop resolution, or disconnect entirely. If you must use AirPlay in a public space, bring a dedicated wireless router.
Connect your iOS device and the Apple TV to this private router, bypassing the venue network. A dedicated 5GHz Wi-Fi 6 router provides the highest bandwidth and lowest interference for wireless video transmission.
- Network Isolation: Never use a public venue Wi-Fi network. Always create a closed network specifically for your visual setup.
- Distance: Keep the iPad and the Apple TV as close to the router as possible to maintain a strong signal.
- Interference: Avoid placing the router near microwaves, heavy metal structures, or large bodies of water.
- Resolution Caps: AirPlay often caps the resolution at 1080p to maintain a smooth frame rate, regardless of the display capabilities.
- Heat Generation: Encoding video for AirPlay demands significant processing power. Your device will get hot, which can lead to thermal throttling and reduced performance.
Stage Projector and Venue LED Wall Integration
Integrating your setup with venue hardware requires knowledge of projector specifications and LED wall processors. The hardware you connect to dictates how your visuals appear to the audience.
You must adapt your output to match the physical properties of the display medium. Projectors rely on light output to compete with ambient light in the room.
This light output is measured in lumens. A home theater projector might produce 2,000 lumens, which is adequate for a dark room.
A club or stage projector needs at least 5,000 to 10,000 lumens to cut through stage lighting and haze. If you connect to a low-lumen projector, your visuals will look washed out and lack contrast.
You must ask the venue technical director for the projector specifications before you build your set. Dark, subtle visuals do not work on weak projectors.
High-contrast, bright geometric shapes perform better in high ambient light environments. Throw ratio determines how large the projected image will be from a specific distance.
A short-throw projector can fill a large screen from just a few feet away, making it ideal for tight stages. Standard projectors require more distance.
You must understand the placement of the projector relative to the screen to ensure your visuals fill the designated area. LED walls operate differently.
They consist of individual LED panels linked together to form a large continuous screen. The resolution of an LED wall depends on its physical size and pixel pitch.
Pixel pitch is the distance between the center of one LED and the center of the adjacent LED, measured in millimeters. A P2 wall has a 2-millimeter pitch, creating a high-resolution image suitable for close viewing.
A P10 wall has a 10-millimeter pitch, which looks pixelated up close but clear from a distance. You rarely connect your HDMI cable directly to the LED panels.
Instead, you connect to a video processor, such as those made by Novastar or Brompton. The processor takes your standard HDMI signal (usually 1080p or 4K) and maps it onto the physical layout of the LED wall.
LED walls often have non-standard resolutions, such as 1536 by 896 pixels. The processor scales and crops your input signal to fit these dimensions.
You must coordinate with the venue technician to ensure your aspect ratio matches the wall, or you must design your visuals to account for the cropping that the processor will apply.
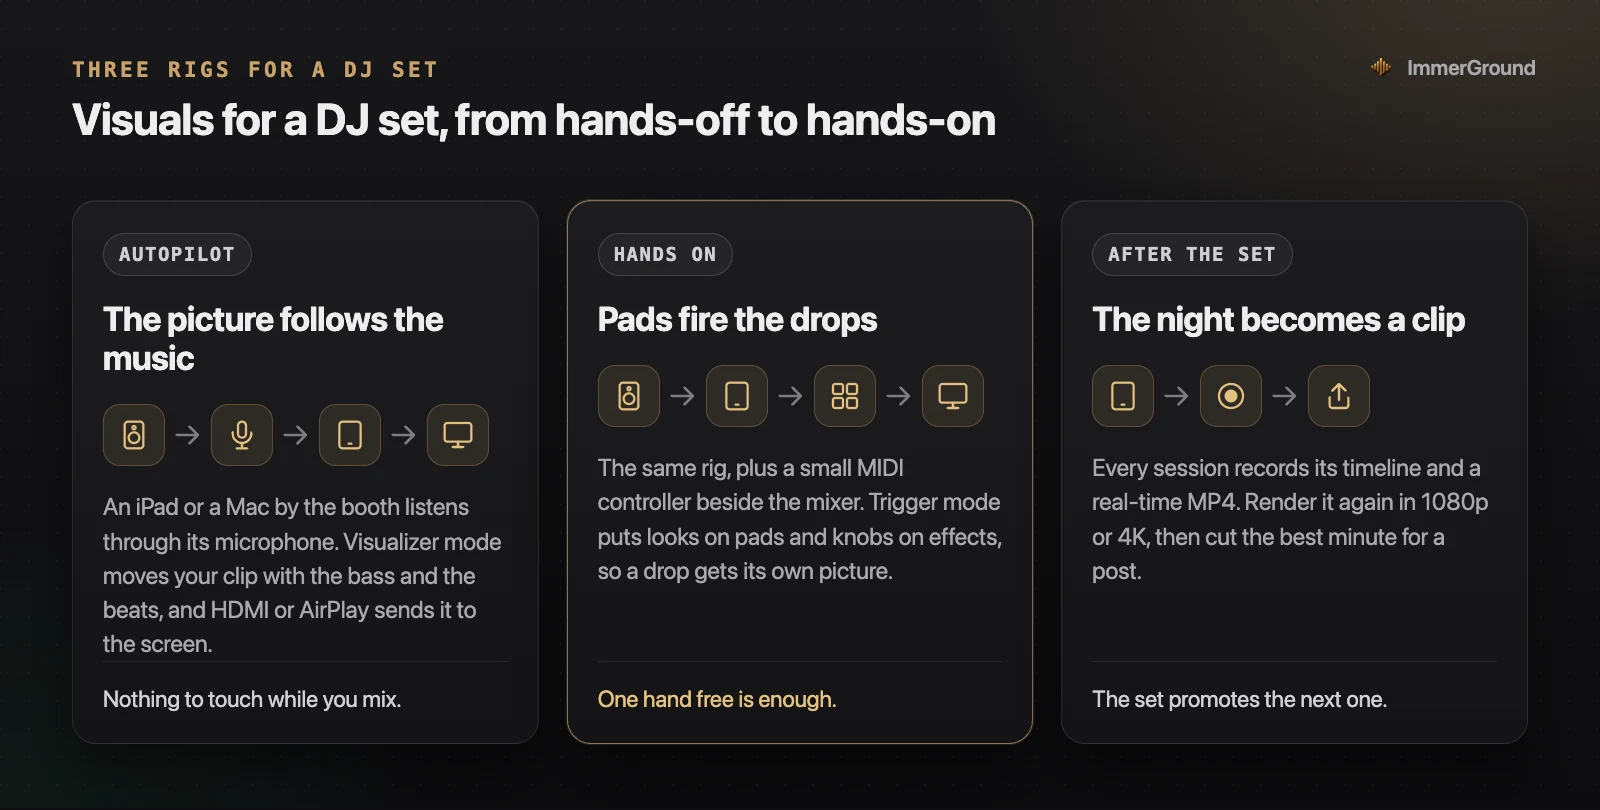
Primary Screen Control vs Secondary Output Management
The distinction between the primary control interface and the secondary visual output is the foundation of professional live performance. ImmerGround enforces this separation to protect the audience experience from technical mechanics.
When you trigger a clip, adjust a slider, or map a MIDI controller on your iPad, these actions must remain invisible to the crowd. The secondary output architecture guarantees this privacy.
You can preview clips in the file browser, check the active audio input levels, and modify effects routing without any visual artifacts appearing on the stage projection. This isolation allows for advanced preparation during a live set.
While a looping geometric pattern plays on the main output, you can navigate your library to locate the next series of clips. You can apply a color filter, adjust its intensity, and prepare the transition point.
The audience only sees the result when you crossfade the new layer into the main output bus. The mechanics of the software are hidden behind the clean, full-screen render.
Managing the primary screen involves organizing your control layout for fast access. You need your most critical parameters immediately reachable.
The touch interface provides direct interaction with sliders and buttons. For tactile control, connecting a MIDI keyboard or fader bank maps physical hardware to the software parameters.
The secondary screen requires no management once the connection is established; it simply reflects the final state of the render engine. Certain situations demand monitoring the final output directly on the device.
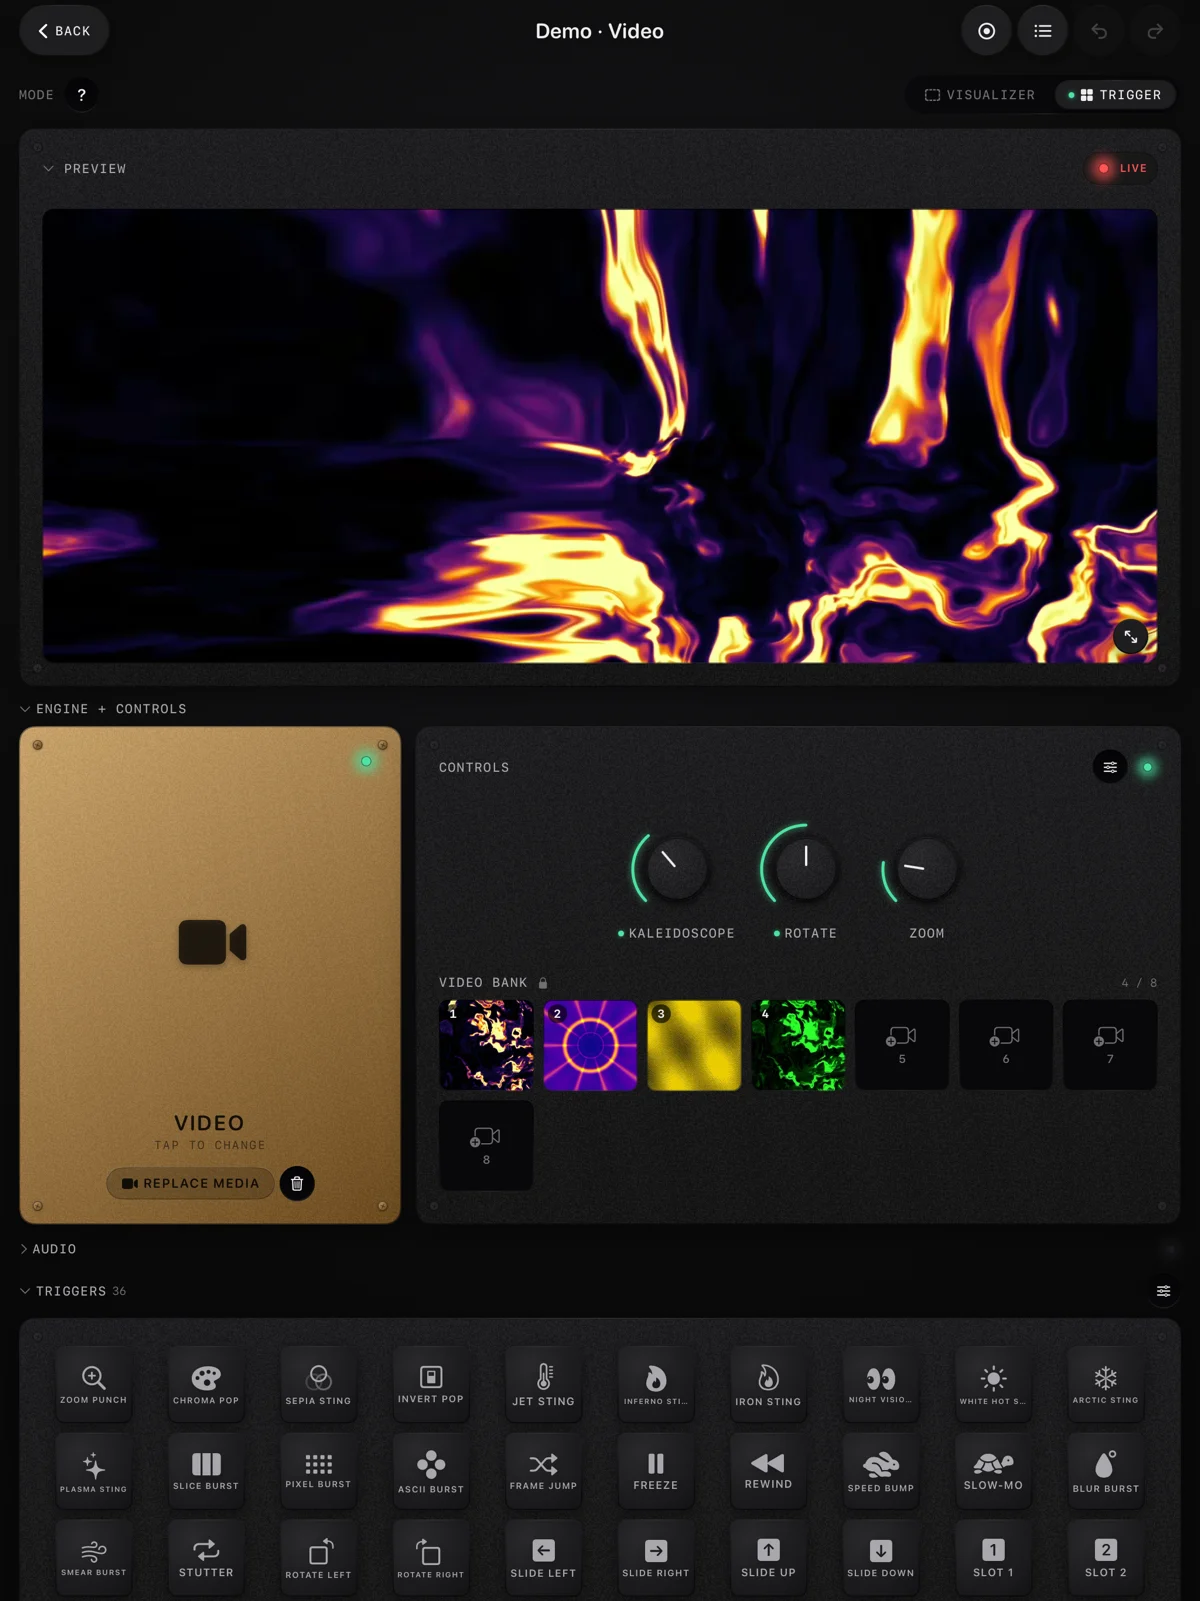
ImmerGround includes a preview window on the primary interface. This small window shows exactly what the secondary display is receiving.
This is crucial when the projector is located behind you, or the LED wall is positioned in a way that you cannot see it from the control booth. The preview window ensures you maintain visual contact with the final composition without turning away from your controls.
Troubleshooting Signal Loss, Resolution Mismatches and Frame Drops
Live environments are hostile to technical equipment. Cables get pulled, adapters fail, and hardware mismatches cause signal interruptions.
Knowing how to diagnose and resolve output issues quickly is a mandatory skill for visual artists. Signal loss is the most common issue.
The external display goes black or shows a "No Signal" message. The first step is to verify the physical connections.
Check the USB-C port on the device, the adapter connection, and both ends of the HDMI cable. A loose connection breaks the data stream.
If the connections are secure, the issue might be a faulty cable. Swap the HDMI cable with a known working spare.
HDMI cables degrade over time, especially when coiled and uncoiled frequently. If the cable swap fails, the adapter is the next suspect.
USB-C hubs are prone to failure from heat stress. Always carry a spare, high-quality adapter in your gear bag.
EDID handshakes dictate resolution and refresh rates. Extended Display Identification Data is a structure provided by a display to describe its capabilities to a source device.
When you plug in, your iPad reads the EDID from the projector and configures the output. Sometimes, this handshake fails, or the display provides incorrect data.
The result is a squished image, incorrect colors, or a resolution mismatch. To force a new handshake, disconnect the HDMI cable, wait five seconds, and reconnect it.
On macOS, you can navigate to the Displays preference pane, hold the Option key, and click the "Detect Displays" button. This forces the operating system to re-poll the connected hardware.
Frame drops and stuttering visuals indicate bandwidth limitations or processing bottlenecks. If your visuals are complex and you are outputting to a 4K display, your device might be dropping frames to keep up.
The immediate solution is to reduce the output resolution. While 4K provides extreme clarity, 1080p is entirely sufficient for most live projections and requires exactly one quarter of the processing power.
Lowering the resolution provides the engine with massive thermal headroom and stabilizes the frame rate. You should also check background applications.
Close any unnecessary software running on your Mac or iPad to free up system resources. Color space mismatches cause the output to look washed out or overly saturated.
Standard dynamic range content relies on the Rec. 709 color space.
If your projector expects an HDR signal and receives SDR, the colors will display incorrectly. Most projectors have manual color space overrides in their system menus.
Access the projector settings and force the color space to standard RGB or Rec. 709 to correct the color rendering.
- Physical Verification: Reseat all cables firmly into their ports.
- Adapter Swap: Replace the USB-C hub or HDMI dongle.
- Cable Swap: Run a backup HDMI line from the adapter to the display.
- Resolution Step-Down: Change the output from 4K to 1080p to conserve bandwidth.
- Refresh Rate Check: Ensure the output is set to 60Hz. A 30Hz limit indicates a faulty adapter or a very old display.
- Thermal Mitigation: Remove the device from any tight enclosures to prevent heat throttling.
Where to get free visual tools
Building your visual performance setup requires robust testing and preparation tools. We provide a suite of utilities to verify your routing, analyze audio inputs, and build your clip library.
These tools help you lock down your technical requirements before you arrive at the venue. Access the main web application at /visualizer to test your browser compatibility and explore basic rendering concepts.
For tempo analysis and beat-matching preparation, the /tools/bpm-finder accurately calculates the beats per minute of any audio track. When integrating external hardware controllers, use the /tools/midi-tester to monitor incoming note data, control change messages, and velocity values, ensuring your hardware communicates correctly with the software.
To populate your visual library, download optimized video content from the /loops directory. These files are formatted specifically for performance engines, balancing visual quality with low processing overhead.
By using these utilities, you construct a stable, reliable foundation for your live shows.
What to do next
Now that you understand the architecture and routing of external displays, it is time to build your physical setup and test your signal flow. Preparation in a controlled environment prevents failures on stage.
Follow these precise steps to configure your output system.
- Acquire a high-quality USB-C to HDMI 2.1 adapter that explicitly supports 4K resolution at 60 frames per second.
- Purchase a reliable, heavy-duty HDMI cable rated for at least 18 Gbps bandwidth. If you need runs longer than five meters, invest in an active optical HDMI cable.
- Connect your iOS device or Mac to an external monitor or television in your studio using the adapter and cable.
- Launch ImmerGround and verify that the clean visual output appears on the secondary screen while the control interface remains on your primary device.
- Trigger several complex clips and observe the external display. Check for dropped frames, color shifts, or resolution degradation.
- Disconnect and reconnect the HDMI cable while the application is running to test the EDID handshake recovery process.
- Configure your aspect ratio settings within the application to practice fitting your content to different screen dimensions.
By executing these steps, you validate your hardware choices and learn the exact behavior of the output engine. This practical experience is mandatory for executing professional, flawless visual performances in high-pressure venue environments.