If you make music in Ableton Live, the obvious next step is visuals that move with it, and the question people get stuck on is where those visuals should run. There are three answers: inside Live as a plugin or a Max for Live device, in a separate visuals program on the same computer, or on a second device that listens. Each has a different cost in money, setup and computer load. This guide covers what Live can send out, each of the three ways with the tools that fit it, how to get Live's audio into another app on a Mac, how our own app fits on one Mac or beside it, and how to choose between tempo sync, audio analysis and MIDI notes.
Three ways, and the difference is where the visuals run
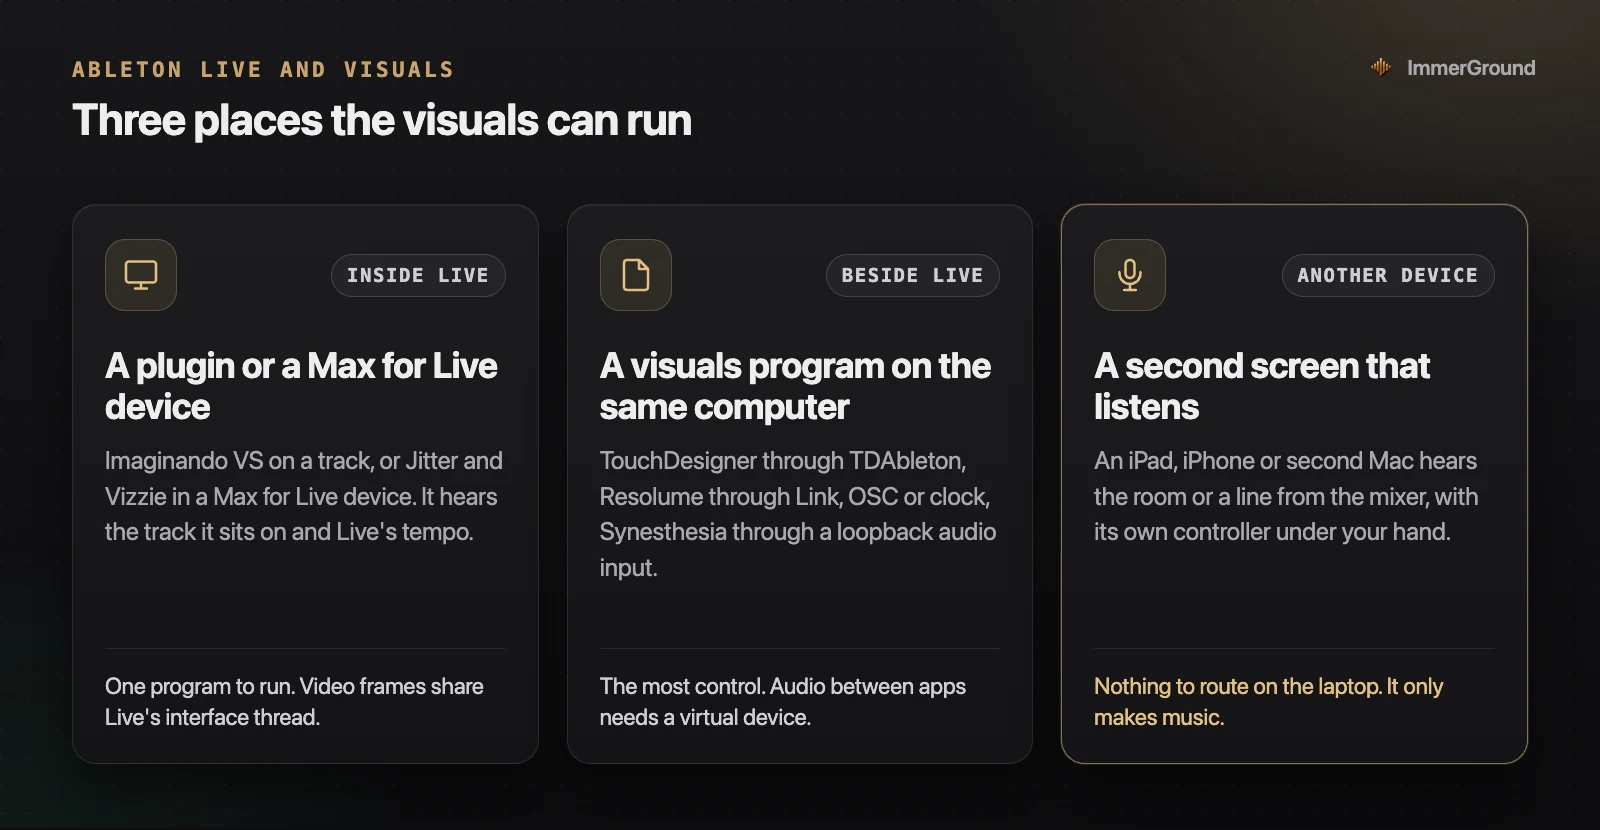
| Way | Tools | Good for | The cost |
|---|---|---|---|
| Inside Live | Imaginando VS as a plugin; Jitter and Vizzie in Max for Live | One program, visuals saved with the set | Visuals compete with Live for the same machine |
| Beside Live, same computer | TouchDesigner with TDAbleton; Resolume; Synesthesia | The most control and the biggest shows | Audio and MIDI routing between apps; a strong computer |
| Another device | An iPad, iPhone or second computer that listens, with its own controller | Live sets where the laptop must not stutter | A second device, and sound through the air or a cable |
The right choice depends less on the visuals than on the laptop. If your set already pushes Live hard, anything that shares the machine is a risk on stage. If you mostly produce at home and want a video of a track, running everything on one computer is simpler.
What Live can send out: audio, MIDI, tempo and OSC
Every route below uses some combination of four signals, and Live can send all of them.
- Audio. Live plays to any CoreAudio device on a Mac, and its manual notes a Use System Device option that follows whatever is selected in the Mac's Sound settings. Audio is what a visualizer analyses: bass, mids, highs, loudness, beats.
- MIDI notes and controllers. A MIDI track can send to a port instead of an instrument. The manual's own example is sending MIDI notes to another application through a virtual MIDI bus, with the port's Track switch turned on in Live's settings. On a Mac, Apple's IAC Driver in Audio MIDI Setup creates such a bus. If a port or a controller does not appear in Live's list, our guide to a MIDI controller that is not working covers Live's Track and Remote switches and the checks that come before them.
- Tempo. Live sends MIDI clock to any port you turn on as a sync destination, and it supports Ableton Link in every edition. Link keeps beat, tempo, phase and start and stop in sync between applications on one computer or across a network. Link itself carries timing, not audio or MIDI notes; Ableton's newer Link Audio, added in Live 12.4, streams audio, but only to apps that support it.
- OSC. Open Sound Control messages, sent from a Max for Live device, reach programs such as Resolume and TouchDesigner over the network or on the same machine.
Live 12 comes in three editions, at €79 for Intro, €279 for Standard and €599 for Suite on Ableton's shop. The difference that matters here is Max for Live: it is included in Suite, and the manual says Standard can use it with the Max for Live add-on. Intro cannot, and Intro is also limited to 16 tracks.
Way one: visuals inside Live, as a plugin or a Max for Live device
Imaginando VS as a plugin
Imaginando VS is the most direct route: a visual synthesizer that loads on a track in VST3, VST or AU format, or runs on its own. Its page says it reacts to audio (peaks, envelopes and frequency bands) and to MIDI notes, velocity, controllers and clock, and follows the host's tempo when it runs as a plugin. The picture goes out over NDI, Syphon on the Mac or Spout on Windows at up to 4K and 60 frames a second, and a built-in recorder captures it at the same size. It costs €129 once, for up to five computers, or €9.90 a month towards ownership; the demo is watermarked and does not save. The strength is that the visuals are part of the set: open the project and the look comes back. The limit is the kind of tool it is: a synthesizer of visuals, played like an instrument, rather than a clip mixer for your own footage.
Max for Live with Jitter and Vizzie
Max for Live runs Max devices inside Live, and Max includes Jitter, Cycling '74's real-time video and graphics tools. Vizzie, a set of ready-made video modules for Max, can be used inside a Max for Live device too, according to Cycling '74's documentation, as long as the device includes its projector module. This route suits people who want to build their own tools and already have Suite.
It has one limit that decides whether it is right for a live set, and Cycling '74 states it plainly: Jitter runs in Live's interface update thread, so video frames are interrupted when Live redraws its screen, and the maximum frame rate depends on Live's audio buffer size. For a home studio video, that is manageable. For a stage where the set cannot drop a frame, it is the reason people move the visuals to their own program. Ableton's own Max for Live page does not mention visuals; beyond Cycling '74's Jitter and Vizzie, the visual devices you will find come from the community.
Way two: a visuals program beside Live
TouchDesigner with TDAbleton
TDAbleton is Derivative's own bridge. Its documentation describes it as linking TouchDesigner tightly with Live, with access to most of what happens in a set, both reading and setting it. It works through Live's MIDI Remote Scripts and, where needed, Max for Live devices, and it talks to TouchDesigner over OSC, so TouchDesigner can even run on another computer on the network. The current version needs Live 11.1.5 or later. Two details matter before you plan on it: getting MIDI out of Live and reading track levels both use Max for Live devices, so in practice you need Suite or Standard with the add-on, and the level device sends the volume level rather than the full audio, with spectrum analysis built from Live's own EQ and filter devices in a rack. TouchDesigner's Non-Commercial licence is free for learning; paid work needs the $600 Commercial licence. Our Resolume vs TouchDesigner guide covers what each program is like to learn.
Resolume
Resolume keeps time with Live in three ways, all from its own manual. Ableton Link appears after you choose View, then Show Ableton Link, and keeps the tempo and the position in the bar in sync across connected machines. MIDI clock works too, and the manual's own advice is blunt: it calls clock notoriously wavy and says Link gives much tighter sync and is easier to set up. For more than tempo, Resolume listens for OSC on port 7000 and notes that Max for Live can send OSC from Live; its blog hosts free third-party Max for Live patches that fire Resolume clips when you fire clips in Live. For reacting to the sound itself, a parameter can follow an external audio input through Resolume's FFT, split into low, mid and high bands. Avenue is €299 per computer.
A first test with Resolume on one Mac
- Tempo. Turn on Link in Live, then in Resolume choose View, then Show Ableton Link, and switch it on. Change Live's tempo and watch Resolume follow.
- Audio. Install a loopback device, set Live's output to it, and build a Multi-Output Device with your speakers so you still hear the set.
- Input. In Resolume's preferences, choose the loopback device as the external audio input for FFT, and raise the gain if the meters barely move.
- One mapping. On a layer's scale or an effect's amount, choose the external FFT option and the low band, then set Fall so the value drops back smoothly after each kick.
- Clips. If you want Live's clip launches to fire Resolume clips, add the free third-party Max for Live patches from Resolume's blog; they need Max for Live.
If that works for a full track without stutters in Live, the same machine can probably carry a set. If Live's CPU meter climbs or the audio crackles, move the visuals to another device before the gig, not during it.
Synesthesia
Synesthesia builds its visuals from scenes that analyse whatever music is playing, in four bands, with its own tempo detection. Its documentation says it requires an audio input device, and that on a Mac a third-party loopback is required to feed it music from another app. MIDI mapping is in both editions; Syphon, Spout, NDI and OSC are in Pro at $399. Its documentation does not mention Ableton Link, so do not plan on it.
Getting Live's audio into another app on the same Mac
This is where most same-computer setups stall. Apple's support pages describe Multi-Output and Aggregate devices, but neither sends one app's audio into another, and Synesthesia's documentation says a third-party loopback is required on macOS. The two tools you will meet most:
- BlackHole. A free, open-source virtual audio driver that passes audio from one application to another, in 2, 16 or 64 channel versions, with an optional donation.
- Loopback. Rogue Amoeba's app for building virtual audio devices from apps and inputs, at $99. Its trial overlays noise after 20 minutes of use.
The pattern is the same with either: set Live's audio output to the virtual device, then choose that device as the input in the visuals program. The catch is monitoring. Once Live plays into a virtual device, you no longer hear it, so you need a Multi-Output Device that includes both the virtual device and your speakers, or a loopback app that monitors for you.
The hardware route avoids all of this. Many audio interfaces and DJ mixers have a second output or a record output; a cable from there into another input, or into a second device, carries the real mix with no software in between. It is also what the room hears, which is the point of audio-reactive visuals.
Way three: a second device that listens
The simplest live setup takes the visuals off the laptop entirely. Live plays to the speakers or the mixer as usual; a second device runs the visuals and listens, either through its microphone or through a line from the mixer, with its own MIDI controller for the moments you want to play by hand. Nothing on the music laptop changes, so nothing on it can drop a frame or glitch the audio because of the visuals.
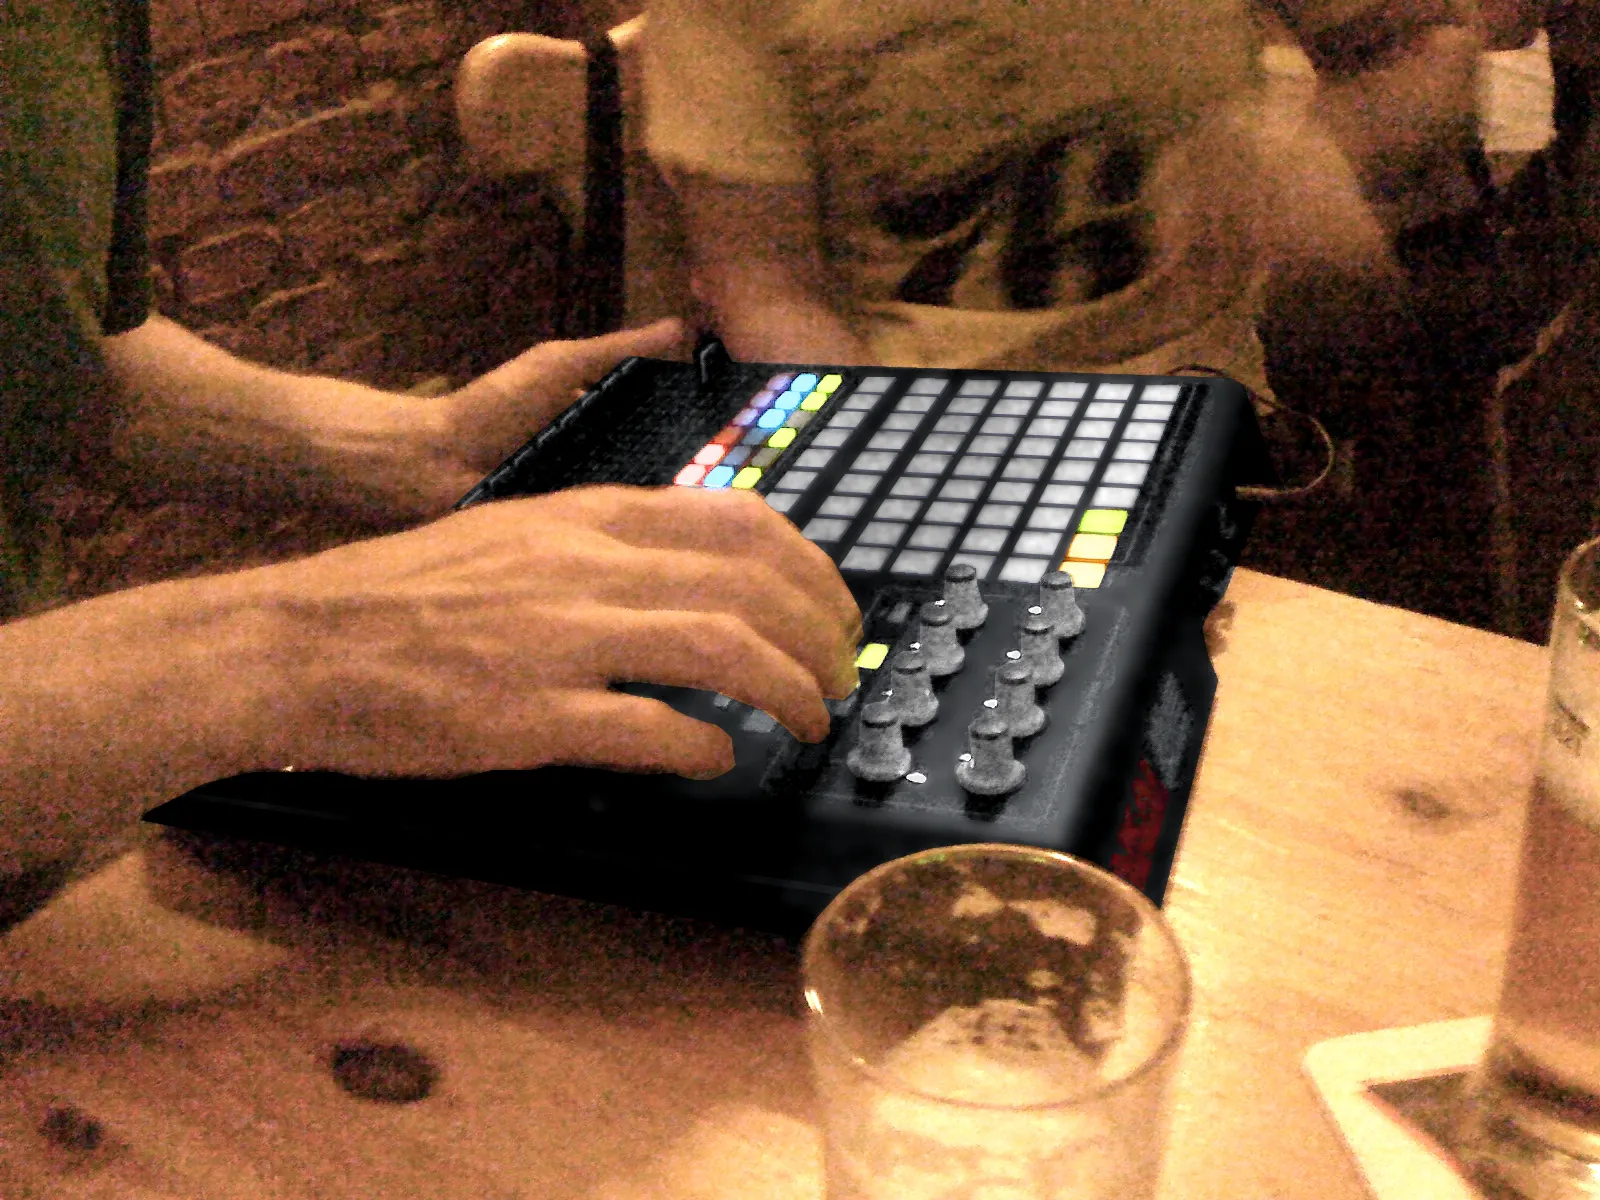
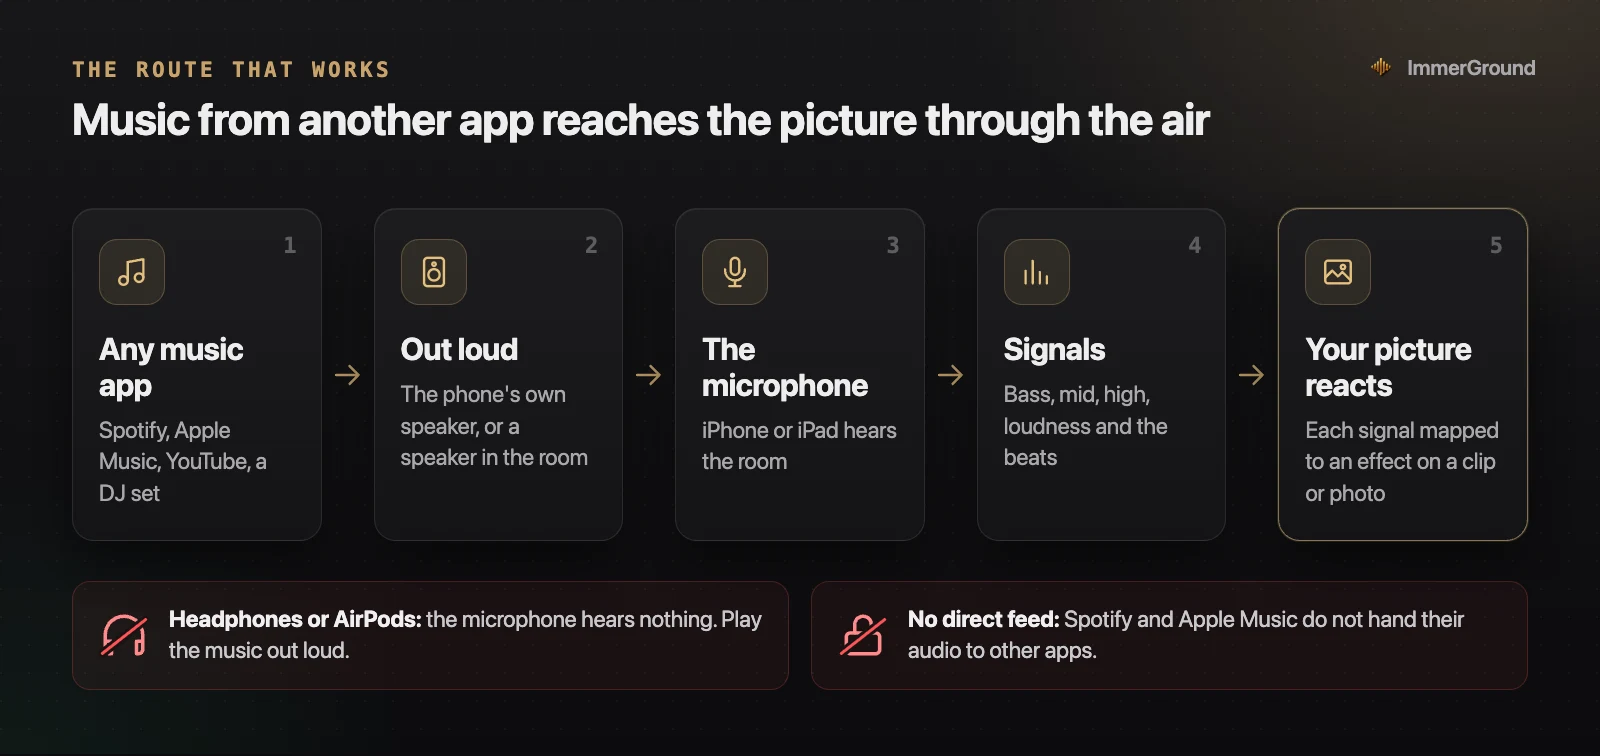
This is the route ImmerGround, which we make, is built for. On an iPad or iPhone by the booth, it listens through the microphone, measures the bass, mids, highs, loudness and beats of what the room hears, and moves your own clip or photo with them, while a class-compliant controller over USB-C or Bluetooth fires looks and effects from pads and knobs. The output goes to the screen over HDMI or AirPlay. There is no routing to set up on the laptop, and the one thing to plan for is placement: point the microphone at the speaker, not at the crowd.
What to take for this route:
- The visuals device and a stand. An iPad on a stand beside the booth, out of the way of drinks and elbows, with the microphone facing the speaker.
- The right adapter and a long HDMI cable. USB-C or Lightning to HDMI, and more cable than you think the venue needs.
- A small controller. A pad controller for the drops and a couple of knobs for effects; our controller guide lists the ones that work without drivers.
- A line from the mixer, if there is one. A spare output into a Mac's audio interface gives a cleaner signal than a microphone in a loud room.
On one Mac with ImmerGround: MIDI from Live, sound from the input
ImmerGround also runs natively on Apple Silicon Macs, and there it can sit beside Live on the same machine. Two connections do the work:
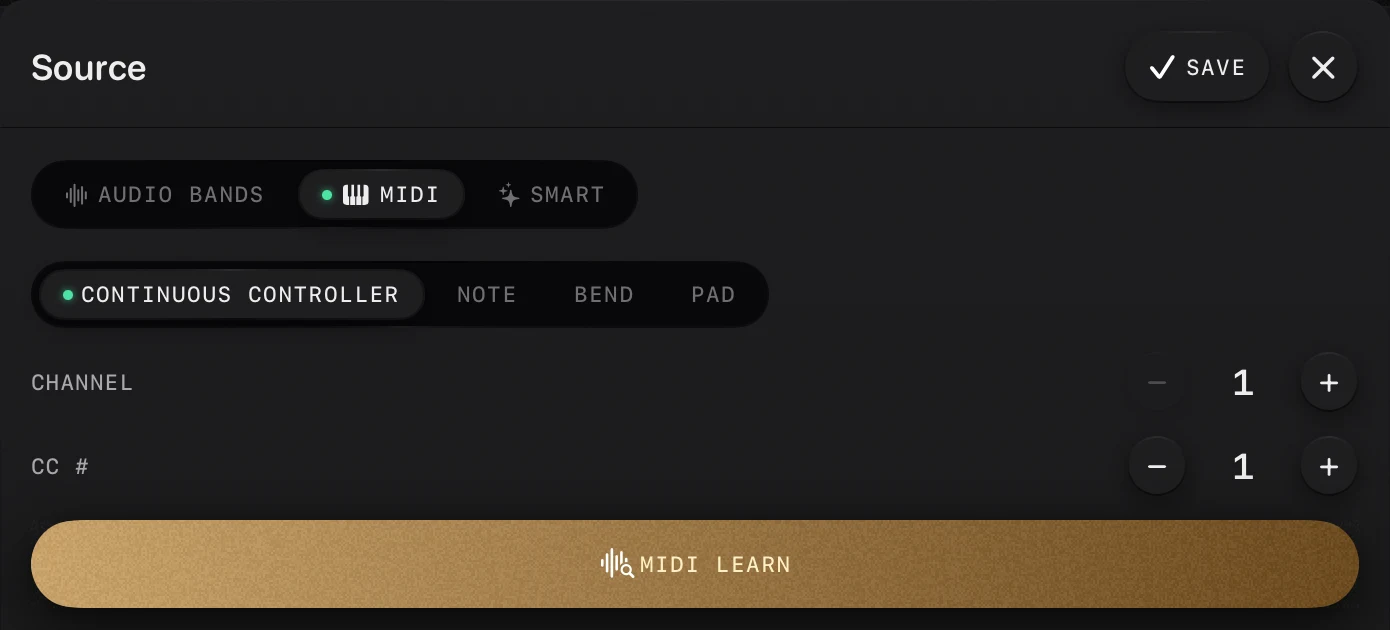
- MIDI from Live. ImmerGround creates a MIDI input called ImmerGround that other apps on the Mac can send to. In Live, set a MIDI track's output to that port, turn on Track for it in Live's MIDI settings, and the notes and controllers in your clips reach the app. Use MIDI Learn in a mapping to catch them: a kick pattern can fire a pad, a controller lane can ride an effect. The app reads notes, controllers, pad hits and pitch bend.
- Sound from the input. On a Mac, ImmerGround listens to the input selected in System Settings, Sound, so the built-in microphone works, and so does an audio interface's line input fed with your mix. There is no input picker inside the app; choose the device in System Settings.
For a music video rather than a live set, there is a third, cleaner option: bounce the track from Live as a WAV, load it into ImmerGround as a file, and let the analysis run on the exact master. Every session saves a real-time recording, and Render HD re-renders it at up to 4K in 16:9. Our guide to a visualizer video for your song walks through that workflow.
What it does not do, so you can plan around it: ImmerGround is not a plugin, it does not join a Link session, and it does not send its picture to other apps over NDI or Syphon. We have not tested it with virtual audio devices such as BlackHole, so treat the MIDI and input routes above as the tested ones.
Tempo sync, audio analysis or MIDI notes: pick by what you want to see
The usual advice is that visuals must be synced to the tempo, and it misses half the picture. There are three kinds of timing, and they look different on screen:
| Timing | What you see | Best source from Live |
|---|---|---|
| Tempo sync | Movement locked to the grid: loops restart on the bar, effects pulse every beat | Ableton Link where the program supports it; MIDI clock otherwise |
| Audio analysis | Movement that follows the sound: bigger on loud drops, calmer in breakdowns | The audio itself, through a loopback, a cable or the air |
| MIDI notes | Exact hits: a flash on every kick you programmed, a cut on a specific snare | A MIDI track sending the drum pattern to a port |
Tempo sync alone makes visuals feel mechanical: the screen pulses on every beat of the breakdown as hard as on the drop. Audio analysis alone can miss the beat in a busy mix. For a producer, the tightest result is often the one people overlook: duplicate the drum clip, route the copy to the visuals program as MIDI, and let the exact notes you programmed fire the hits, while audio analysis handles the overall energy. It uses what you already have in the set, and it cannot drift.
The drum-copy technique, step by step
- Duplicate your drum MIDI clip onto a new MIDI track with no instrument on it.
- Keep only the hits you want to see: usually the kick and the snare, sometimes a crash on the drop.
- Route the track's output to the visuals program's MIDI port, or to an IAC bus it listens to, and turn on Track for that port in Live's settings.
- Map the notes in the visuals program: the kick to a zoom punch or a cut, the snare to a flash, the crash to a scene change.
- Let audio analysis do the rest: the bass band on a slow, smoothed effect, so the picture still breathes between the hits.
And the limit of this guide: none of these routes makes the visuals good by itself. Three mappings chosen with taste beat thirty wired up because the tools allow it.
Where to get it
- ImmerGround. iPhone, iPad and Mac: your clip or photo moved by the music it hears and by MIDI from Live or a controller. Free to download; ImmerGround Pro is $6.99 a week or $39.99 a year.
- Free live audio visualizer. In your browser: try mappings on a bounced track or with the microphone before you set up anything, and record up to 60 seconds, with a small immer ground mark in the corner.
- MIDI tester. See exactly what Live or your controller sends, including MIDI clock as a tempo, in Chrome, Edge or Firefox.
- BPM finder. Check the tempo and key of a bounced track before you cut visuals to it.
- For the other routes: Imaginando VS, TDAbleton for TouchDesigner, Resolume's Link setup, and Synesthesia.
What to do next
- Decide where the visuals run: inside Live if you have Suite and a video in mind, beside Live if you want control and have a strong machine, on another device if the set must never stutter.
- Test the signal first. Send a MIDI clip to a port and watch it arrive in the MIDI tester, or play the track and watch the meters move in the visuals program.
- Start with three mappings: the bass to a zoom, the kick from a MIDI copy of the drums to a cut, and one controller knob to your main effect.
- Rehearse a full set with the visuals running, on the machine you will play on, and watch Live's CPU meter as closely as the screen.
- Pick your controller with our MIDI controllers guide, and read visuals for a DJ set for the screen and the night.
.jpg)
.jpg)
