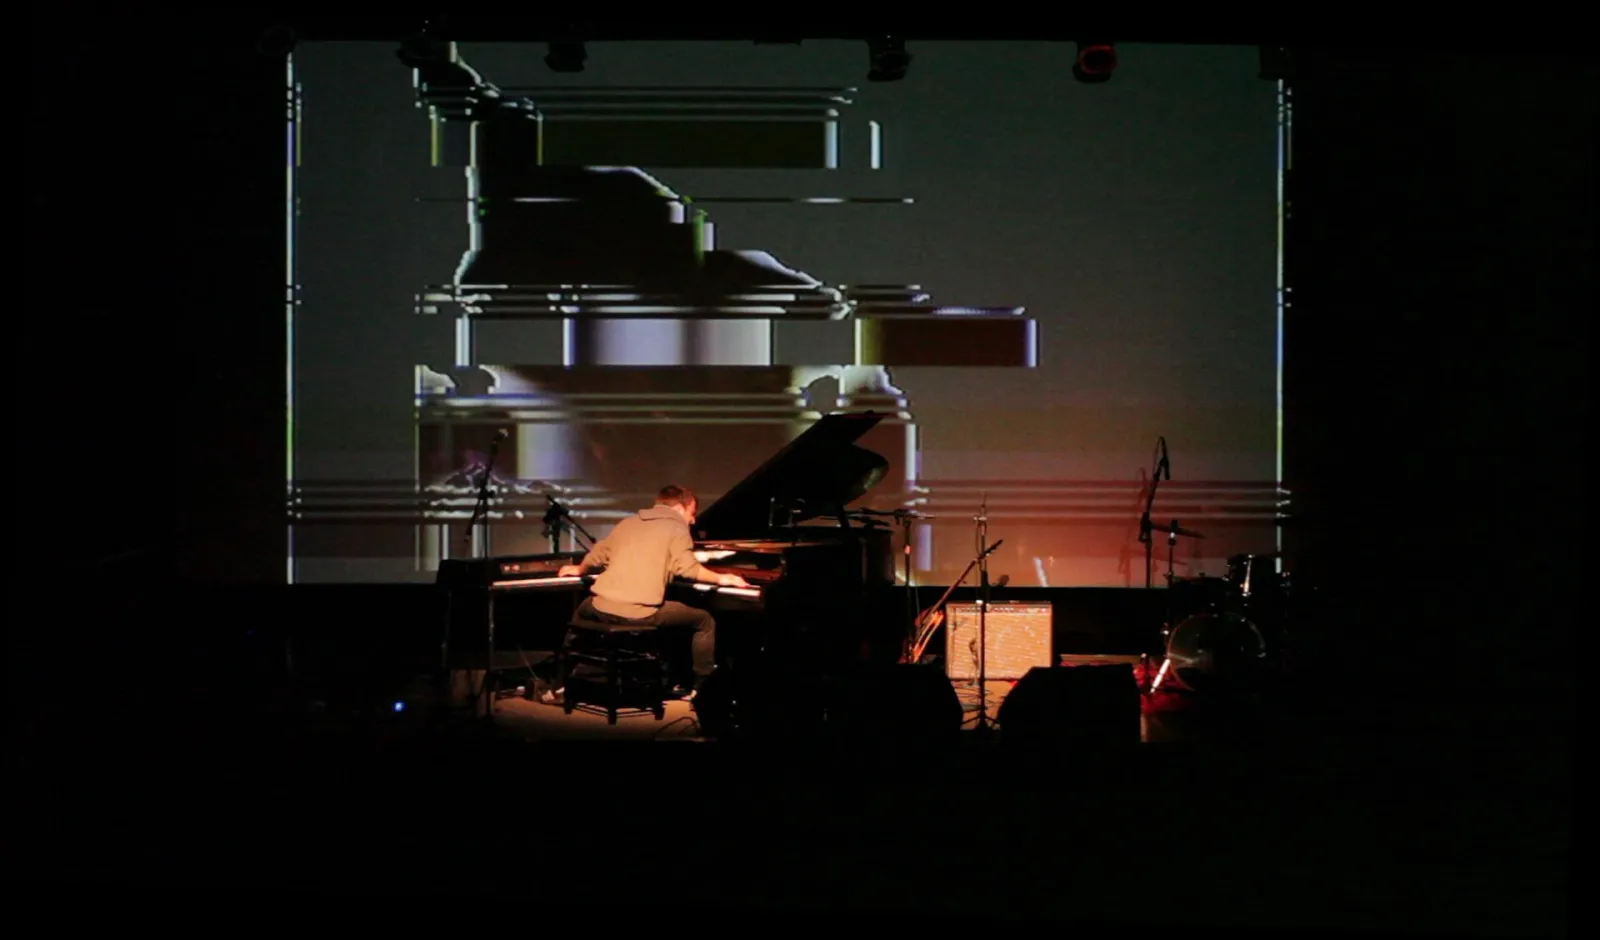
A projector and an iPad make a complete live visuals rig for a band, a DJ night, a church service or a party: the iPad listens to the music and drives the picture, the projector puts it on a wall. It fits in a backpack and sets up in ten minutes, and most of what goes wrong with it goes wrong in the same few places. This guide covers the whole rig and what each part costs, how to connect the iPad by cable or AirPlay and the resolution catch in Apple's adapter, the difference between mirroring and a real second screen, how to choose a projector by brightness and throw, where the iPad should sit to hear the music, what to put on the screen, a soundcheck routine, and where the usual advice about projectors goes wrong.
The whole rig: an iPad, one adapter, a projector and the sound
Everything you need, with the part people forget in the last row:
| Part | What to get | Why |
|---|---|---|
| iPad | Any current model; all of them have USB-C | It runs the visuals, listens to the music and drives the output |
| Adapter | Apple USB-C Digital AV Multiport Adapter, $69, or any USB-C to HDMI adapter | HDMI out, plus a port to charge through while you play |
| HDMI cable | As short as the room allows; an active or optical cable for long runs | Long passive cables are where pictures start to flicker |
| Projector | Brightness to suit the room, a throw that fits the space | Covered in detail below |
| Stand or mount | A tablet stand or clamp near the stage | The iPad has to hear the music and stay out of the way of drinks |
| Power | A charger and a long extension cable | Driving a display for two hours drains a battery |
| Optional | A small MIDI controller | Fire looks and scenes on the drops instead of tapping the screen |
Apple's comparison page lists four current iPads, the iPad Pro with M5, the iPad Air with M4, the iPad with A16 and the iPad mini with A17 Pro, and its support pages confirm all four use USB-C. If you have an older iPad with a Lightning port, the Lightning Digital AV Adapter at $49 does the same job at up to 1080p.
Compare that with the usual laptop rig: a laptop with a strong graphics card, desktop VJ software, a way to get the music into it, often a virtual audio device or an audio interface, and a controller. It does more, and it costs more, weighs more and takes longer to set up. For one screen and a live band or DJ, the iPad version removes most of those parts: it is the computer, the microphone and the controller surface in one.
Connect by cable: the adapter, the charger and the 1080p catch
Apple's guide to connecting an iPad to a display is short: plug a USB-C display adapter into the iPad's port, run an HDMI cable to the projector, and the picture appears. Its support page for the adapter says video should show within about 10 seconds and that the adapter is HDCP compliant.
- Plug the adapter into the iPad. The Multiport adapter has an HDMI port, a USB-A port and a USB-C port for charging.
- Plug the charger into the adapter's USB-C port. Apple's product page confirms you can charge the iPad through the adapter, which you should on anything longer than a short set.
- Run HDMI to the projector and select that input on the projector.
- Open the visuals app and check the output before the audience arrives.
Now the catch, which matters for a visuals app more than for a film. Apple's support page lists which iPads output 4K at 60 frames a second over HDMI 2.0 adapters: iPad Pro, iPad Air from the fifth generation, the iPad mini with A17 Pro and the iPad with A16, with older models at 4K and 30. But the same page says that with the Multiport adapter, the Home Screen and apps appear on HDMI displays at 1080p and 60Hz, and only video content switches up to 4K. For live visuals from an app, plan on 1080p at 60. That is a good match anyway: most projectors in bars and small venues are 1080p or lower.
If nothing appears
- Check the projector's input first. Most "no signal" problems are the projector looking at the wrong HDMI port. Cycle its inputs before touching the iPad.
- Reseat the adapter and wait. Apple says video should appear within about 10 seconds; unplug the adapter from the iPad, plug it back in, and give it that long.
- Try a shorter cable. If the picture flickers, sparkles or drops out, the cable is usually too long for the signal. Test with a short cable next to the projector to rule it out.
- Open the visuals app after connecting. An app that sets up its second screen at launch finds the display most reliably when the display is already there.
AirPlay works, but a cable is the safer choice on stage
Wirelessly, you need an Apple TV 4K or an AirPlay 2 smart TV, with the iPad and the receiver on the same Wi-Fi network; screen mirroring starts from Control Center, and a passcode may appear on the screen the first time. For a presentation at home it is convenient. At a gig it is one more thing that can fail: Apple publishes no latency figure for mirroring, venue Wi-Fi is often crowded, and an Apple TV needs its own power and HDMI run to the projector anyway. If a cable can reach, use the cable.
Mirroring versus a real second screen
This is the part most setup guides skip, and it decides what the audience sees. Apple describes three things an external display can do: show exactly what is on the iPad, which is mirroring; show a separate second-screen experience, if the app has one; or act as an extended desktop on models that support Stage Manager's extended display.
Mirroring is the default, and for visuals it is the wrong one: the audience sees your menus, your fingers and every notification. An app built for live visuals should use the second-screen mode instead, putting only the picture on the projector while the controls stay on the iPad. Apple's developer documentation describes exactly this: a non-interactive window that spans the full external screen, with its own example of a game showing its picture outside while the controls stay in the player's hands.
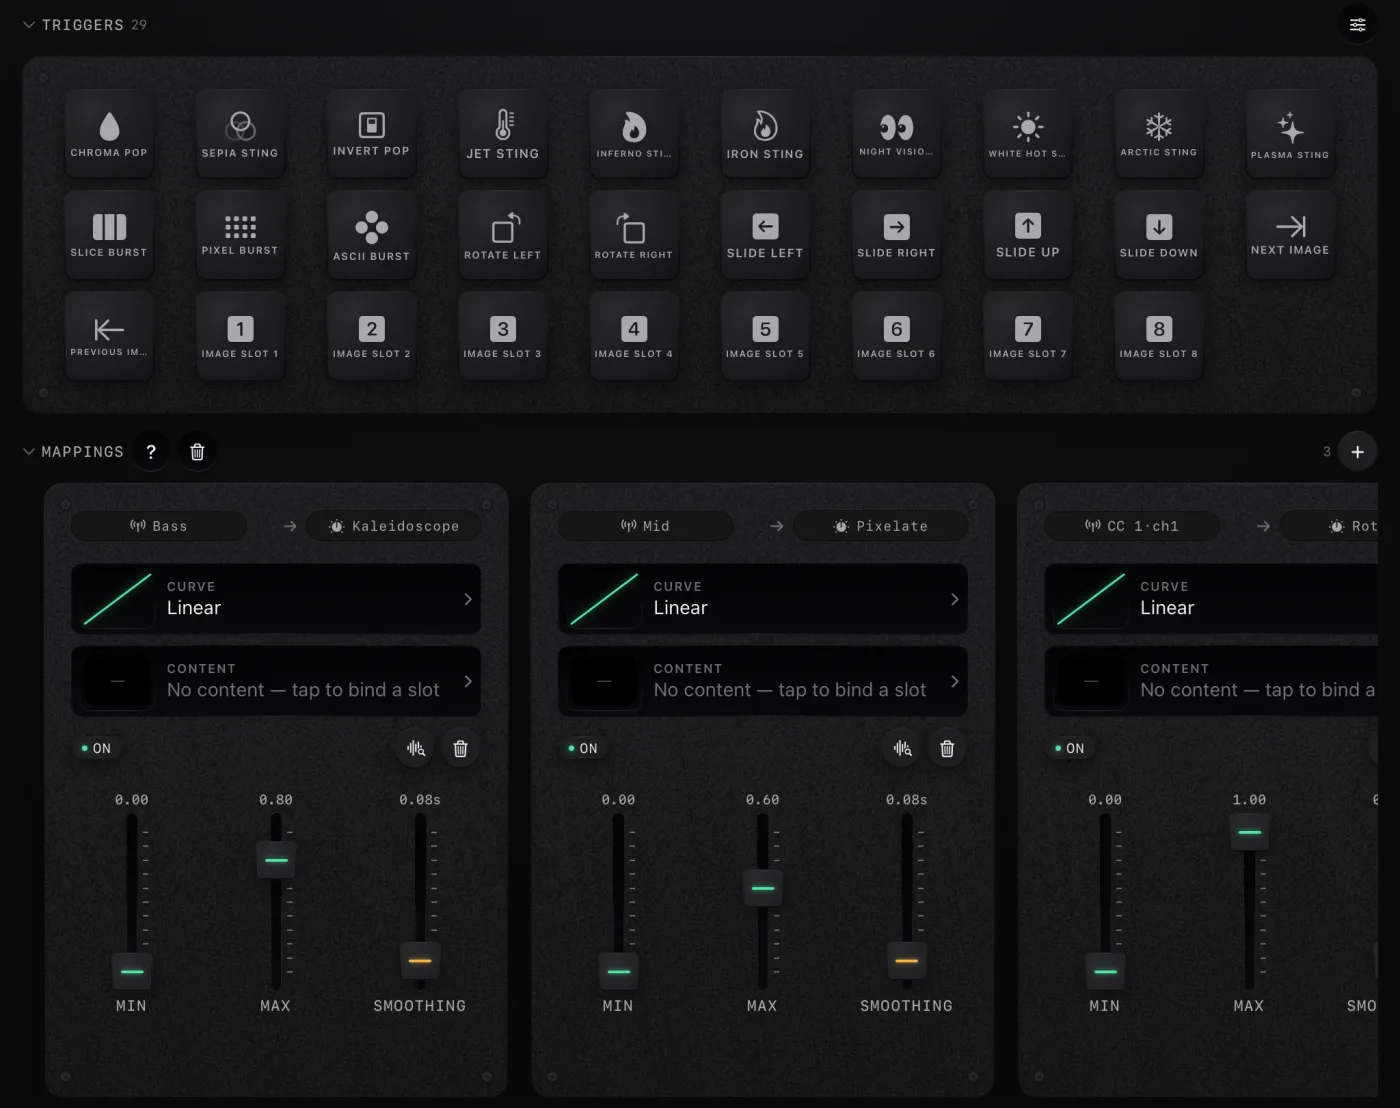
That is how ImmerGround, our app, works. When a display is connected, over HDMI or AirPlay, it puts a full-screen output of the visuals on that display, and the iPad shows "Routed to external display" with its own preview paused, so the graphics chip draws the picture once, for the projector. Your controls, pads and mappings stay on the iPad. In practice that means you watch the projection, or a monitor fed from it, to see the picture while you play.
Choosing a projector: brightness first, then throw
Brightness is the number that decides whether a projection looks like a show or like a faint suggestion on a wall. Epson's buying guide gives a practical scale:
| Room | Brightness, lumens |
|---|---|
| Portable use, or light you fully control | 500 to 1,500 |
| A dark room | 1,500 to 2,500 |
| Some ambient light | 2,500 to 3,500 |
| A bright room, or outdoors | 3,500 and above |
Two caveats come from the same sources. Epson notes that colour brightness can be as little as a third of the lumens stated, and visuals are mostly colour, so look for a colour brightness figure where the maker gives one. And not every lumen figure is measured the same way: ANSI lumens are an average over nine points of a white image, and a number without "ANSI" or "ISO 21118" beside it may be optimistic.
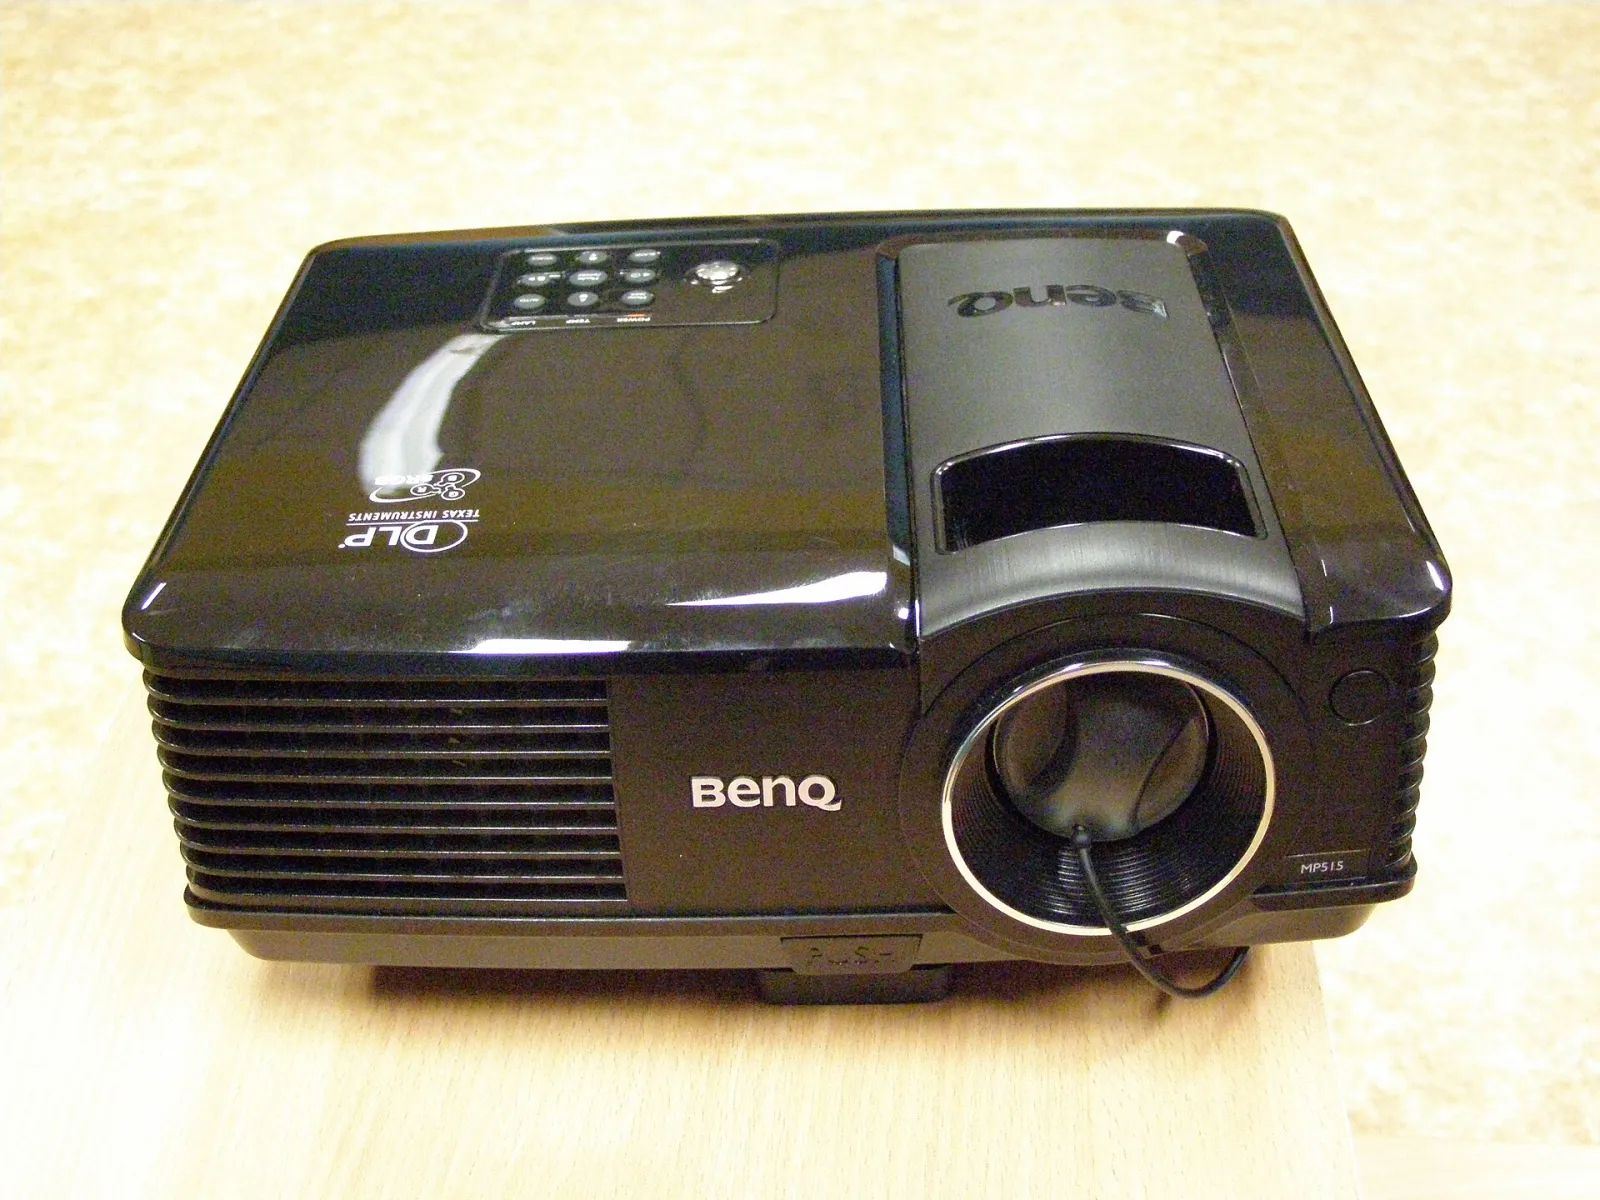
- Throw. Throw ratio is the distance divided by the image width, so a ratio of 2.0 needs two metres of distance for every metre of picture. A short-throw projector, in BenQ's definition, makes a 100-inch picture from under three metres, which helps in a small room where the projector cannot sit at the back.
- Resolution. Native resolution is the chip's real pixel count; a projector that accepts a 4K signal may show it on a 1080p chip. Since the iPad will send 1080p from an app, a native 1080p projector is the sensible target.
- Keystone. Correcting a tilted picture digitally lowers brightness and can add artefacts, according to ProjectorCentral and BenQ. Point the projector straight at the screen and use lens shift, if it has it, before reaching for keystone.
- Lag. Turn off frame interpolation, the motion smoothing on many projectors, which ProjectorCentral warns can add more than 100 milliseconds, and use game mode if there is one. Visuals that react to a kick drum should not arrive a tenth of a second after it.
Placing the projector
Put the projector high and in front of the screen, above head height, so the audience does not walk through the beam and throw shadows on the picture. A stand or a shelf behind the crowd works in a small room; in a bigger one, a ceiling mount or a truss is the usual answer. Keep its vents clear: projectors run hot and throttle their lamp or shut down when they cannot breathe. And run the HDMI cable where it cannot be tripped over, taped down along a wall rather than across the floor.
Getting the sound in: put the iPad where it can hear
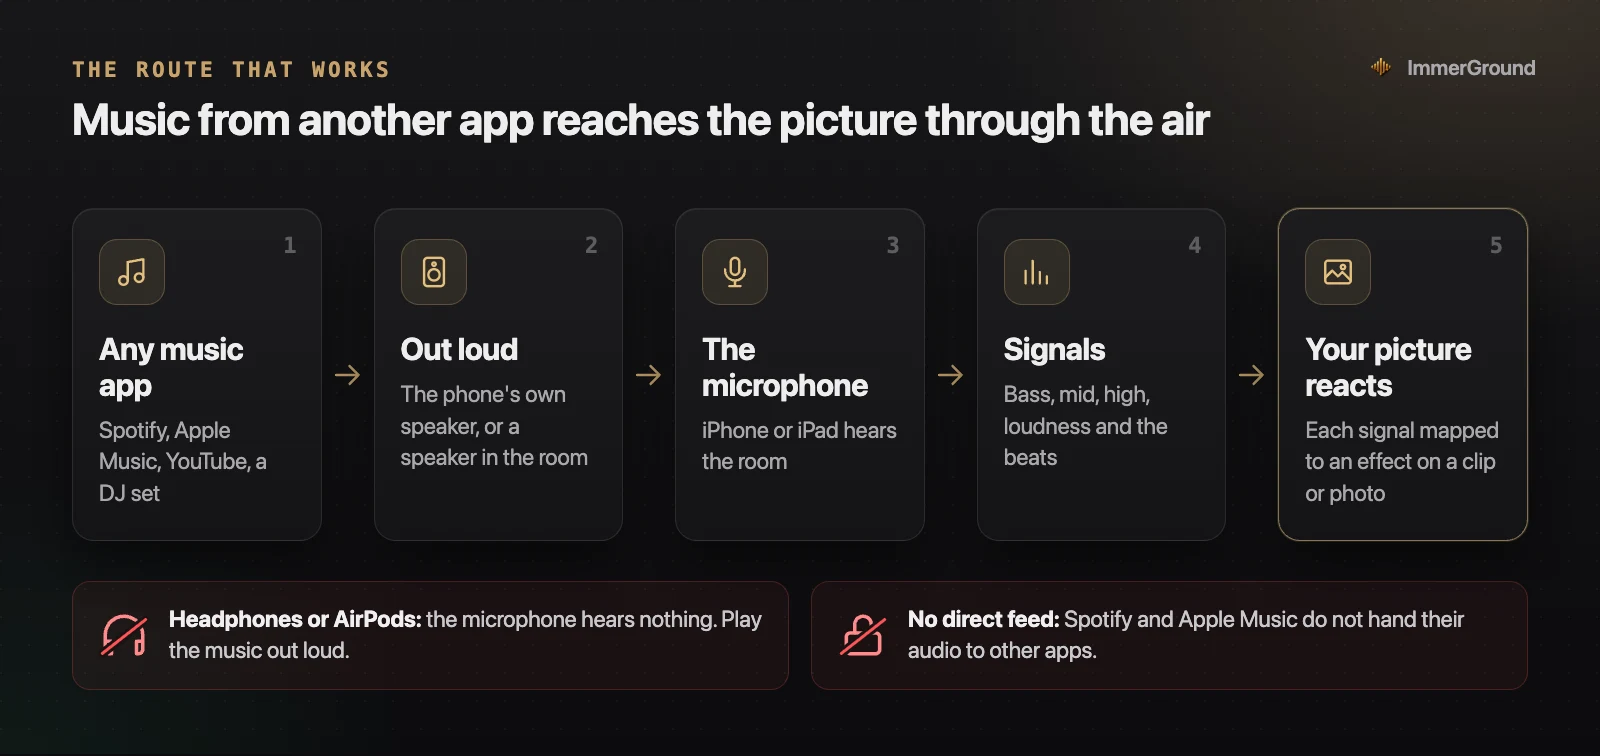
ImmerGround listens through the iPad's microphone, measuring the bass, mids, highs, loudness and every beat of what the room hears, and it can also play a song file directly for a pre-planned piece. For a live set, where the iPad sits is the most important setting of the night.
- Face the speaker, not the crowd. A microphone pointed at a PA hears the music; one pointed at the dance floor hears conversation.
- Keep the microphones clear. Apple's support page notes that iPads have microphones on the front and back, and that a case or a hand over them, or a screen protector without an opening for the front microphone, muffles them.
- Not too close to the bass bins. Right beside a subwoofer, everything reads as bass. A few metres back, level with the mains, gives a balanced picture of the music.
- Let the app's auto-gain do its job. Loud rooms and quiet rooms both work once the level settles; give it a minute of music before you judge.
iPadOS also supports USB audio interfaces as an input, according to Apple, which would let you take a line from the mixer instead of the room. We have tested ImmerGround with the built-in microphone, not with interfaces through the Multiport adapter, so treat a line input as something to try at home before relying on it at a gig.
What to put on the screen: your clips, photos and loops
A projector shows whatever you give it, and the difference between a memorable screen and a screensaver is mostly the content. Three sources work well:
- Your own footage. Clips of the band, the venue, the artist's artwork, or anything shot for the night. In ImmerGround, the video engine plays a clip and the image engine a photo, with banks you flip through on cue, and the music drives the effects on them.
- Loops for the gaps. Our free VJ loops are 4K and 1080p, 32 beats at 120 BPM, CC0, and they fill the time between your own material.
- Scenes you prepare. Pad scenes snapshot every setting and recall it on a pad, so the chorus look and the breakdown look are one tap away.
A three-look plan for a set
You do not need a different look for every song. Most sets work with three, prepared as pad scenes:
- A warm-up look. Slow, dark and calm: a photo or a slow clip with a gentle zoom on the bass, for the doors and the first songs.
- A main look. Your best footage with the beat driving a flash or a stutter and the highs splitting the colour, for most of the set.
- A drop look. Something that hits hard and briefly, a thermal sting, a strobe or a kaleidoscope, fired from a pad on the biggest moments and released straight after.
Moving between three looks at the right moments reads as a performance. Twenty looks cycling on a timer reads as a screensaver.
Map a few things and leave the rest alone: the bass to a zoom, the beat to a flash or a stutter, the highs to a colour split. On a projected picture, bold moves read better than subtle ones, because a projector's contrast is lower than a screen's. A class-compliant MIDI controller over USB-C or Bluetooth lets you fire looks without touching the glass; with the adapter in the iPad's only port, a Bluetooth controller keeps things simple, and a USB controller through the adapter's USB-A port is worth testing first. Our MIDI tester shows what a controller sends before you map it.
A soundcheck routine for the visuals
- Arrive early enough to see the room dark. A projection that looks fine at 6 pm can disappear under stage lights at 10.
- Connect and power first. Adapter into the iPad, charger into the adapter, HDMI to the projector, and confirm the picture before anything else.
- Square the picture. Aim the projector straight, focus it, and use keystone only for what lens shift cannot fix.
- Turn off the projector's motion smoothing and pick game mode if it has one.
- Place the iPad and play a song through the PA. Watch the picture react for a full minute and move the iPad if the bass dominates or nothing reacts.
- Silence the iPad. Turn on a Focus mode so a message never appears, and set Auto-Lock so the screen does not sleep mid-set.
- Keep it cool. Apple designs iPads for use between 0 and 35 °C and slows or stops charging when they get hot, suggesting you remove the case if the iPad heats up while charging. Keep it out of direct stage lights.
- Record the set. ImmerGround saves every session, so the next morning you have a clip for social media without having filmed the screen.
Where the usual advice breaks: brighter is not always better
The standard advice is to buy the brightest projector you can afford. For a conference room with the lights on, that is right. For a dark club, a church with dimmed lights or a band with its own lighting rig, it misses what actually decides how the picture looks.
- Stage lights are the real competition. A projector fights whatever light falls on the screen. Keep the lighting off the screen, and even a modest projector looks strong; aim a wash at it, and no projector wins.
- Dark content looks richer than you expect. Visuals with deep blacks and a few bright shapes, the thermal looks, dithered scenes, silhouettes, read better on a projection than bright full-frame colour, which washes out first.
- The screen matters as much as the lumens. BenQ notes that ambient-light-rejecting screens suit rooms where light is hard to control, and ProjectorCentral that ordinary white screens have a gain around 1.0 to 1.3. A white bedsheet and a grey wall are not the same surface.
- Wireless is not a feature on stage. A cable that works is better than a network that usually does.
The honest limit of an iPad rig is scale. For a festival stage with several projectors, edge blending and mapping onto a building, you want desktop software such as Resolume Arena on a laptop with a strong graphics card. Our guide to projection mapping for beginners covers that software and a first mapping project. For one screen behind a band or a DJ, an iPad does the job, and our guide to visuals for DJ sets covers the booth side of the same setup.
Where to get it: the app and free tools
- ImmerGround for iPhone, iPad and Mac. Our app, free to download; ImmerGround Pro is $6.99 a week or $39.99 a year. It listens through the microphone or plays a song, moves your own clips and photos with the music, sends a full-screen picture to a projector over HDMI or AirPlay, takes MIDI controllers, and records every session.
- Free VJ loops. 4K and 1080p loops made with the app's effects, 120 BPM, CC0, no email.
- Free live audio visualizer. In a browser, try the effects with your mic or a song on a clip or photo before the gig, and record up to 60 seconds with a small immer ground mark.
- MIDI tester. Free, in Chrome, Edge or Firefox on a computer: see every note and knob your controller sends.
What to do next
- Buy the adapter first. A USB-C to HDMI adapter with a charging port is the one part you cannot improvise on the night.
- Test at home on a TV. Connect the iPad to any HDMI screen and check that the app shows only the picture, not a mirror of the iPad.
- Measure the room before choosing a projector. The distance to the wall decides the throw; the lighting decides the brightness.
- Prepare your content. A few of your own clips, a set of loops, and two or three pad scenes for the big moments.
- Do the soundcheck routine at the venue, in the dark, with the PA playing, before anyone arrives.