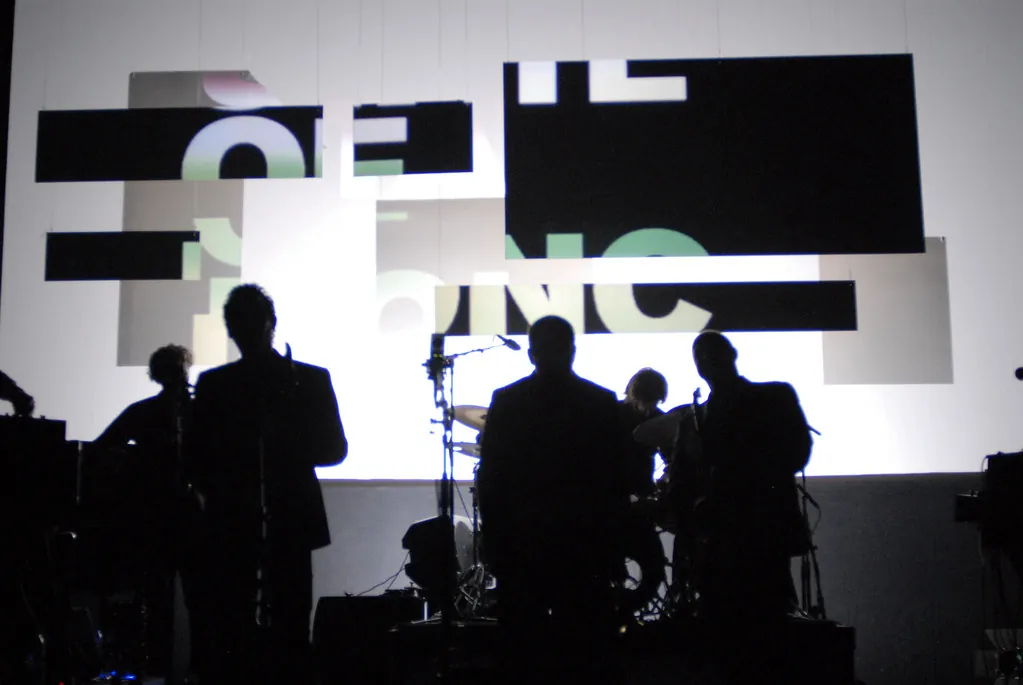
You want the picture to move with the music: the bass pushing into the frame, a kick that flashes, a snare that freezes the image for a beat. The standard advice is to learn TouchDesigner, and for a lot of people that turns a weekend into a node graph and no visual. This guide covers the one idea that makes audio-reactive visuals work, what you actually need on an iPhone, iPad or Mac, the three mappings to build first, the looks that react best, and the cases where TouchDesigner or Resolume is still the right tool.
What you are after is a mapping, not a node graph
Strip any audio-reactive visual down and it is one sentence: a signal from the sound drives a parameter of the picture. The signal is something the software measures in the audio many times a second. The parameter is something on the visual it can change: zoom, brightness, a colour shift, the amount of an effect, a cut to a different clip. The mapping is the connection between the two, plus a curve and a range that decide how hard the picture reacts.
The signals worth knowing, because they are the ones you will map:
- Bass, mid and high. The energy in three frequency bands. Bass is the one that makes a picture breathe.
- Loudness. The overall level. Good for slow, whole-frame moves.
- Beats and transients. The kick and snare moments. These are triggers, not levels: something happens on the hit, then decays.
- MIDI. Not audio at all, but the same idea. A knob, a note or a pad on a controller is a signal too, and it lands on the same bus as the audio.
The common advice breaks here. TouchDesigner gives you these signals as nodes and lets you build anything from them, which is exactly why it is hard: you build the audio analysis, the smoothing, the mapping and the effect chain yourself before anything moves. If all you want is the mapping, most of that work is setup you did not ask for. TouchDesigner still wins when you need generative 3D, sensor input or a custom pipeline nobody has built; the honest list is in where it stops below.
What you need, and what you do not
| Item | Needed? | Notes |
|---|---|---|
| A clip or a photo | Yes | Your own footage beats stock. Ten to thirty seconds is plenty; it loops. |
| A sound source | Yes | The microphone in the room, an audio file (MP3, WAV, AAC, M4A), or a MIDI controller. |
| iPhone, iPad or Mac | One of them | iOS 18, iPadOS 18, or macOS 14 on Apple Silicon. The same app on all three. |
| A MIDI controller | No | Good for hands-on control and pad triggers. Any class-compliant controller over USB-C or Bluetooth works. |
| A second screen | No | Only if you are performing. HDMI or AirPlay. |
| A node graph, a shader, or code | No | That is the point. |
Two things people assume they need and do not: a desktop computer, and generated abstract graphics. A phone renders these effects on its own GPU in real time, and your own footage reacting to your own track reads as more personal than a plasma tunnel ever will.
Step 1: load a clip or a photo, not a preset
ImmerGround has two engines. The video engine loads any clip and applies effects on top of the moving footage. The image engine does the same for a photo, and it has an image bank you can flip through on cue, so a set of stills becomes a sequence you play.
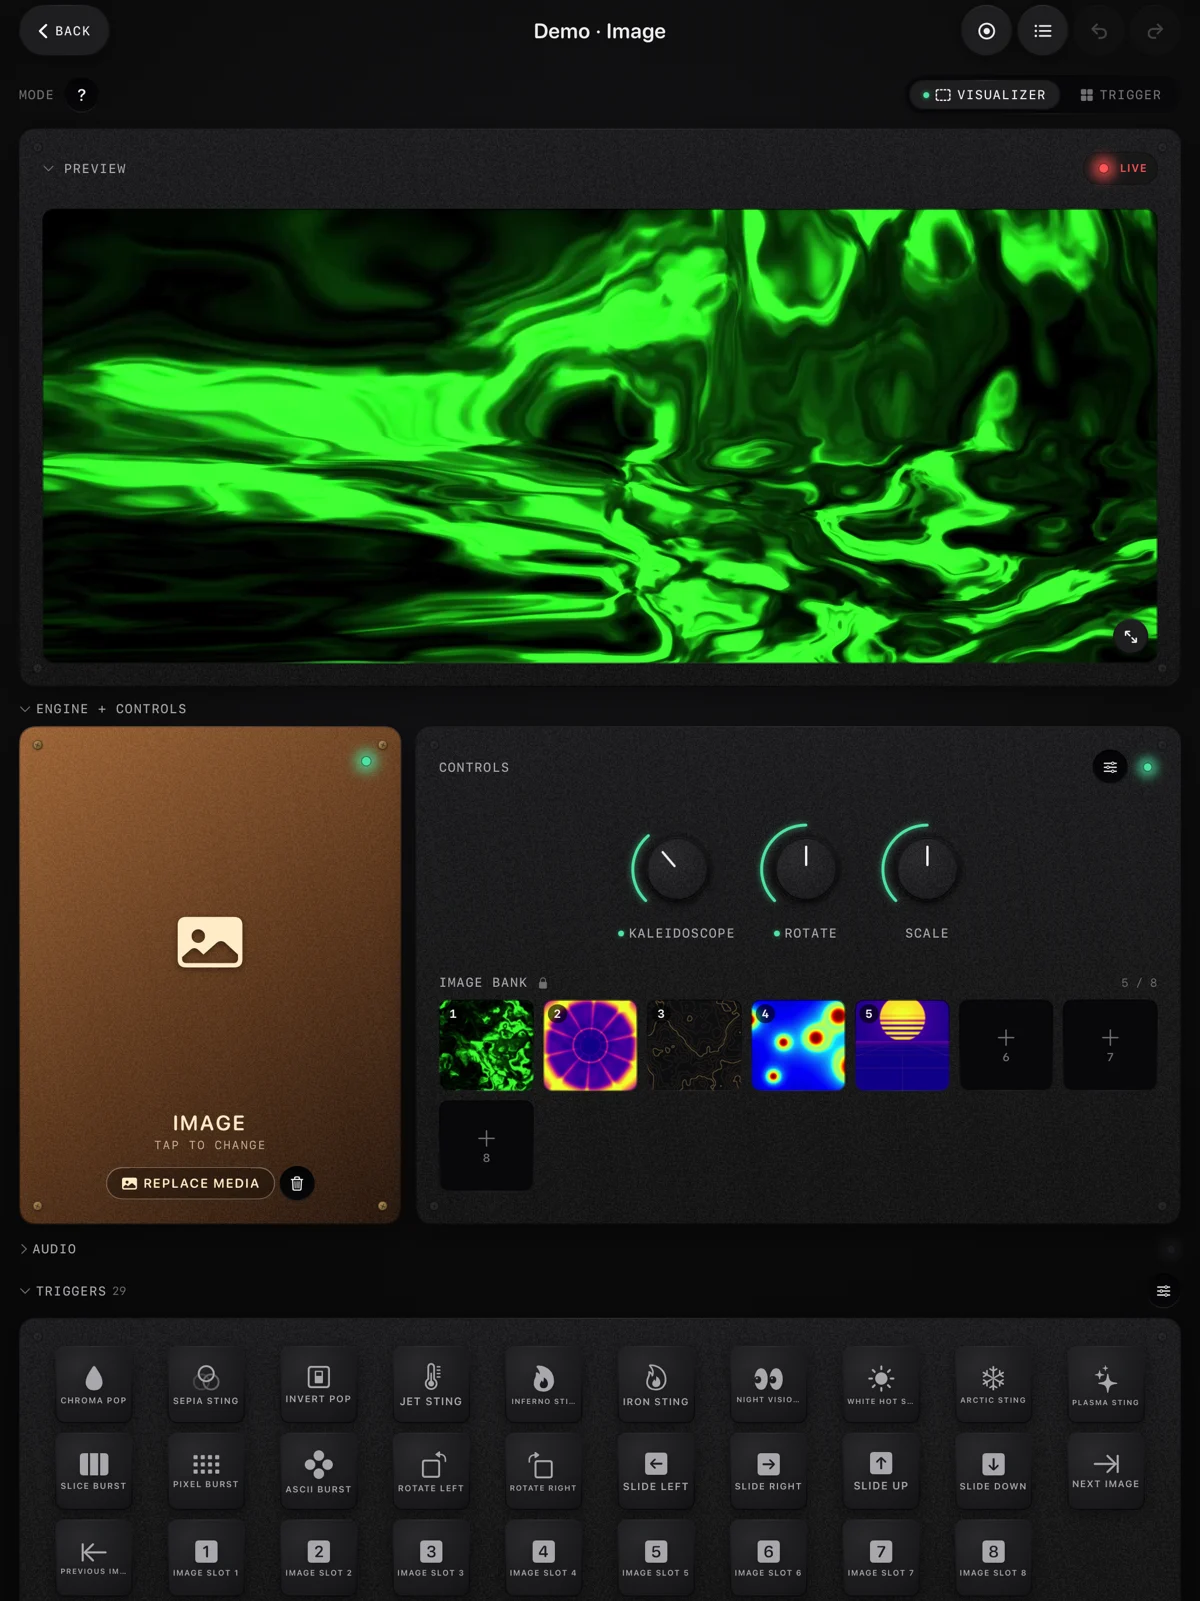
Start with footage that already has some motion or contrast: a dancer, city lights, water, a face. Effects react more visibly on frames with edges and highlights than on flat colour. Keep the first clip short. You are going to loop it while you build the mappings, and a long clip hides how the effect behaves at the start of a loop.
Step 2: pick where the sound comes from
Three options, all landing on the same signal bus:
- The microphone. Zero setup. The app listens to the room, so it works with a speaker, a live band, or whatever another app is playing. Room noise adds jitter; a little smoothing on the mapping fixes most of it. Playing from Spotify? Our guide to a Spotify visualizer on iPhone and iPad covers that setup.
- An audio file. The cleanest signal, and repeatable: the same drop hits the same way every pass, which makes tuning a mapping much faster. MP3, WAV, AAC and M4A all work.
- A MIDI controller. Every note, CC knob and pad becomes a signal next to the audio ones. Turn a knob, the picture responds; hit a pad, an effect fires. Our guide to the best MIDI controllers for visuals helps you pick one.
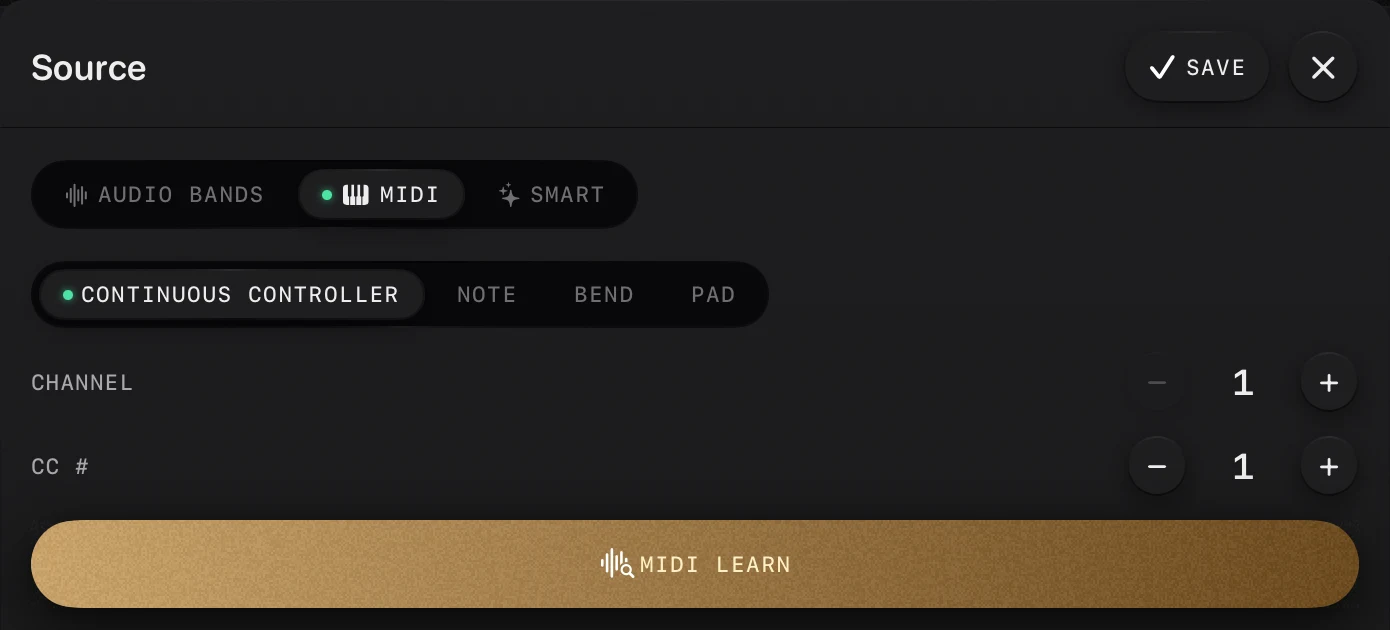
For your first session use a file. Pick a track with a clear kick and a clear drop, so you can see cause and effect while you learn the mappings.
Step 3: map three things and stop
This is the whole method. The mapping editor in ImmerGround is a list you can read, one row per connection, source to destination, with a curve, a range and smoothing per row. Build these three rows first:
| Mapping | What it does | Settings that matter |
|---|---|---|
| Bass to zoom | The frame pushes in on the low end and settles back between hits. The breathing everyone recognises. | Keep the range small, a few percent. Add smoothing so the zoom glides instead of stepping. |
| Kick to strobe (or freeze) | A flash, or a held frame, on the beat. This is what makes a clip feel edited to the music when it is not. | A trigger, so it needs a decay. Short is better; long strobes read as a broken projector. |
| High to RGB split | Hi-hats and vocals separate the colour channels for a moment, then snap back. | Set the curve so it stays quiet until the top end actually moves. |
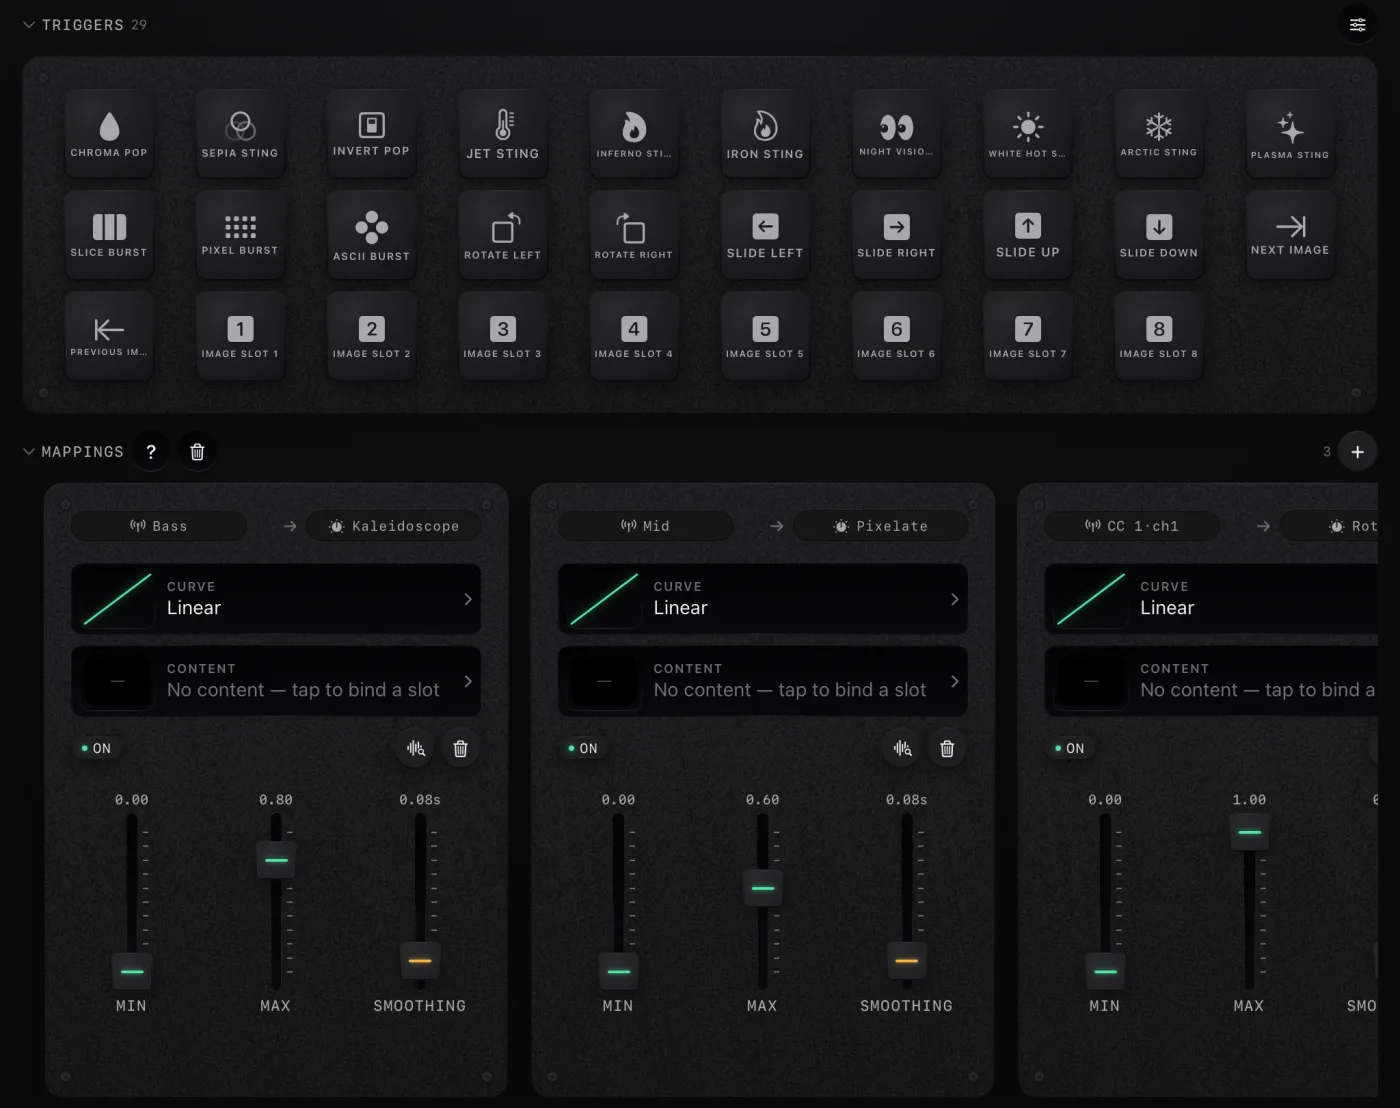
Then play the track and watch. If the picture never rests, your ranges are too wide or your smoothing is too low. If it barely moves, the curve is the problem: a linear curve on bass reacts to everything, and a steeper one reacts to the hits. Three well-tuned rows look better than ten loose ones, and they will survive a different track.
Only after those three are right, add a fourth: loudness to a slow colour shift, or a pad on the controller that swaps the clip.
Looks that react well, grouped by what they do
Every effect in the app can be mapped, but they do not all read the same way when driven by audio. A short field guide:
| Group | Effects | Reacts best to |
|---|---|---|
| Looks | The thermal set (inferno, arctic, iron, jet, night vision, plasma, white hot), sepia, monochrome, invert, colour shift | Loudness, or a pad that switches the look on a downbeat |
| Glitch and texture | RGB split, chroma, glitch, slice, smear, pixelate, ASCII | The high band and transients, in short bursts |
| Motion | Zoom, scale, rotate, parallax, kaleidoscope, blur | Bass and loudness, with smoothing |
| Time | Freeze, frame jump, stutter, reverse, slow-mo, speed bump, strobe, directional slides | Kick and snare triggers |
| Tracking | Motion tracking that locks onto the subject in the clip and keeps the effects on it as the camera moves | Anything. It is what keeps the other effects on the subject instead of the background |
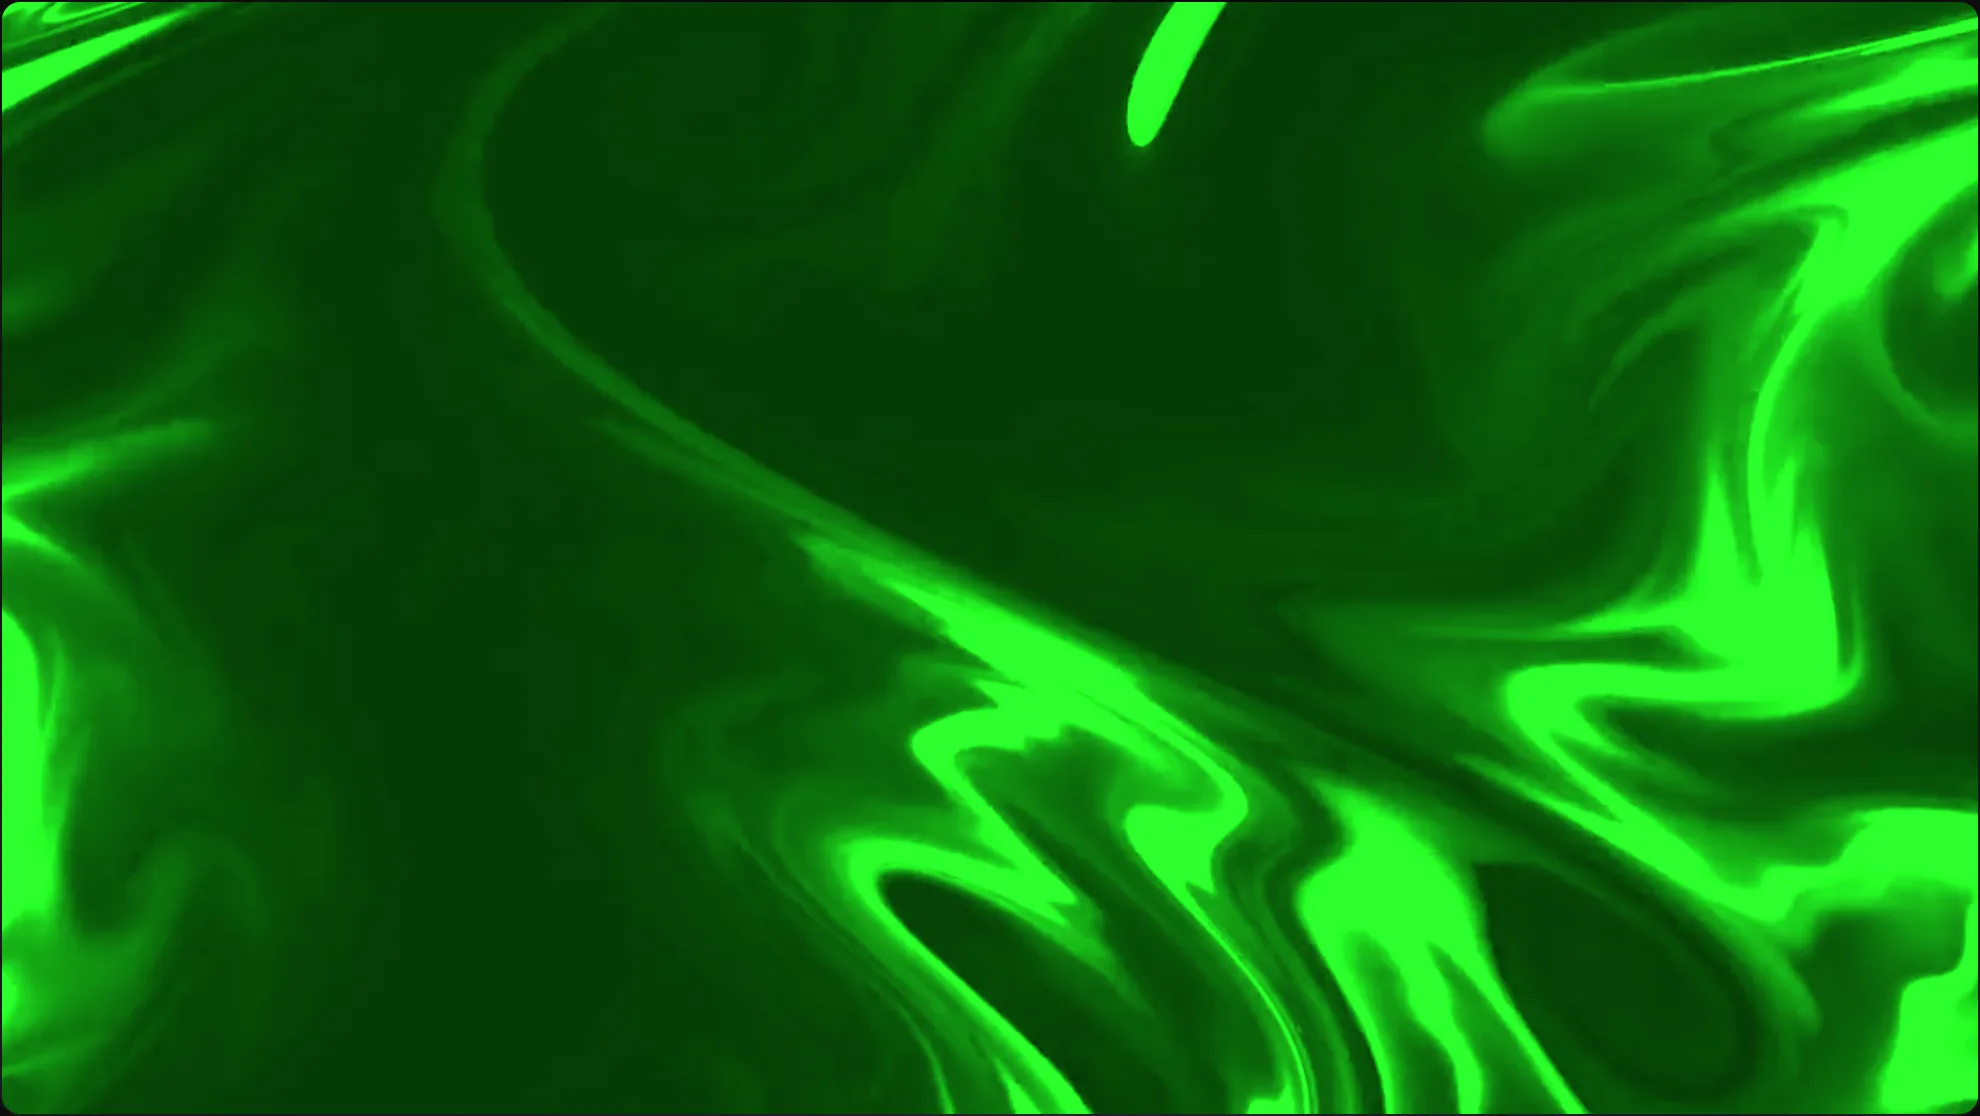
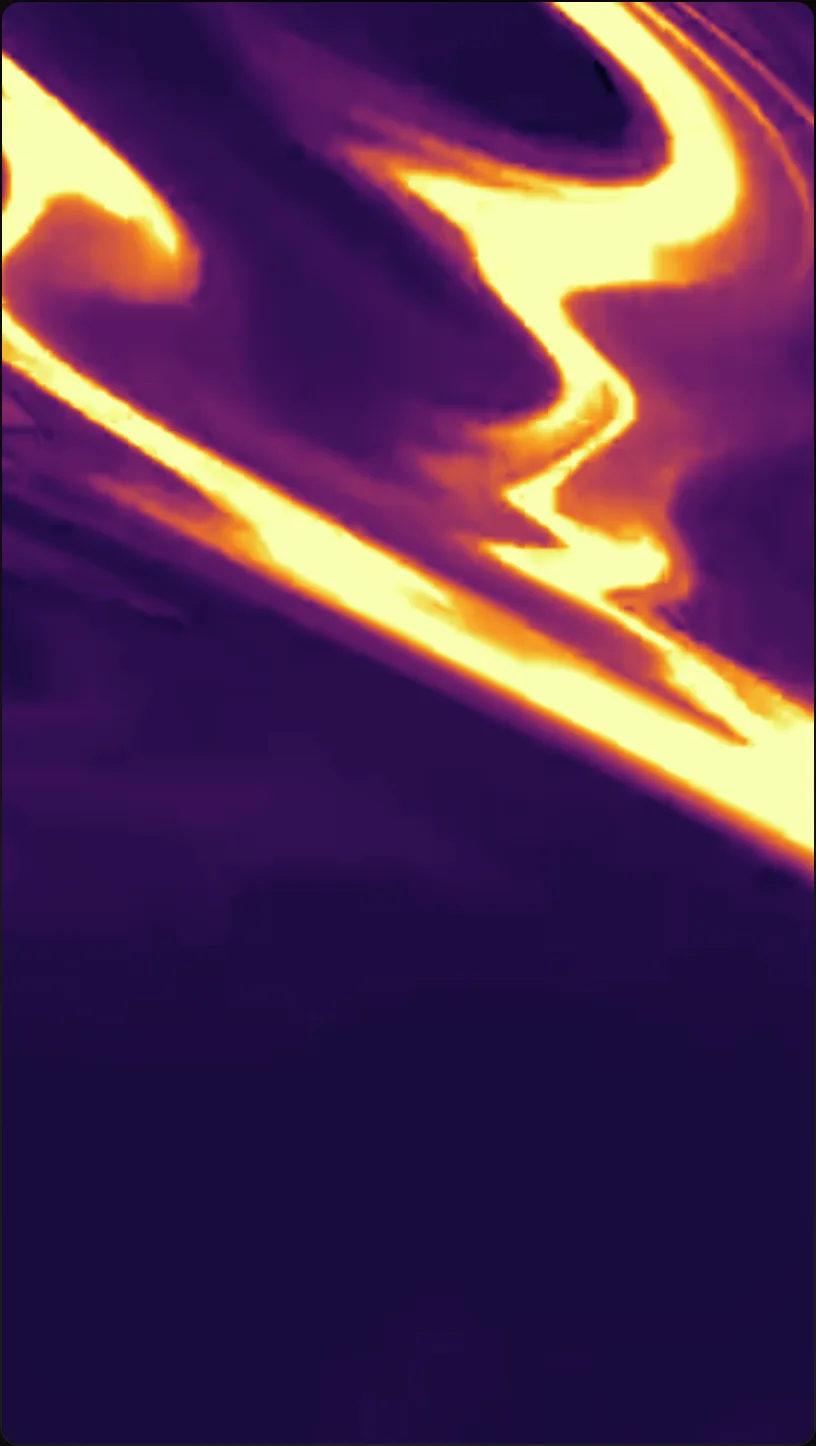
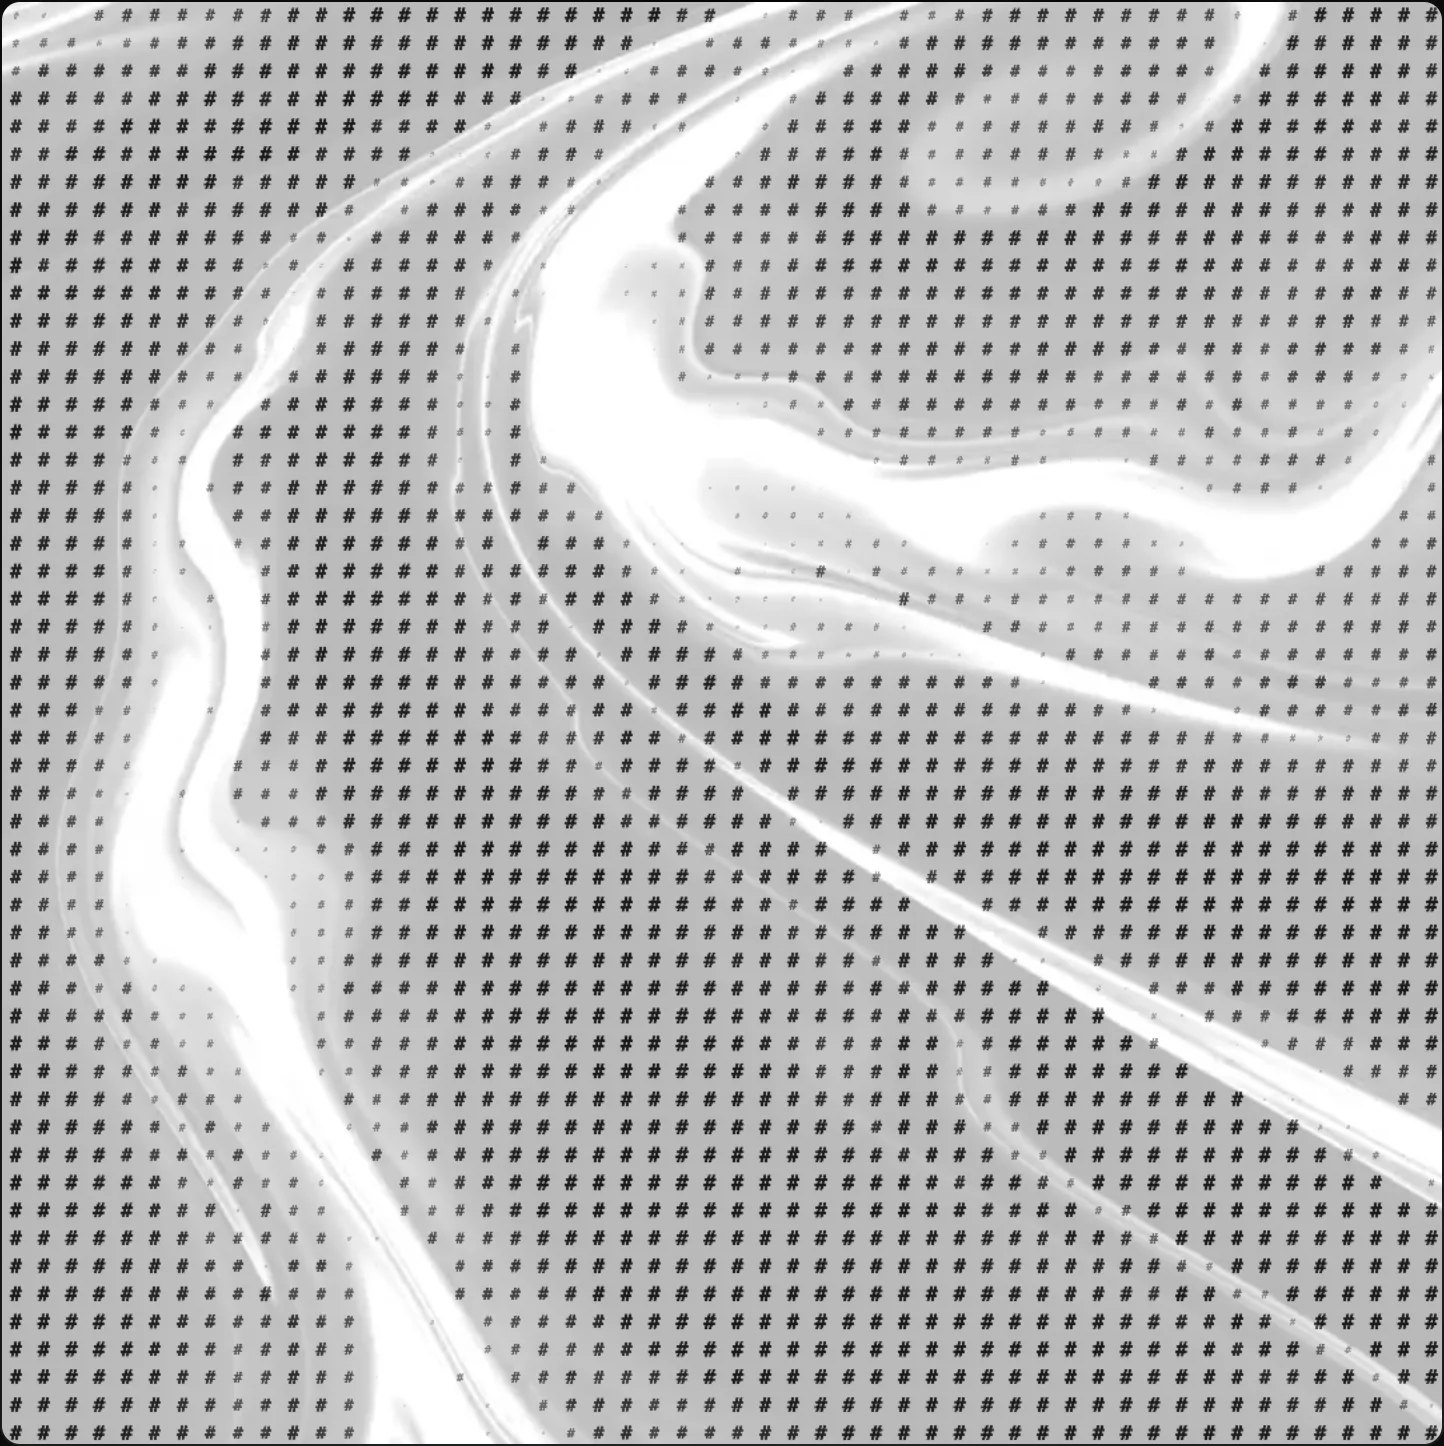
The two that stop people scrolling are motion tracking and the thermal looks. If you only make one thing to post, make it a tracked subject flipping between two heat looks on the drop. Night vision is the thermal look people ask about most, and our guide to a free night vision video effect covers what makes it read as real footage.
Two ways to run it, and how to get it out
- Visualizer. One source, ambient motion. The picture breathes with the music and runs itself. Right for a screen behind a DJ, or a video you leave running.
- Trigger. A bank of looks played like an instrument from MIDI pads. Each pad swaps content and fires a set of effect changes, and the pads on screen fire on a tap when there is no controller to hand.
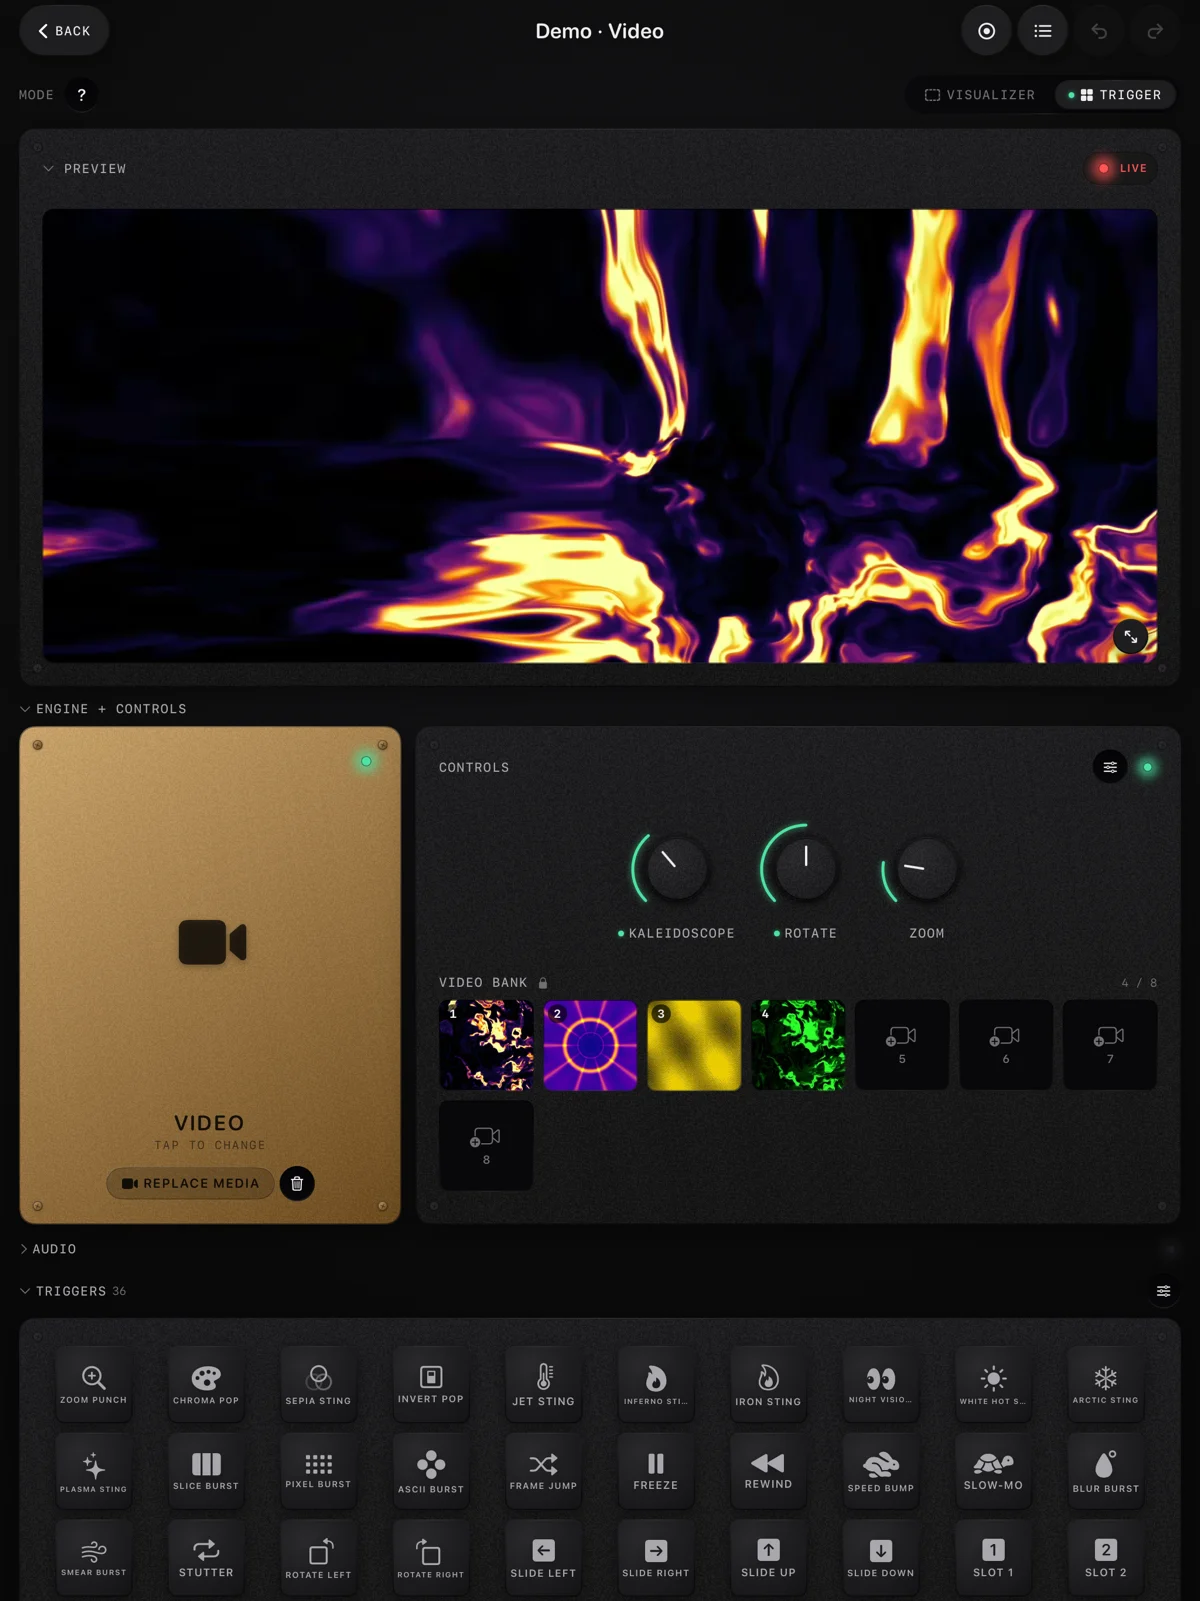
Pad scenes work in both: snapshot every setting, recall it on a pad, and switch the whole look mid set.
Every session records two things at once: the event timeline (every signal and every mapping change) and a real-time MP4 of the output. Later you can re-render the same session at a different resolution, so the thing you jammed on a phone can come out at a size fit for a release. For a live set, the output goes to a second screen over HDMI or AirPlay while the controls stay on the device in front of you. For a video to post with a release, see how to make a music visualizer video for your song.
Where it stops, honestly
This approach will not make the choice of tool automatic. It is the right one when the visual is your footage reacting to your music, on a device you already own. It is the wrong one for:
- Generative 3D and particle systems. That is TouchDesigner's home ground, and Notch's. ImmerGround works on video and images, not procedural geometry.
- Sensor and data input. Kinect, LiDAR, OSC from a game engine, a spreadsheet driving a chart. Node graphs exist for this.
- Multi-layer clip mixing with DXV and projection mapping. Resolume is built for that, and it is the better tool for a clip-based VJ set with eight layers.
- Running inside a DAW as a plugin, with NDI or Syphon output. Imaginando VS does the plugin and NDI part; none of it is what ImmerGround does.
- Writing your own effects in code. cables.gl and TouchDesigner let you. ImmerGround's effect rack is the effect rack.
If any of those is the job, learn the bigger tool. If the job is "make my clip move with the bass by tonight", it is not.
The bigger tools are sorted by job in our guides to TouchDesigner alternatives and Resolume alternatives, and the tablet side in the best VJ apps for iPad.
App mode and feature guides
- Visualizer Mode Guide
- Trigger Mode Guide
- Audio Signal Analysis Guide
- Video Engine Guide
- Image Engine Guide
- Motion Tracking Guide
- Audio Midi Mapping Guide
- Midi Controller Setup Guide
- Pad Scenes Preset Guide
- Recording 4k Render Guide
- External Display Routing Guide
- Effect Processing Stack Guide
Where to get it
- Free live audio visualizer. Runs in your browser: your mic or a song in, the app's own effects on a clip or a photo, a video out. Free, nothing uploaded; recordings carry a small immer ground mark. The quickest way to try the three mappings above before you install anything.
- ImmerGround. iPhone, iPad and Mac, one app. Free to download; the paid tier, ImmerGround Pro, is $6.99 a week or $39.99 a year.
- TouchDesigner. Windows and Mac. A free non-commercial licence with a resolution cap, paid licences above it. The right tool for the cases in the list above.
- cables.gl. A node-based tool that runs in the browser, free to start. Closer to TouchDesigner than to an app, but nothing to install.
What to do next
- Pick one clip and one track with a clear kick. Load the clip in the video engine and the track as the audio source.
- Build the three mappings from step 3: bass to zoom, kick to strobe, high to RGB split. Tune the ranges until the picture rests between hits.
- Add motion tracking if the clip has a subject, then switch between two thermal looks on the drop.
- Record the session and re-render it at the resolution you need.
- Only then plug in a controller and move the mappings that matter onto knobs and pads.