The honest answer first: the reliable way to get visuals that follow Spotify on an iPhone or an iPad is the microphone. Spotify does not hand its audio to other apps, and its developer rules tell apps not to sync its recordings with visuals, so there is no plug to connect. Play the music out loud and let a visualizer listen. This guide explains why that is the route, what Spotify itself offers instead, and how to set it up so the picture actually lands on the kick.
Why no app can plug straight into Spotify
It is the first thing people search for, and the answer comes from Spotify's own developer pages rather than from any app maker.
- The iOS SDK does not carry audio. Spotify's iOS SDK lets another app control the Spotify app: play, pause, skip, see what is playing. The playback itself happens inside Spotify, and the sound never passes through the other app.
- The track analysis is gone for new apps. Spotify's Web API used to offer audio features and a per-track analysis of bars, beats and sections, computed in advance rather than live. On 27 November 2024 those endpoints were closed to new apps.
- The rules forbid it anyway. Spotify's Developer Policy tells developers not to synchronize its sound recordings with visual media and not to analyze Spotify content.
So Spotify offers nothing for a visualizer to connect to, and the dependable way in is the one you already use: the air. That is not a hack. The picture follows what is actually playing in the room, whichever app is playing it, and it keeps working when you switch from Spotify to a DJ or a band.
What Spotify itself offers instead
Spotify's own pages describe several visual features, and none of them is a visualizer that reacts to the sound as it plays.
- Canvas. A short vertical loop, three to eight seconds long, that an artist adds to a track in Spotify for Artists. It replaces the album art on the Now Playing screen, only in the mobile app. You see it when the artist made one and your settings allow it: Data Saver switches it off, and since April 2026 there is a listener setting for looping visuals. It loops the same way whether the song is quiet or loud.
- Music videos. Premium listeners in some countries can switch a track to its video, a feature Spotify started testing in the US and Canada in December 2025.
- Lights. With colour Philips Hue lights and a Hue Bridge, Spotify can sync the lights to the music using light scripts made for each song. That is the closest thing to a visualizer in Spotify's world, and it lives on your ceiling rather than on a screen.
If you want your own picture moving to the track, a clip of your own, a photo, a look for a party screen, you need a separate app, and that app needs to hear the music.
The route that works: out loud, into the microphone
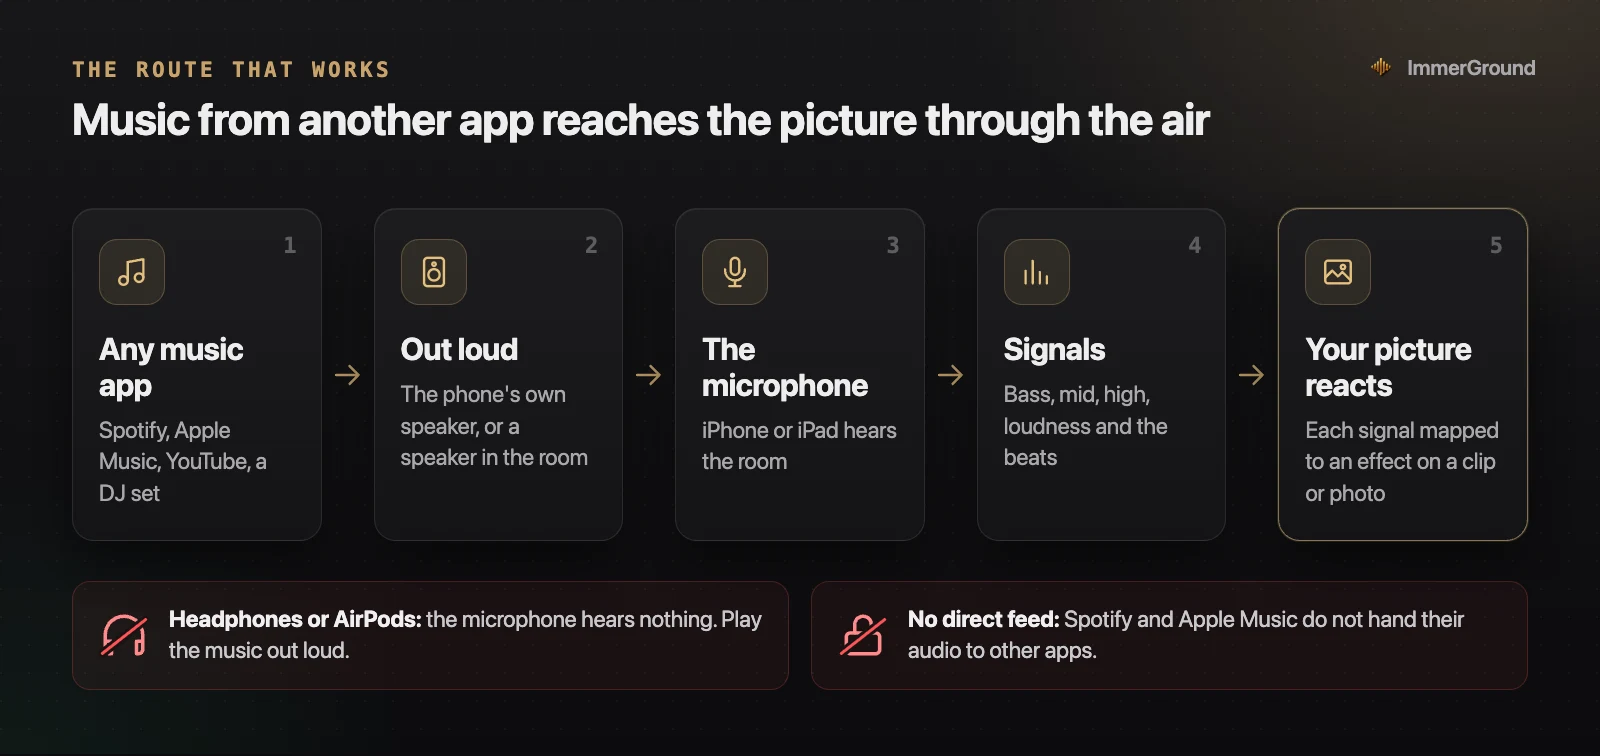
The chain has five links. Spotify plays through a speaker. The microphone on the iPhone or iPad hears the room. The visualizer measures the sound many times a second: the bass, the mids, the highs, the overall loudness, and the moments where a kick or a snare hits. Each of those signals drives something in the picture. The picture moves.
ImmerGround works exactly this way, and it has no Spotify connection of any kind: the microphone is the whole link. It evens out the level with automatic gain, so a quiet room and a loud one both drive the picture, and a noise gate keeps near silence from moving it between songs.
One rule breaks the chain every time: headphones. If Spotify plays into AirPods, the music is in your ears, where the microphone cannot hear it, and the picture sits still. The music has to be in the air.
On one iPhone or iPad
The simplest setup is one device doing both jobs, and it works on iPhone and iPad.
- Start Spotify first and play something with a clear kick. Turn the volume up through the device's own speaker.
- Open ImmerGround, load a clip or a photo, and pick the microphone as the sound source. Allow microphone access when iOS asks.
- Watch the meters. Spotify keeps playing while ImmerGround listens, and the bass, mid and high levels should move with the track.
- Put the device down with the speaker and the microphone uncovered. A hand over the bottom edge of a phone blocks both.
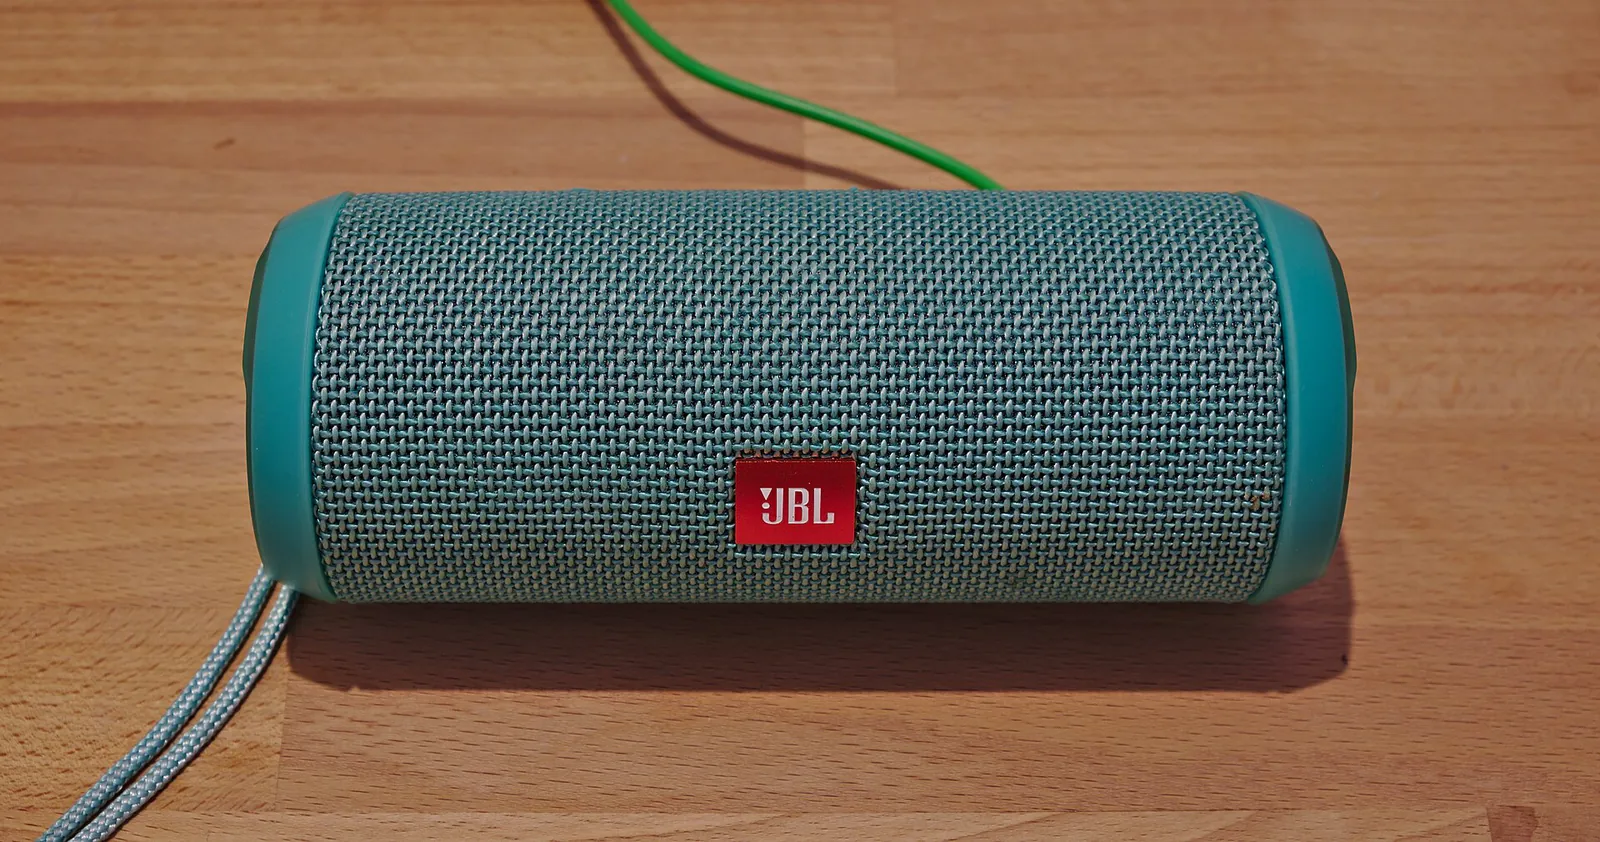
One limit to know: a phone speaker has very little real bass, so the microphone hears the kick mostly as a click, and a bass mapping reacts less than it would in front of a proper speaker. Map the beats instead, which follow the hit rather than the low end, or use a Bluetooth speaker: the sound goes out to the speaker, the built-in microphone hears the room, and the low end arrives.
With two devices, or a speaker in the room
For a party or a small gig, split the jobs. Spotify plays from your phone into the speaker or the sound system, and the iPad runs the visuals with its microphone facing the room. The phone stays free for choosing songs, and the iPad can send the picture to a TV or a projector over HDMI or AirPlay while its screen keeps the controls. Our guide to visuals for a DJ set covers the rest of that rig, from the content to the screen.
A few habits help:
- Point the microphone at the speaker, not at the crowd. People talking near the iPad read as mids and highs.
- Stay out of the speaker's direct blast at a loud gig. A few metres back, the mix is more even and nothing clips.
- Expect the room's delay. The picture follows what the microphone hears, so it is in time with what the audience hears too, speaker delay included.
Mappings that work with room sound
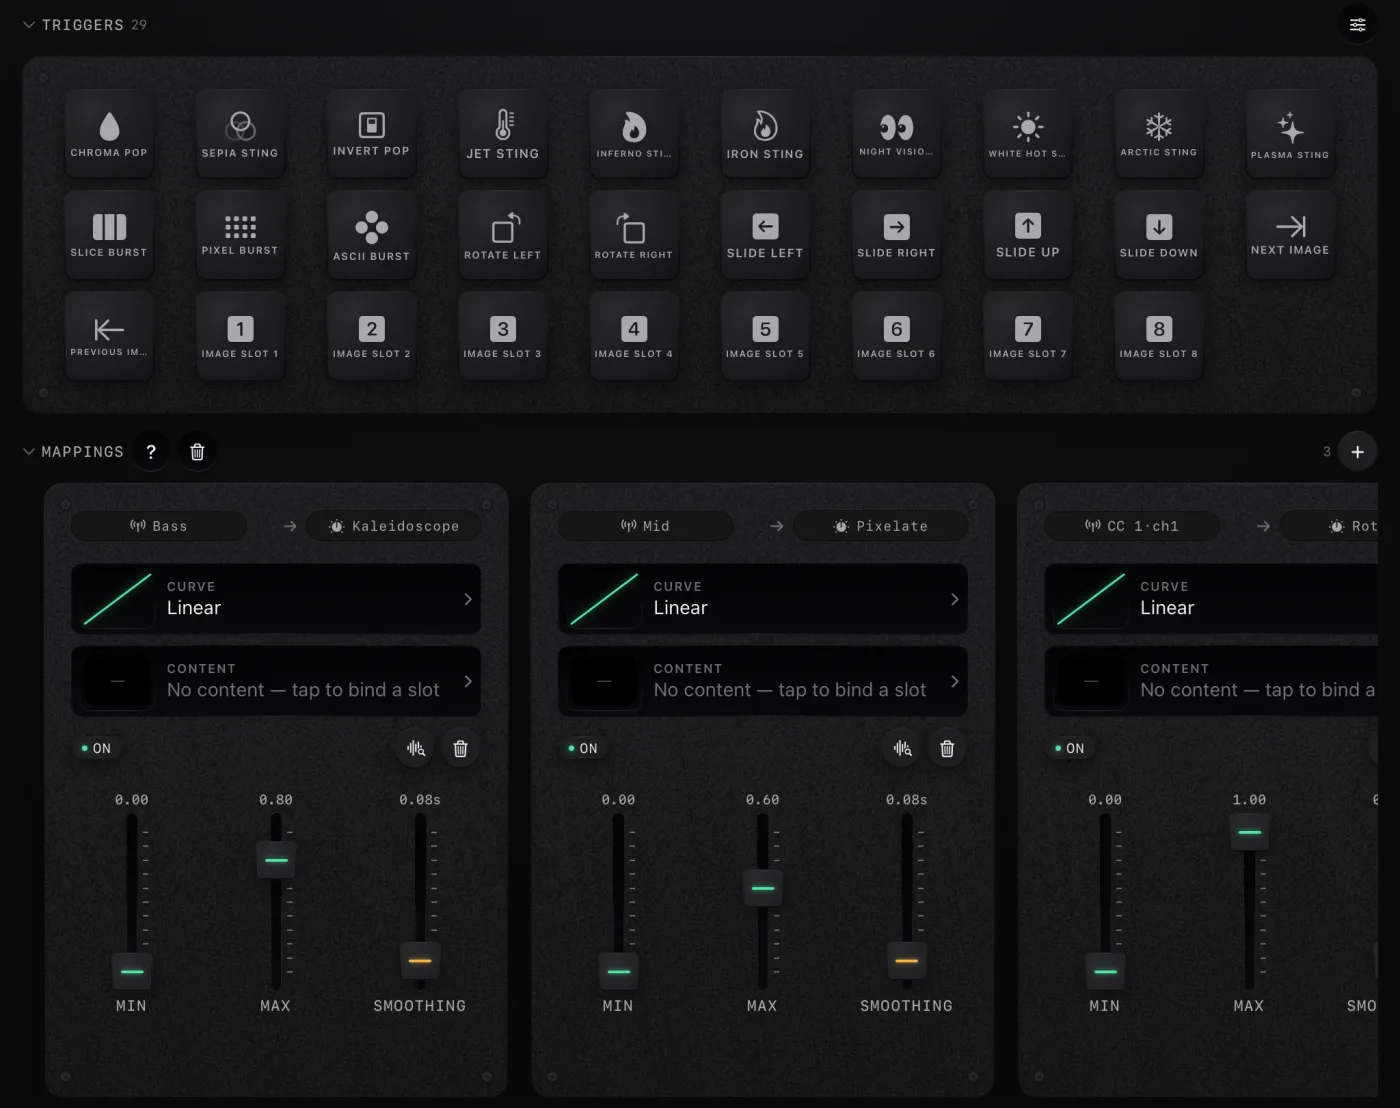
Sound from a microphone is noisier than a file, and a few settings make the difference between a picture that dances and one that twitches. In ImmerGround every mapping is a row in a list, a signal to an effect, with a curve, a range and smoothing, and room sound mostly needs more smoothing and narrower ranges.
| Mapping | For room sound |
|---|---|
| Bass to zoom | Raise the smoothing so the push glides, and keep the range to a few percent. On a phone speaker, map the beat instead of the bass. |
| Kick to strobe or freeze | Beats are triggers, so they survive a noisy room well. Keep the decay short. |
| High to RGB split | Use a steeper curve so voices and room noise stay below it and only the hats and cymbals fire it. |
| Loudness to a colour shift | A slow move across a whole song. Smooth it heavily and it reads as the energy of the night. |
Tune with the music you will actually play, at the volume you will actually play it. A mapping set at a whisper will be pinned to the top at party volume.

Try it in the browser first
Before installing anything, our free live audio visualizer runs the same idea in a web page. Choose the microphone as the sound, play Spotify out loud from the same laptop or from your phone, and pick a picture: the demo clip, one of your own, the camera, or a scene drawn in code. It opens the microphone without echo cancellation, so music from the laptop's own speakers reaches it too. It records up to 60 seconds in 16:9, 9:16 or 1:1, with a small immer ground mark in the corner, and nothing you load is uploaded. Our guide to making a visualizer video for your song walks through a whole take.
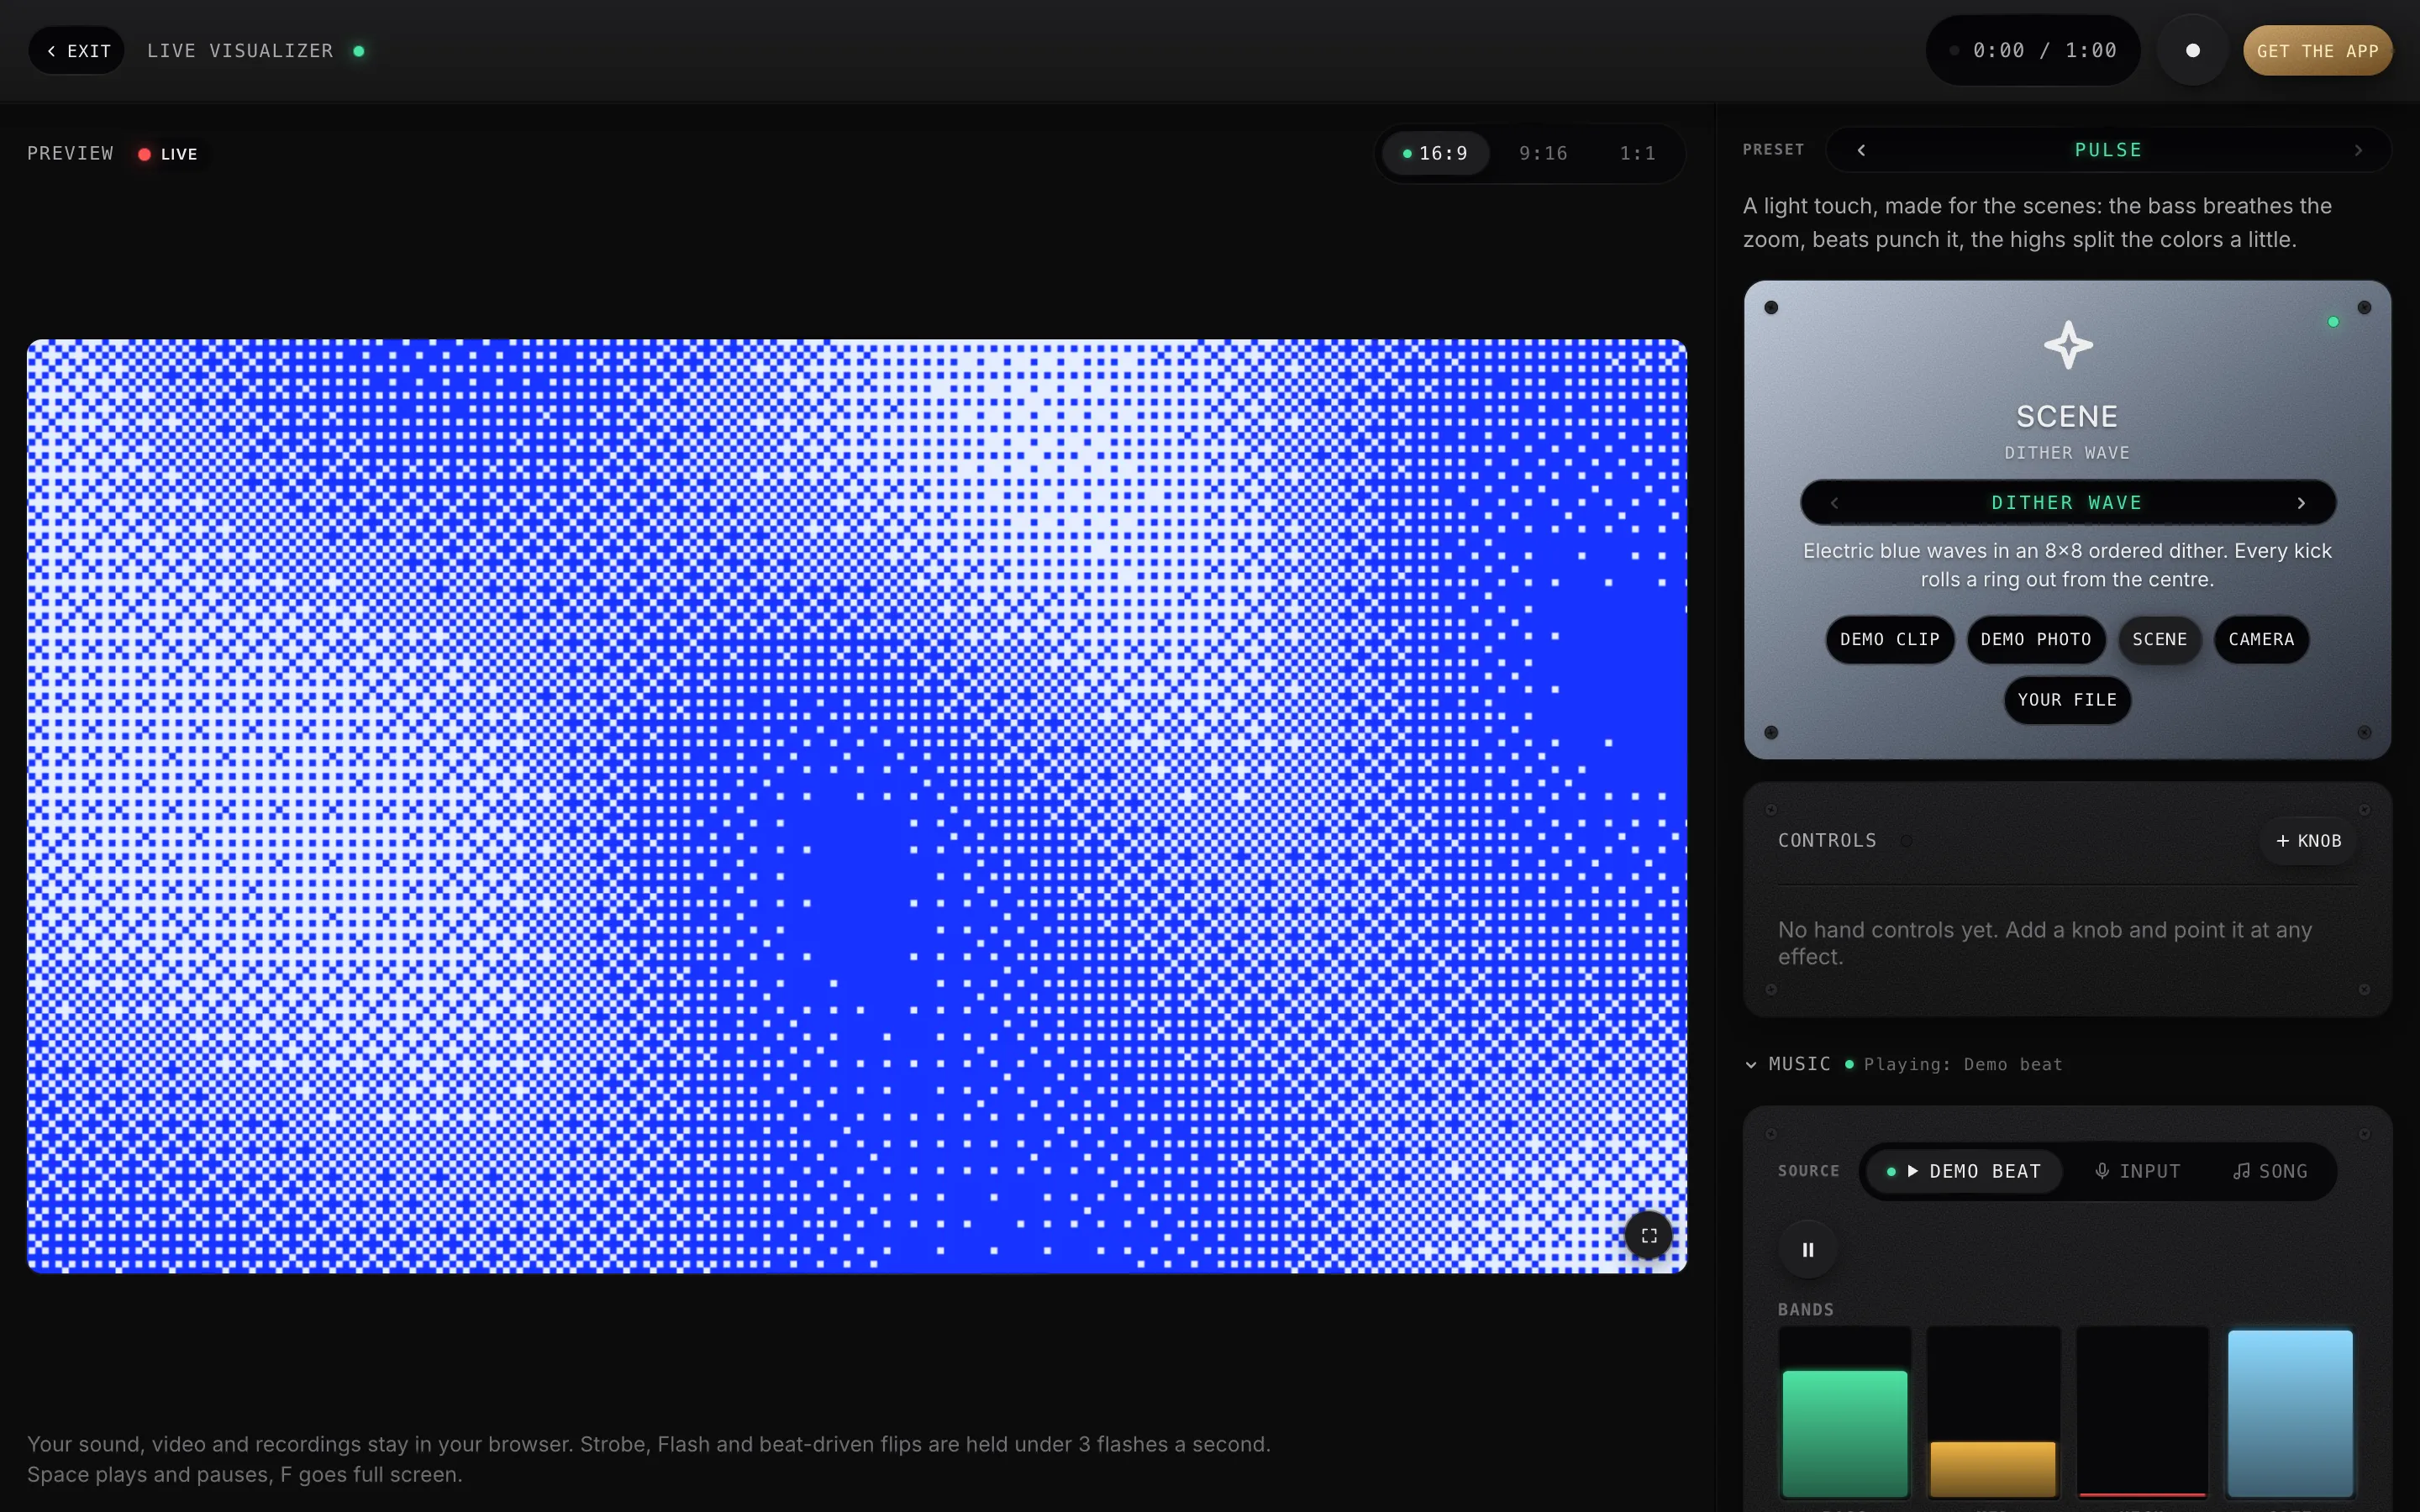
If the look is right in the browser, the app is the version for a phone or a tablet on a night out, with MIDI controllers, pads and a second screen. If you want a specific song's tempo for a set list, our BPM finder reads it from the microphone the same way.
Questions people ask
Does it work with Spotify Free? Yes. The microphone does not know which account is playing, or which app. Free, Premium, a playlist, a podcast with music in it: if it is in the air, it moves the picture.
Can the visuals show the song title or the album art? Not in ImmerGround. It has no connection to Spotify, so it never knows what is playing, only how it sounds.
What about Spotify Connect, playing on a TV or a smart speaker? That works well, since the sound comes out of a real speaker in the room. Put the iPhone or iPad where it can hear it.
Will it react to people talking? A little, if they are close to the microphone. Voices sit in the mids and highs, so a steeper curve on those mappings, and a device placed nearer the speaker than the sofa, keep conversation from driving the picture.
Where to get it
- ImmerGround. iPhone, iPad and Mac, listening through the microphone. Free to download; ImmerGround Pro is $6.99 a week or $39.99 a year.
- Free live audio visualizer. The same effects and mappings in your browser, with your mic, a song file or a demo beat, and a video out with a small immer ground mark.
- Philips Hue with Spotify. If lights are what you wanted, this is Spotify's own sync, for colour Hue lights with a Bridge.
What to do next
- Play Spotify out loud, through a speaker if you can, and keep headphones out of it.
- Open the visualizer in the browser or in ImmerGround, pick the microphone, and check the meters move.
- Load your own clip or photo and build three mappings: beat to strobe, bass to zoom, high to RGB split.
- Tune at the real volume with the real playlist, and raise the smoothing until the picture rests between hits.
- Using Apple Music too? The same route works, and a Mac adds a built-in option: see the Apple Music visualizer on iPad, iPhone and Mac.

.jpg)
