Releasing a track and need a video for it? A visualizer is the honest answer: the picture follows the actual song, beat for beat, and you can make one in an evening. This guide goes from the audio file to a 4K upload, in ImmerGround on an iPad or a Mac.
Import the track
- Export your master as WAV, AIFF or FLAC (or a high-bitrate MP3 or AAC).
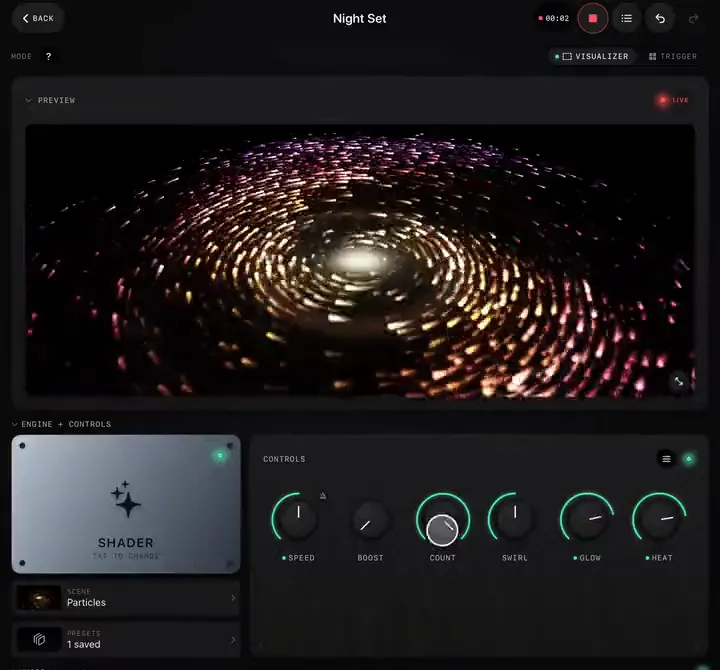
- Make a new project and choose the Shader engine, or Video if you have footage.
- Open Music › Browse › Import and add the file. Tap it to play.
Playing from the library gives the full analysis: the exact bands, and a beat grid taken from the whole song. The Music Clock label reads Track grid.
Choose a world that fits the song
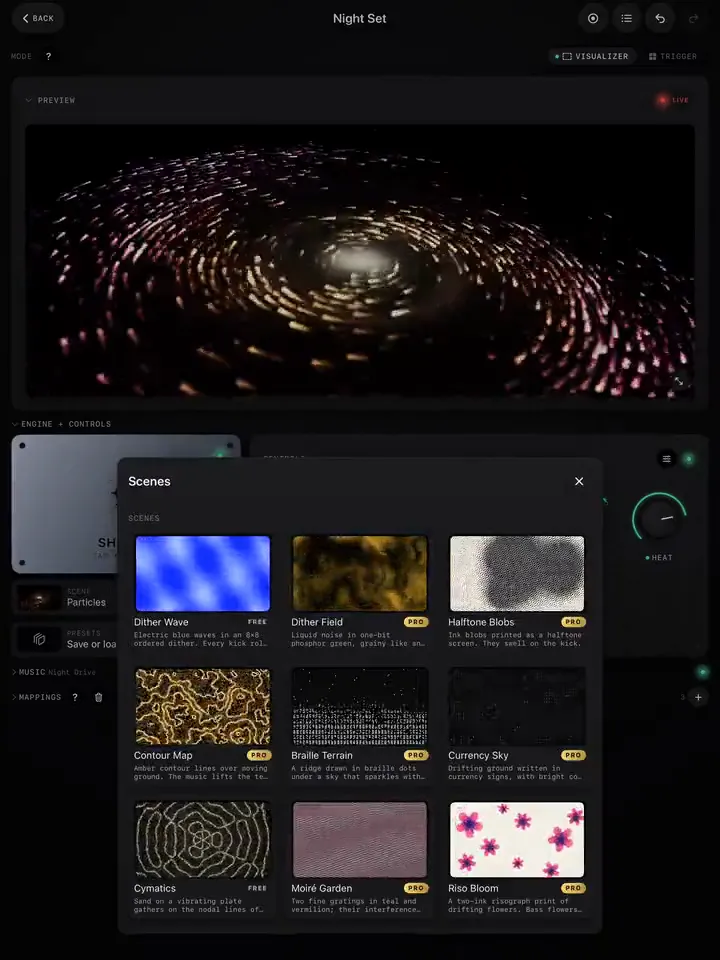
Pick the scene the way you would pick a cover: by mood, not by what looks impressive in the picker.
- Dark and minimal (techno, ambient): Op Art, Line Terrain, Ghost Silk, Deep Echo.
- Graphic and bold (pop, electronic): Posters, Montage, Wobble Grid, Riso Bloom.
- Textured, made by hand (indie, folk, lo-fi): Paper Theatre, Suminagashi, Redacted, Pipework.
- Your name on screen: Headliner spells out the project's name, cut into a new layout on each beat. Name the project after the song or the artist.
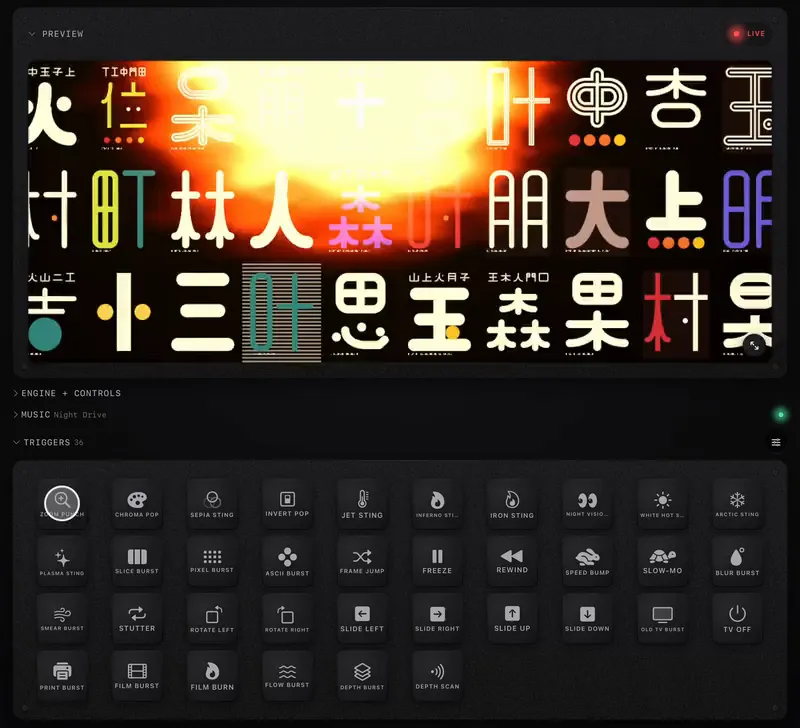
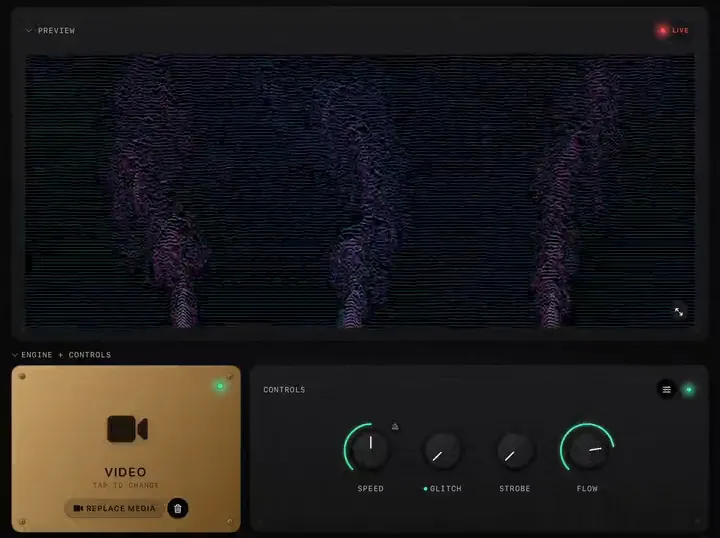
Or use your own footage in a Video project, with effects on top (how).
Build the look for the whole song
A song changes; the video should too. Work through the track once with the music playing:
- Set the knobs for the verse (see Building a look).
- Make sure the scene's two built-in mappings react well: Bass on motion, Energy on pattern or palette. Energy is what makes the chorus look different from the verse with no work from you.
- Add Smart › Section or Smart › Drop on a pattern knob or a Trigger burst, so the big moments get a change.
- Turn on Speed sync so the motion sits in the tempo.
Record one take
- Set the song to the start and the repeat to off.
- Tap REC, then play.
- Ride a knob or two in the moments you planned. Do not over-play: you are scoring a video, not soloing.
- Stop when the song ends.
Not happy? Record another. Sessions are cheap; keep the best.
Render it in 4K
Open Sessions, tap the wand on the take, choose 4K and 60 (or 30 if your platform prefers it), and Render. The renderer replays the session frame by frame on a virtual clock, so the result is sharp regardless of your device. Then Share it to Files or straight to your editor. Full details: Record a take and render it in 4K.
Finish and upload
- Use the master audio. For the best sound, put your master file under the video in your editor and line it up with the start of the take.
- YouTube takes the 4K 16:9 file as it is. Add a title card or credits in the editor if you like.
- Vertical versions for Reels, TikTok and Shorts: see Short clips for Reels, TikTok and Shorts.