A mapping is one wire: a source (the bass, the beat, a MIDI knob) driving a destination (a knob or a trigger), shaped by a curve, an output range and smoothing. Every reaction you see in ImmerGround is a mapping, including the two each shader starts with. This guide adds one from scratch and explains each part of the card.
Add a mapping
- Open the Mappings panel and tap + on its header.
- A new card appears with a suggestion already filled in: a control that nothing drives yet, and a music source that suits it. Scroll the cards sideways to see it.
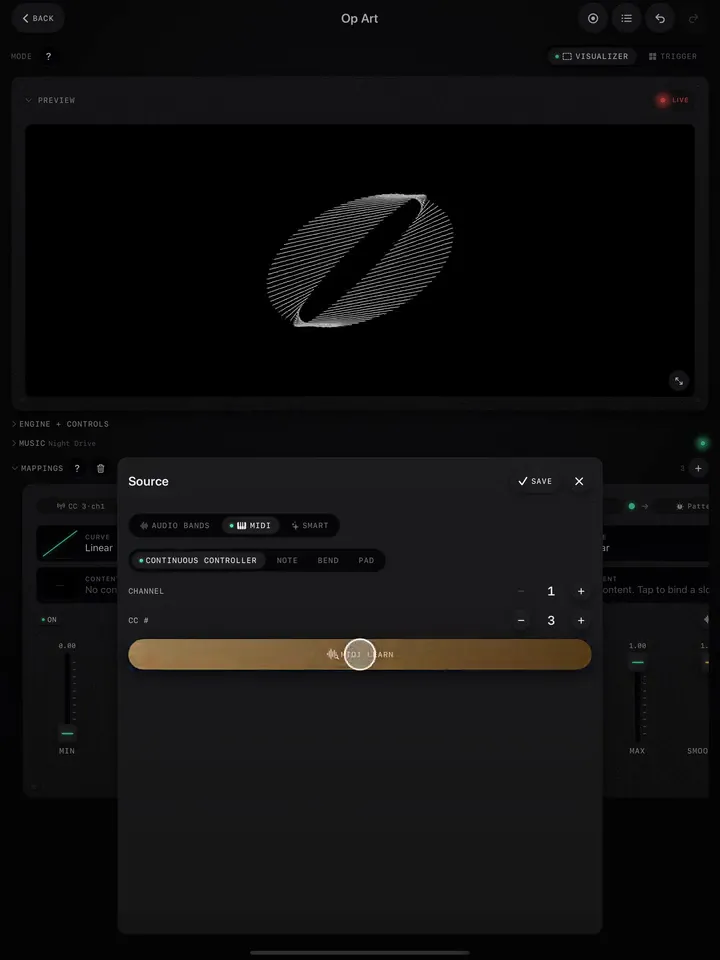
- Tap the source chip (left) to change what drives it, and the destination chip (right) to change what it drives.
- Tap Curve to shape the response, then set the Min, Max and Smoothing faders.
The mapping runs as soon as it exists. The On switch on each card mutes it without deleting it, which is handy for comparing before and after.
Choose a source
The source picker has three tabs.
Audio bands, read from the Music panel's input:
- RMS: overall loudness, slow and wide.
- Bass, Mid, High: low, middle and top of the spectrum.
- Gate: an envelope that reacts to any loud hit regardless of pitch. Often a better default than Bass for drums.
- Beat: a discrete event on each detected onset.
- Spectrum: your own frequency window. Drag a band over the live spectrum, or pick a preset (Sub, Bass, Mid, High, Air), to react to just the hats or just the vocal range.
Smart, read from the song's structure and the Music Clock:
- Energy: a slow envelope of the song's dynamics, low in breakdowns, high in the drop.
- Drop: an energy spike above the recent baseline.
- Beat, Bar, Phrase: every beat, every downbeat, every phrase start, locked to the tempo.
- Beat ramp, Bar ramp: 0 to 1 across each beat or bar, for smooth pulses and slow sweeps.
- Section: a new section of the track (a build, a drop). Track change: a new song starts.
MIDI: a controller's knob (CC), note, pitch bend or pad. See Play it with a MIDI controller.
A chip on a source card (for example Motion on Bass) tells you that source already drives something in this project.
Choose a destination
The destination picker has two tabs. Continuous controls are knobs: the scene's own knobs, speed, colour, glitch, blur, strobe and every effect, grouped in chips with counts. Triggers are one-shot events: the same bursts as the Trigger pads, bank slots, and music commands such as next track or tap tempo. Type in the search field to find one by name.
Event sources (Beat, Bar, a MIDI pad) suit triggers. On a knob, an event jumps it, and smoothing decides how fast it falls back.
Shape the response with a curve
| Curve | What it does | Good for |
|---|---|---|
| Linear | Output follows input one to one | Knobs you ride by hand |
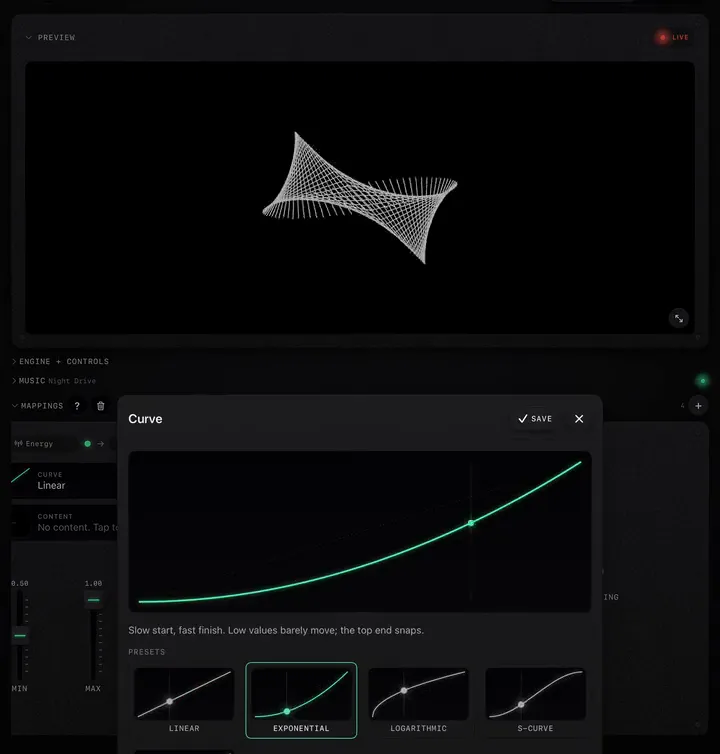
| Exponential | Slow start, fast finish: low values barely move, the top end snaps | Bass on motion: only the real kicks punch through |
| Logarithmic | Fast start, slow finish: quiet hits register, loud passages stay calm | Quiet material, ambient sets, a mic in a big room |
| S-Curve | Slow at both ends, fast through the middle | Smooth, eased movement |
| Custom | Your own power: above 1 leans exponential, below 1 logarithmic | Fine-tuning one mapping |
The curve editor shows a dot riding the line live, so you can watch where the music sits on it before you save.
Set the range and smoothing
- Min and Max set the output range. Raising Min keeps a knob from ever dropping to nothing; lowering Max keeps it from maxing out on every kick. Most good mappings use a part of the range, not all of it.
- Smoothing, in seconds, is how long the output takes to follow the input. 0.05 s feels instant, 0.2 s feels like breathing, 1 s and above feels like the song's tide.
Fire a bank slot from a mapping
The Content row on a card binds the mapping to a slot in the project's bank. In Trigger mode, a pad or beat on that mapping then swaps the picture to that clip or photo as well as moving its destination. For several changes on one pad, Pad Scenes are the tidier tool.