The most common complaint about audio-reactive visuals is that they flicker: everything jitters, nothing lands on the beat, and after a minute it is tiring to look at. The cause is almost always the same, and so is the fix. This page explains why it happens and the four settings in ImmerGround that turn jitter into motion that feels like the music.
Why reactive visuals flicker
Music is noisy at short time scales. A bass band read sixty times a second does not draw a clean kick shape; it wobbles with every note, every room reflection, every hi-hat bleeding into the low end. Wire that straight to a knob over its full range and the knob wobbles too. Add five more mappings like it and the whole picture shakes.
What people perceive as "on the beat" is something else: a clear rise on the hit and a decay after it, with calm in between. Getting there means choosing the right signal, then shaping it.
1. Pick the right signal
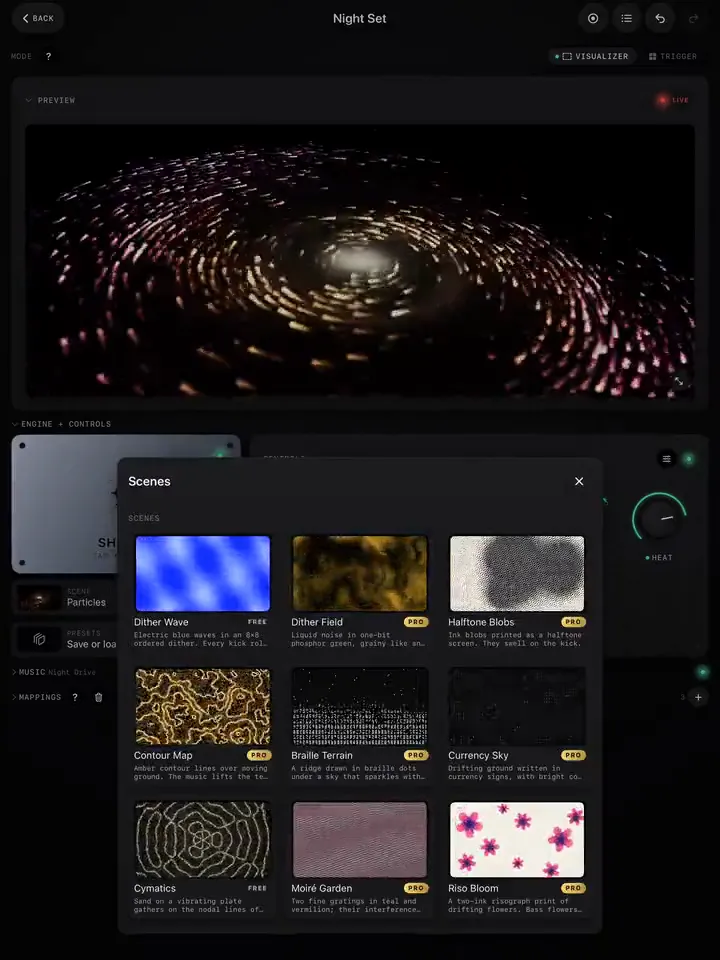
- Gate follows loud hits of any pitch and ignores the rest. For drums it is often cleaner than Bass.
- Bass is right when the low end carries the groove, as in most electronic music.
- Energy is the slow one: the song's dynamics over seconds, not milliseconds. Use it for colour and pattern, never for something that should hit.
- Beat and Bar are events on the tempo grid: exactly on time, no jitter, perfect for bursts.
- Spectrum with a narrow window reacts to one instrument, for example just the hats, when the full bands pick up too much.
2. Use a curve that ignores the noise
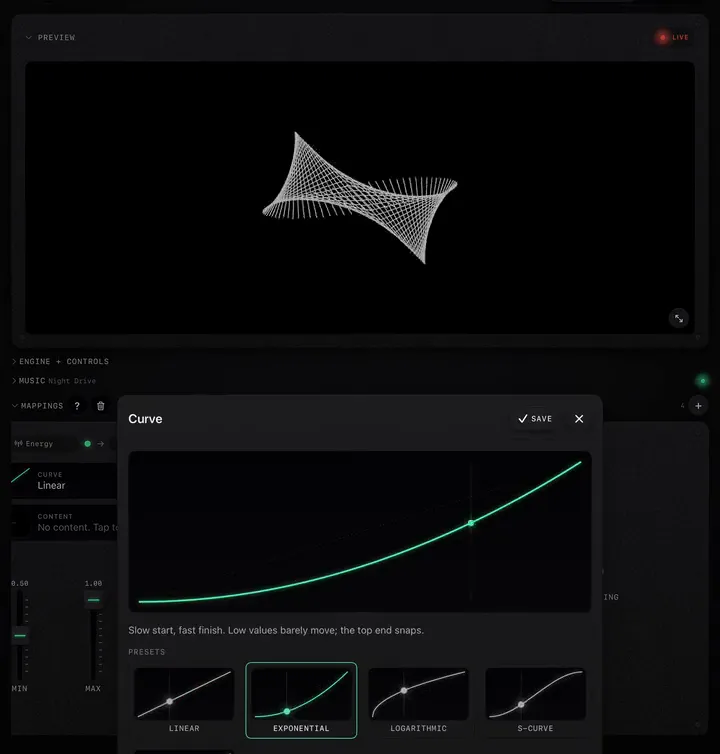
An Exponential curve barely moves on low values and snaps at the top. On a bass mapping that means the small wobble between kicks disappears and only the real hits come through. It is the single biggest fix for flicker. Use Linear for slow sources (Energy) and knobs you ride by hand, and Logarithmic only for quiet material that needs help registering.
3. Narrow the range
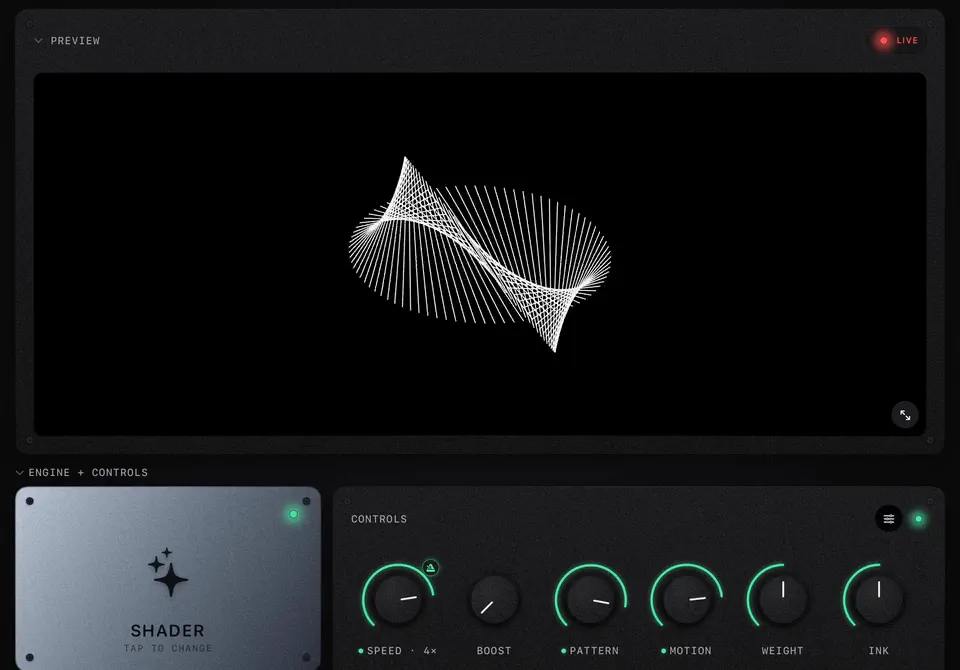
A mapping does not have to use the whole knob. Raise Min so the knob never drops to nothing between hits (the picture stays alive), and lower Max so loud passages do not slam it to the end every time (the peaks still have somewhere to go). A range of 0.2 to 0.7 on a motion knob usually looks better than 0 to 1.
4. Add smoothing
| Smoothing | Feels like | Use for |
|---|---|---|
| 0.03 to 0.08 s | Instant, punchy | Kicks on size or zoom, with an Exponential curve |
| 0.1 to 0.3 s | Breathing | Most motion and glitch mappings |
| 0.5 to 2 s | Tide | Colour, palette, pattern, anything driven by Energy |
If a mapping still jitters after the curve and range, add smoothing in small steps until it stops. If it feels late, you went too far.
Use fewer mappings
Six mappings each moving a little look worse than two moving clearly. Start with one fast and one slow mapping (Building a look explains why), then add only what you can see working. Mute a mapping with its On switch to check whether it earns its place.
Keep strobe and flash for the moments that earn them
Strobe on every kick is the fastest way to tire a room, and on a big screen it can be uncomfortable or unsafe for some people. Put Strobe and the flash pads on Drop, on a pad you fire by hand, or on a momentary Pad Scene, so they happen a few times a night, briefly. If a venue or audience asks for no strobing, keep it off entirely.