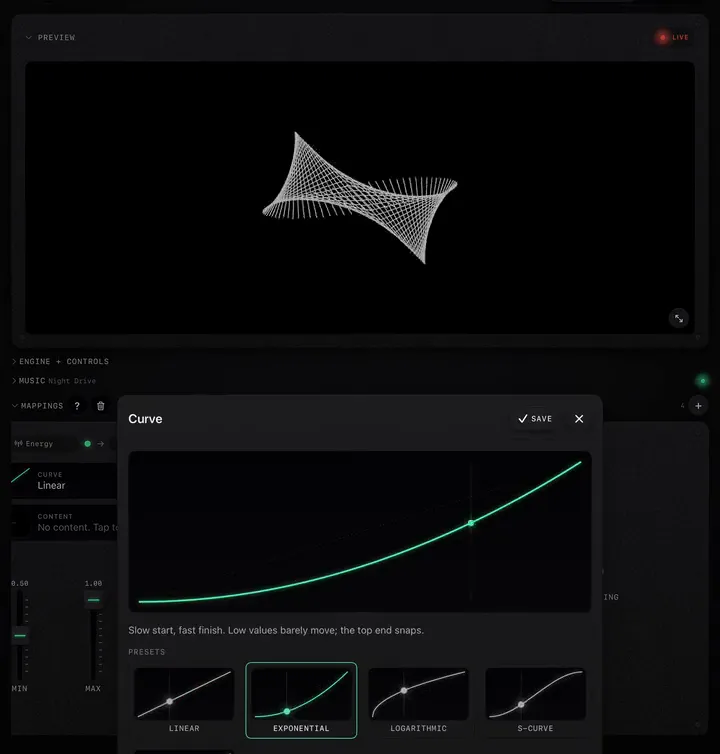
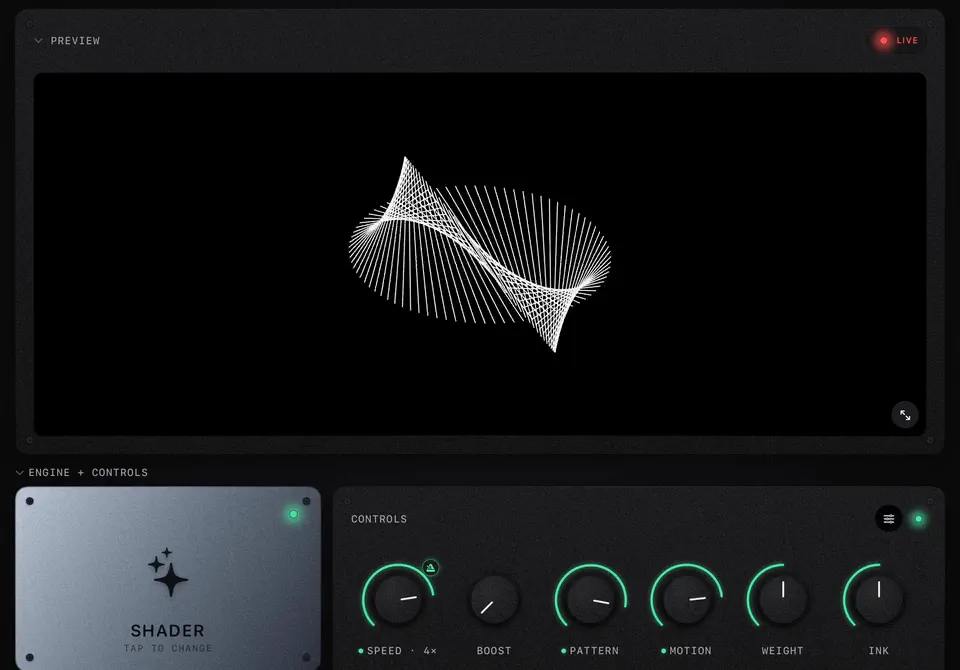
The visuals react to whatever reaches the Music panel. There are three ways in: songs in ImmerGround's own library, a live input (a mic, a mixer, an audio interface), and on a Mac, the audio of any other app. Which one you use depends on where the music is playing. This guide covers all of them, plus the setlist, Apple Music, and how to tell that the signal is good.
Pick a source
Open the Music panel in the workspace. The switch in its corner picks the source:
| Source | Use it when | Analysis |
|---|---|---|
| Library | You have the song files, or you are making a video for a track | Full: the app reads the exact audio, with beat tracking on the song's grid |
| Input | The music plays somewhere else: a DJ mixer, a band, a speaker | Live: whatever the input hears, room included |
| App capture (Mac) | The music plays in another app on the same Mac | Full: the app's audio, with no cable or driver |
Import songs and play them
- In the Music panel, tap Browse.
- Tap Import and choose Import files or Import folder. On a Mac you can also drop audio files onto the list.
- Tap a song to play it, or Play all.
ImmerGround reads MP3, AAC, ALAC, WAV, AIFF and FLAC. Files are copied into the app, so they stay available offline and after a restart. Each row shows the song's tempo once it has been analysed. On iPhone and iPad the music keeps playing in the background, and the transport in the Music panel (shuffle, previous, play, next, repeat) works like any player.
Build a setlist for the project
A setlist belongs to one project, so each gig or video can have its own running order.
- In Browse, tap the setlist button on a row (or Add all to setlist). In the Music panel, Add tracks does the same.
- Reorder with the arrows on each row, or remove a song with its cross.
- Press play on the setlist and it runs in order.
Playlists, on the Playlists tab, are the app-wide version: collections you can add to any project's setlist.
Use a live input
Switch the source to Input (or open the Live input tab in Browse) and ImmerGround listens to the audio input you choose. Two settings make a big difference:
- Auto gain evens out a quiet room and a loud mixer, so the visuals always have range. Leave it on unless you are calibrating by hand.
- Noise gate ignores low room noise between songs, so the screen calms down instead of twitching at chatter.
The built-in microphone hears the whole room, crowd and all. For a clean signal, use an audio interface or a DJ mixer's booth or record output. On interfaces with several inputs you can pick which channel is analysed.
Capture another app on a Mac
On a Mac, the Live input tab also lists Capture an app: pick a music app, a browser or a DJ app and ImmerGround follows its audio directly, with no cable or loopback driver. All Mac audio captures everything the Mac plays except ImmerGround itself. macOS asks once for permission to record audio. If no signal arrives, check System Settings › Privacy & Security › Screen & System Audio Recording.
Apple Music
The Apple Music tab lets you browse and play your songs and playlists, and add them to setlists. Connecting is free; full songs need an Apple Music subscription. On a Mac the visuals follow Apple Music through audio capture. On iPhone and iPad they follow it through the microphone, so play it out loud. Apple Music audio is not included in recordings (that is Apple's licence): the visuals are recorded, and you add the song back in your video editor.
Check that the signal is good
The four meters at the bottom of the Music panel are what the visuals see:
- Bass: kicks and bass lines.
- Mid: vocals, snares, leads.
- High: hats and transients.
- Gate: any loud hit, whatever its pitch. A good default for percussive music.
If Bass sits at the top all the time, the input is too hot or the room is boomy: turn the source down or let Auto gain work. If everything barely moves, the input is too quiet or the wrong device is selected. The badge under the player says which analysis is running (Full analysis for files and app capture).
Next: Map the music to any knob.