A thermal camera effect makes ordinary footage look like it was shot through a heat camera: faces glowing orange and yellow against a cold purple or blue background. It is one of the most recognisable looks in music videos and short-form clips, and it is easy to do badly, because the effect does something quite different from a real thermal camera. This guide covers what a real thermal camera measures and what the effect actually does, the seven palettes and when each reads as heat, a free way to get it in your browser moving with the music, free thermal LUTs for Premiere Pro, DaVinci Resolve and any editor that takes .cube files, how to build it by hand in the Adobe apps and Resolve, the phone apps, and how to shoot footage that makes the effect convincing.
A thermal camera sees heat; the effect maps brightness to a heat palette
A real thermal camera does not see light at all. Teledyne FLIR, the best-known maker, explains that thermal cameras capture infrared energy, which is heat. The common uncooled sensors work in the long-wave infrared band, around 8 to 14 micrometres, far beyond what an ordinary camera sensor records. Every object gives off some of that radiation, so a thermal camera sees warm bodies in total darkness and cannot see through glass.
The camera then paints those heat readings in false colour. FLIR's own guide to palettes lists Ironbow, Rainbow, Arctic, Lava, White Hot, Black Hot and a few more, and notes that White Hot, plain greyscale with hot areas bright, is the most commonly used of all. The dramatic orange-and-purple look people associate with thermal footage is a palette choice, not the only way thermal footage looks.
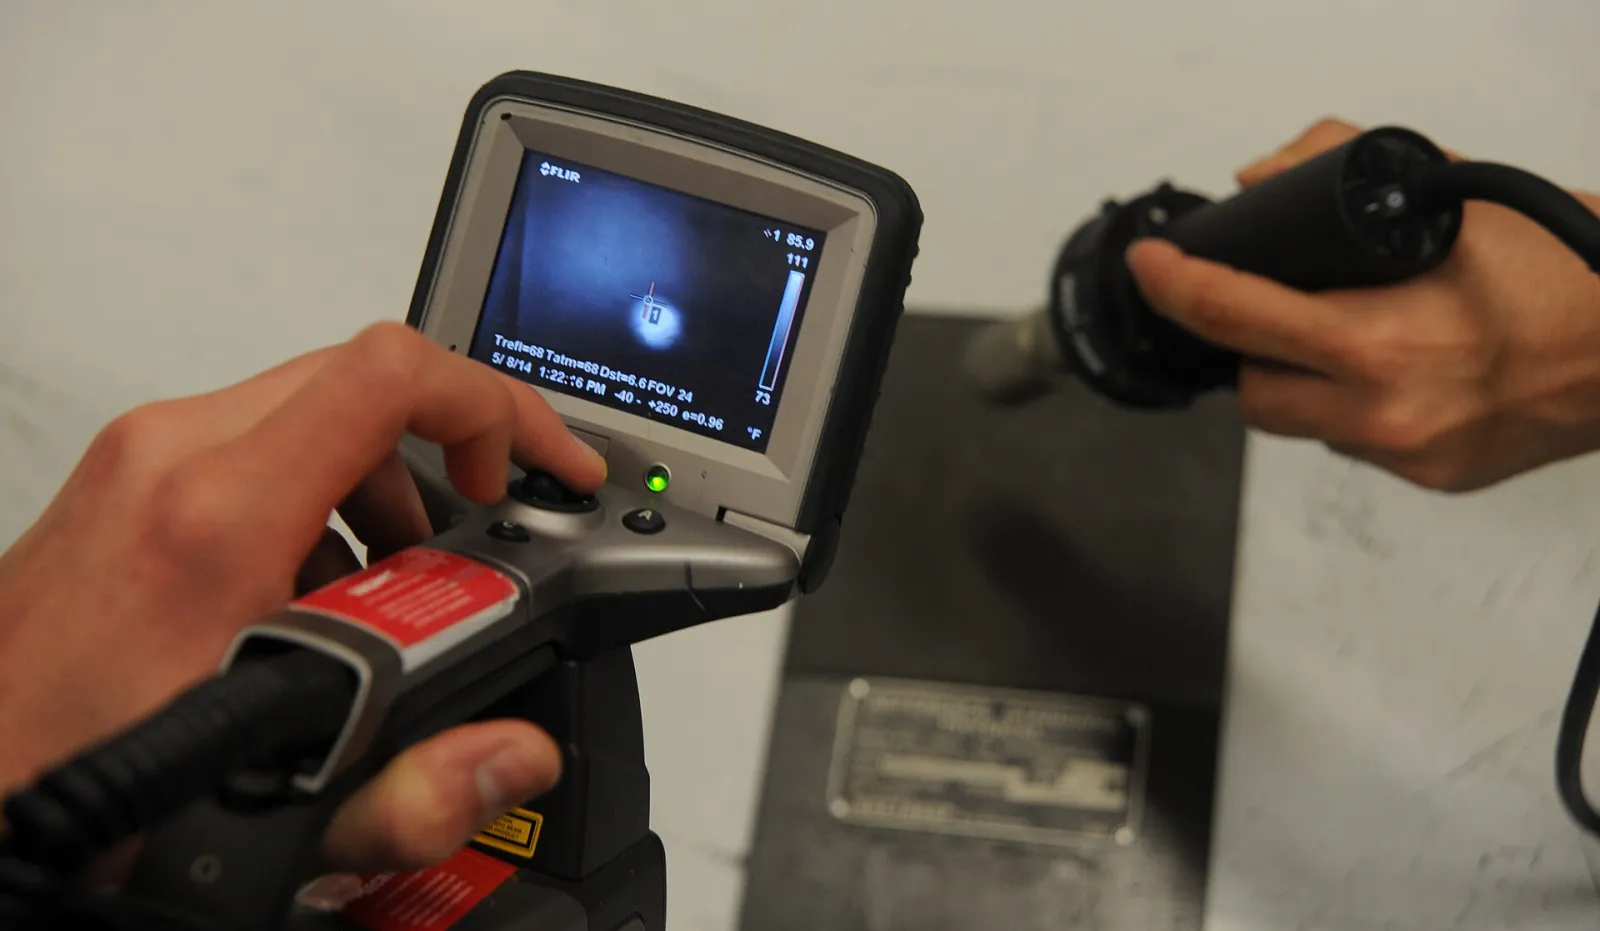
An effect cannot measure heat, because an ordinary video file does not contain any. Every thermal effect, ours included, does the same trick: it takes the brightness of each pixel and replaces it with a colour from a heat palette, so the brightest parts of the picture look hottest. That is why the effect works beautifully on some footage and badly on others, and why the section on shooting for it matters as much as the section on software.
If you need to know what is actually warm, you need a thermal camera. Phone attachments exist: FLIR's own store lists the FLIR ONE at $249 with an 80 by 60 sensor and the FLIR ONE Pro at $349 with 160 by 120, both in the 8 to 14 micrometre band. For a look in a music video, you need the effect.
Seven palettes, and which ones read as heat
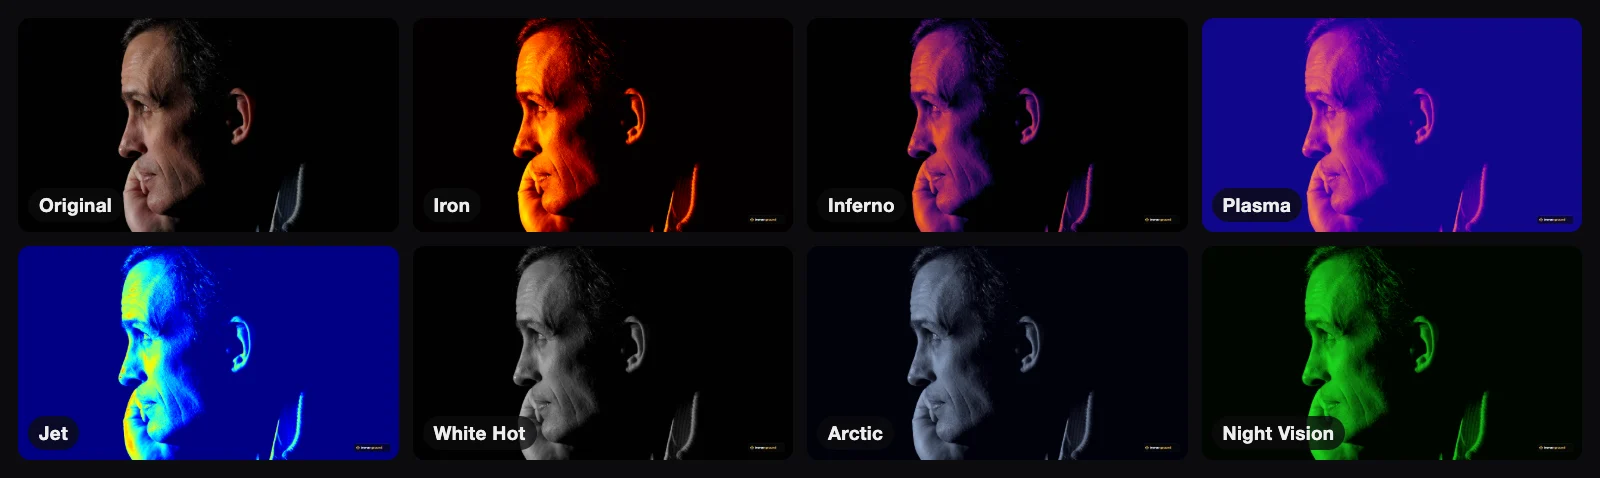
The same footage looks very different through each palette. The figure below is one photo run through the seven thermal looks in ImmerGround and our free visualizer, rendered by the same shader the app uses.
| Look | Colours, dark to bright | Best on |
|---|---|---|
| Iron | Black, red, orange, yellow, white | Faces and bodies against dark backgrounds: the classic "red hot" look |
| Inferno | Black, purple, magenta, orange, yellow | Dark footage with a lit subject; dramatic and moody |
| Plasma | Purple, magenta, orange, yellow | Brighter footage; vivid across the whole range |
| Jet | Dark blue, cyan, green, yellow, red | The rainbow look of many scientific heat maps |
| White Hot | Black to white | The realistic default on many real thermal cameras |
| Arctic | Cool grey with a blue cast | A cold, clinical feel; subtle |
| Night Vision | A soft green ramp | Not thermal at all, but the look people group with it |
Choosing a palette for your footage
The right palette depends as much on the footage as on taste. Look at where most of your picture sits in brightness before you choose:
- Mostly dark with a lit subject. Iron or Inferno. The dark areas go to black or deep purple and only the subject glows, which is the classic look.
- Mostly mid-tones. Plasma or Jet. They put visible colour across the middle of the range, so an evenly lit shot still shows variation.
- Bright and busy. White Hot or Arctic, and darken the shot first. Colourful palettes on a bright frame turn everything yellow.
- Faces in close-up. Iron is the most flattering and the most readable: skin lands in orange and yellow, eyes and hair in red.
For the look most people mean by "thermal camera effect", start with Iron or Inferno. Jet reads as a heat map more than a camera, and White Hot reads as realistic surveillance footage. Night Vision is a different technology entirely, amplified light rather than heat, and our guide to the night vision video effect covers it properly.
Free in your browser, moving with the music
Our free live audio visualizer has all seven looks and does one thing the other free tools do not: the effect moves with music. It runs in your browser and nothing you load is uploaded.
- Pick the picture. Load your own clip or photo, or turn on the camera to see yourself in thermal.
- Pick the Heat preset. Inferno swells with the bass, the beats punch a zoom, and the drop fires a Plasma sting, a brief flash of a second palette.
- Pick the sound. A song file gives the cleanest result; the microphone works with music playing in the room; the built-in demo beat needs no music of your own.
- Record. Choose 16:9, 9:16 or 1:1 and record up to 60 seconds, up to 1080p. Recordings carry a small immer ground mark in the corner.
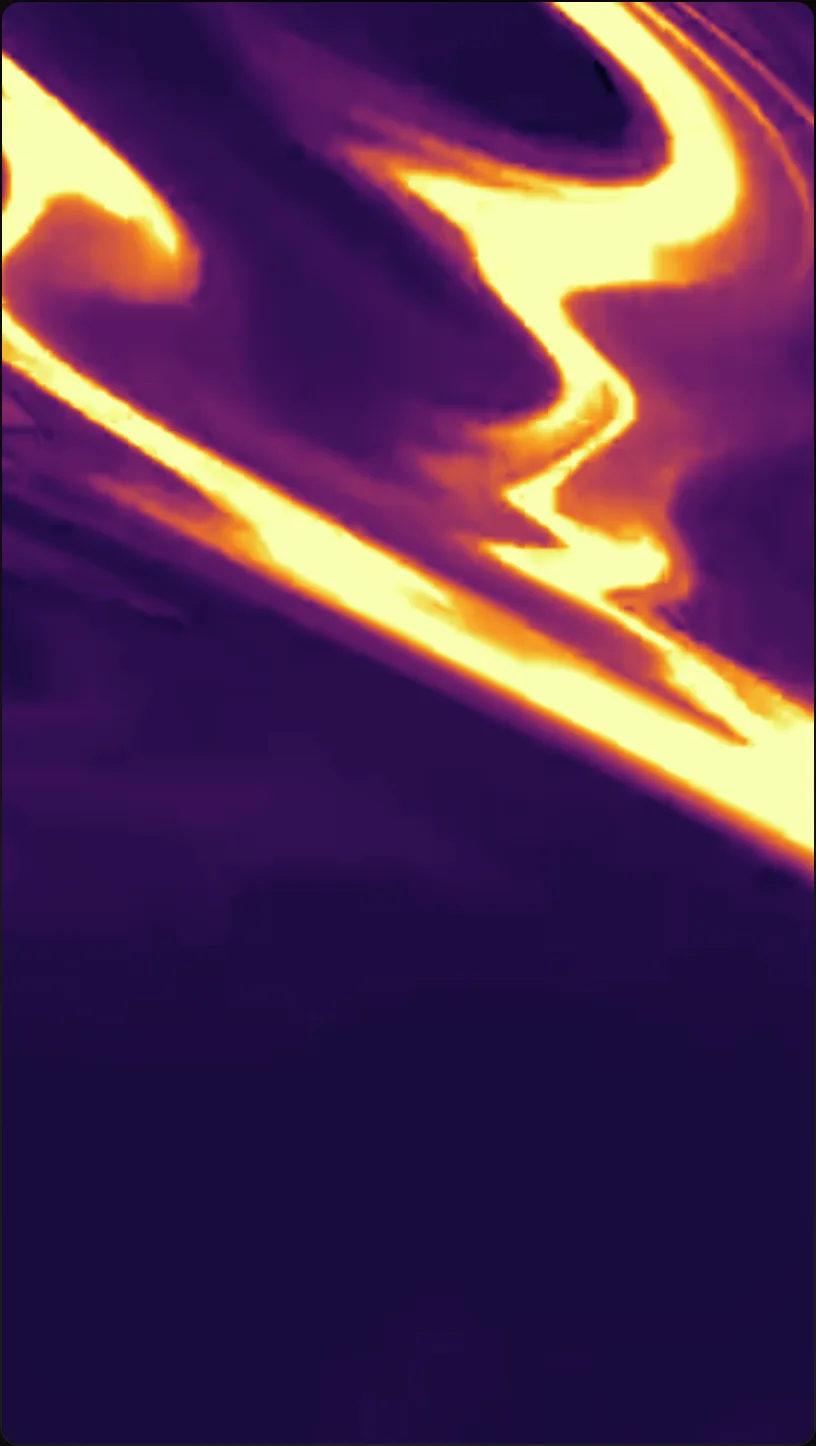
Three changes are worth trying once it plays. Swap Inferno for Iron if your footage has a dark background and a lit subject. Use a thermal look only as a sting on the drop, so the picture flashes into heat at the loudest moment and returns to colour. And for a steadier look under a whole verse, hold the look at full and let only the zoom move with the beat.
A vertical clip for Reels, TikTok or Shorts
- Frame 9:16 before you record. The visualizer records in the frame you choose, so pick 9:16 first and check that the subject sits well inside it.
- Pick the loudest 15 to 30 seconds. Short-form clips work best on the chorus or the drop, where the Heat preset has the most to react to.
- Record, then add the sound in the app. If the music is not yours, post the video and add the track from the platform's own sound library rather than uploading the recording's audio.
If you do not have footage, our free thermal loop pack has abstract loops in Inferno, Iron, Plasma, Jet, White Hot, Arctic and Night Vision, in 4K and 1080p, CC0, with no email.
Free thermal LUTs for Premiere Pro, Resolve and any editor that takes .cube
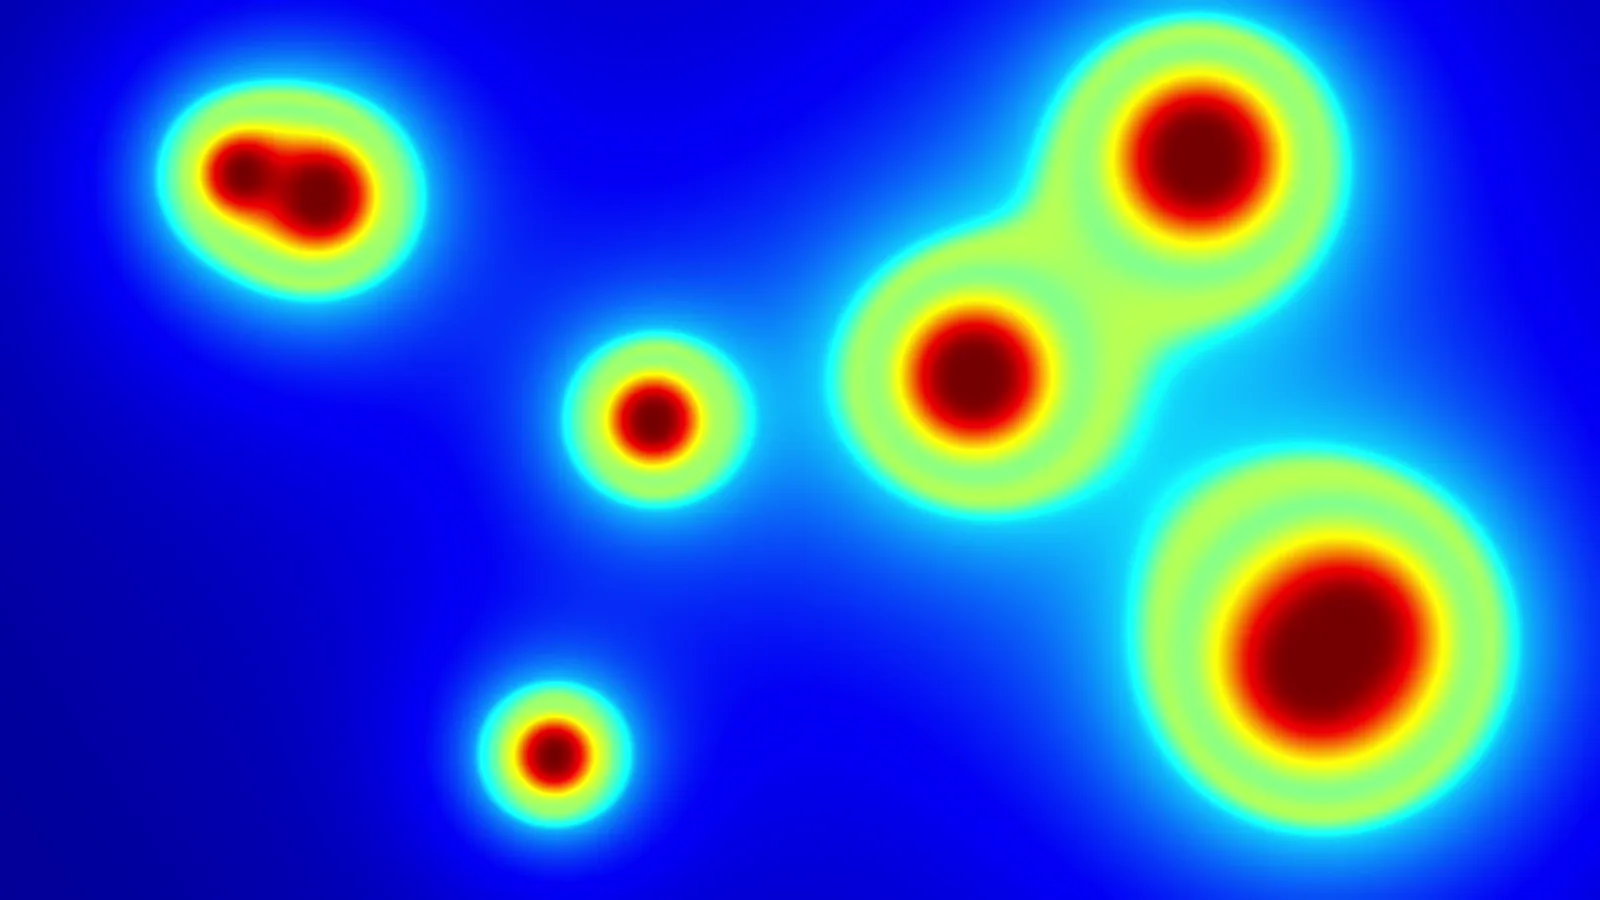
Most video editors do not have a thermal effect, but almost all of them accept a LUT, a lookup table that remaps colours. Because every thermal look is a mapping from brightness to colour, a LUT reproduces it exactly. We made one for each of the seven looks, generated from the app's own palettes and checked against its shader.
Download the ImmerGround thermal LUTs (a 2 MB zip): Iron, Inferno, Plasma, Jet, White Hot, Arctic and Night Vision as 33-point .cube files, with a short readme. They are CC0, free for any use including commercial work, with no credit needed and no email.
- Premiere Pro. Adobe's help pages explain that Lumetri Color can load a custom .cube file: in Basic Correction, open Input LUT, choose Browse and pick the file.
- DaVinci Resolve. Apply the .cube as a LUT on a node in the Color page, or use LUT Cube Apply in Fusion, which is among the tools Blackmagic lists in Fusion's reference.
- Other editors. Any editor or streaming tool that accepts .cube LUTs works the same way: load the file on the clip or the source.
Add the traits the palette cannot
A palette gets the colours right; real thermal footage has three more traits that make it believable, and a LUT cannot add them, because a LUT only changes colours.
- Low resolution. Real thermal sensors are tiny. FLIR's own phone camera is 80 by 60 pixels, and the Pro 160 by 120. Real thermal video looks soft, so a slight blur, or scaling the clip down and back up, reads as more authentic than a razor-sharp frame.
- Noise. Uncooled sensors show a fine, crawling grain in flat areas. A little film grain added after the LUT helps.
- A soft glow on hot edges. Hot objects often seem to bleed into the background. A gentle glow or bloom on the brightest areas gives that halo.
Grade before the LUT, not after it. Because the LUT turns brightness into heat, the adjustments that matter happen first: lift the subject, darken the background, and add contrast. Then lower the LUT's intensity, or blend it with the original, if the look is too strong.
By hand in After Effects, Premiere Pro, Photoshop and Resolve
If you would rather build the look yourself, each Adobe app has a tool that does part of the job.
After Effects: Colorama
Colorama is the classic tool for thermal looks. Adobe's help page describes it as converting a chosen colour attribute to greyscale and then remapping those grey values to an output cycle of colours. Set the input to intensity and edit the output cycle to run from black through purple and red to orange, yellow and white, and you have a thermal palette you can animate. Adobe's page mentions built-in palettes for creative results without listing their names, so build your own cycle rather than hunting for a preset.
Premiere Pro: Tint is not enough
Premiere Pro has no gradient map effect. Its Tint effect maps black and white to two colours, which gives a two-tone look, not a heat palette with five colours. The realistic route in Premiere is a LUT through Lumetri Color, which is exactly what the free LUTs above are for.
Photoshop: Gradient Map for stills
For a still image or a cover, Photoshop's Gradient Map adjustment layer does the job directly. Adobe describes it as mapping the greyscale range of an image to the colours of a gradient: shadows to the left end, highlights to the right. Pick or build a gradient from black through purple and orange to yellow, and the photo turns thermal.
Animate the strength, in any editor
Whichever tool you use, the look lands harder when it changes. Keyframe the effect's opacity or the LUT's intensity so the clip starts in normal colour and flares into thermal on a beat, or cuts between a normal shot and a thermal one of the same moment. A thermal look held on screen for three minutes stops being noticed after thirty seconds; one that arrives on the drop gets remembered.
DaVinci Resolve
Resolve's Color page has detailed curves, but no single built-in tool that maps brightness to a five-colour palette. The practical options are a LUT, in the Color page or with LUT Cube Apply in Fusion, or a third-party gradient map plugin. The free version of Resolve is enough for the LUT route.
On iPhone: the novelty apps, and an app that follows the music
Search the App Store for thermal and you will find apps that apply a heat look to the camera or to videos in your library, free to download with in-app purchases. Thermal Filter: Camera Vision records video and edits library videos, with in-app purchases including a $6.99 weekly plan, and its listing calls it a simulator rather than a real infrared camera. Camera Filters: Heat & Thermal has photo and video modes and in-app purchases of $5.99 and $9.99, and its listing says it does not detect actual heat. That honesty is correct for all of them: they filter what the camera already sees.
CapCut's website has user-made templates named Thermal Vision and similar, rather than a built-in thermal effect we could confirm on its pages.
ImmerGround, our app for iPhone, iPad and Mac, has the same seven thermal looks as the visualizer, on your own clips and photos. The difference from a filter app is that the look plays with the music: map the bass to Inferno so the heat swells on every kick, put an Iron sting on a pad for the drop, and play it live from a MIDI controller or a tap on the screen. Every session is recorded, and a re-render later gives you 720p, 1080p, 1440p or 4K at 30 or 60 frames a second, always in 16:9. It is free to download, and ImmerGround Pro is $6.99 a week or $39.99 a year.
Shoot for the effect: make the subject the brightest thing
Since the effect turns brightness into heat, the footage decides whether it reads as thermal. A few choices on the day make more difference than any software setting.
- Light the subject, not the room. One strong light on the person against a dark background gives the classic glowing figure. A flat, evenly lit room turns into a flat, evenly coloured frame.
- Keep bright skies and windows out of shot. They are the brightest thing in the picture, so they become the hottest, which a real thermal camera would never show.
- Watch the clothes. White clothes read as burning hot and black clothes as ice cold. For a believable look, dress the subject in mid-tones and let the skin carry the heat.
- Expose for the face. Skin should sit near the top of the brightness range without clipping, so it lands in the yellow and white end of the palette.
- Add movement. Thermal looks come alive on motion: a hand passing a face, a dancer, steam. A static shot reads as a colour grade.
Practical heat cues help sell it too. Steam from a cup, breath on a cold night, or a hand pressed against a wall and pulled away all read instantly as heat, and on camera they are simply bright moving shapes, which the effect turns into glowing ones.
Low-key portrait lighting, the style of the photo in the palette figure above, is almost a thermal effect waiting to happen: one side of the face lit, everything else in shadow.
Where the usual advice breaks: bright is not hot
Most tutorials treat the thermal effect as a colour grade: apply the gradient, done. That works for a quick clip and fails whenever someone who knows thermal footage is watching, because the effect gets the physics backwards in predictable places.
- Lights look hot, bodies can look cold. A lamp, a phone screen or a white wall becomes the hottest thing in frame, while a person in shadow goes cold. A real thermal camera shows the opposite.
- Reflections and glass are wrong. A thermal camera cannot see through a window; the effect shows the view through it perfectly, just recoloured.
- Warm and cold objects look alike if they are the same brightness. A hot drink and a cold one look identical in the effect.
None of this matters for a music video, where the look is the point. It matters if you want footage to pass as real: then light and dress the scene so brightness follows temperature, keep the cues that would give it away out of shot, or use a real thermal camera for the shots where it counts. And be honest with yourself about which you are making: a stylised heat look is a legitimate creative choice, and it does not need to pretend.
When thermal is the wrong look
Some content fights the effect. Lyric videos lose their text, because white letters become the hottest, most saturated thing on screen. Product shots lose their colours, which is the point of a product shot. And footage that is already flat and grey, a cloudy exterior or a dim room with no key light, turns into a single muddy colour. In those cases a monochrome or a subtle colour shift gets the mood without the cost, and the thermal look is better saved for the moment that earns it.
Where to get it: free thermal tools
- Free live audio visualizer. In your browser: the seven thermal looks and the Heat preset on your clip, photo or camera, moving with a song or the room, recorded up to 60 seconds in 16:9, 9:16 or 1:1 with a small immer ground mark. Nothing is uploaded.
- Free thermal LUTs. The seven looks as .cube files for Premiere Pro, DaVinci Resolve and most editors. CC0, no email.
- Free thermal VJ loops. Inferno, Iron, Plasma, Night Vision, Jet, White Hot and Arctic loops in 4K and 1080p, CC0, no email.
- ImmerGround. iPhone, iPad and Mac: the thermal looks on your own footage, moved by music and MIDI, recorded and re-rendered up to 4K. Free to download; ImmerGround Pro is $6.99 a week or $39.99 a year.
What to do next
- Try the palettes on your footage first. Load a clip into the visualizer and step through Iron, Inferno and White Hot to see which one your footage suits.
- Relight or regrade before you apply anything. Make the subject the brightest thing in frame and the background dark.
- In an editor, use a LUT. Load the free .cube file after your grade, then set its strength.
- Use the look as a moment. A drop, a chorus or a sting on the beat usually lands harder than a whole video in thermal.
- If it must look real, shoot for it. Mid-tone clothes, no bright skies, a lit subject, and movement in the shot.



.jpg)