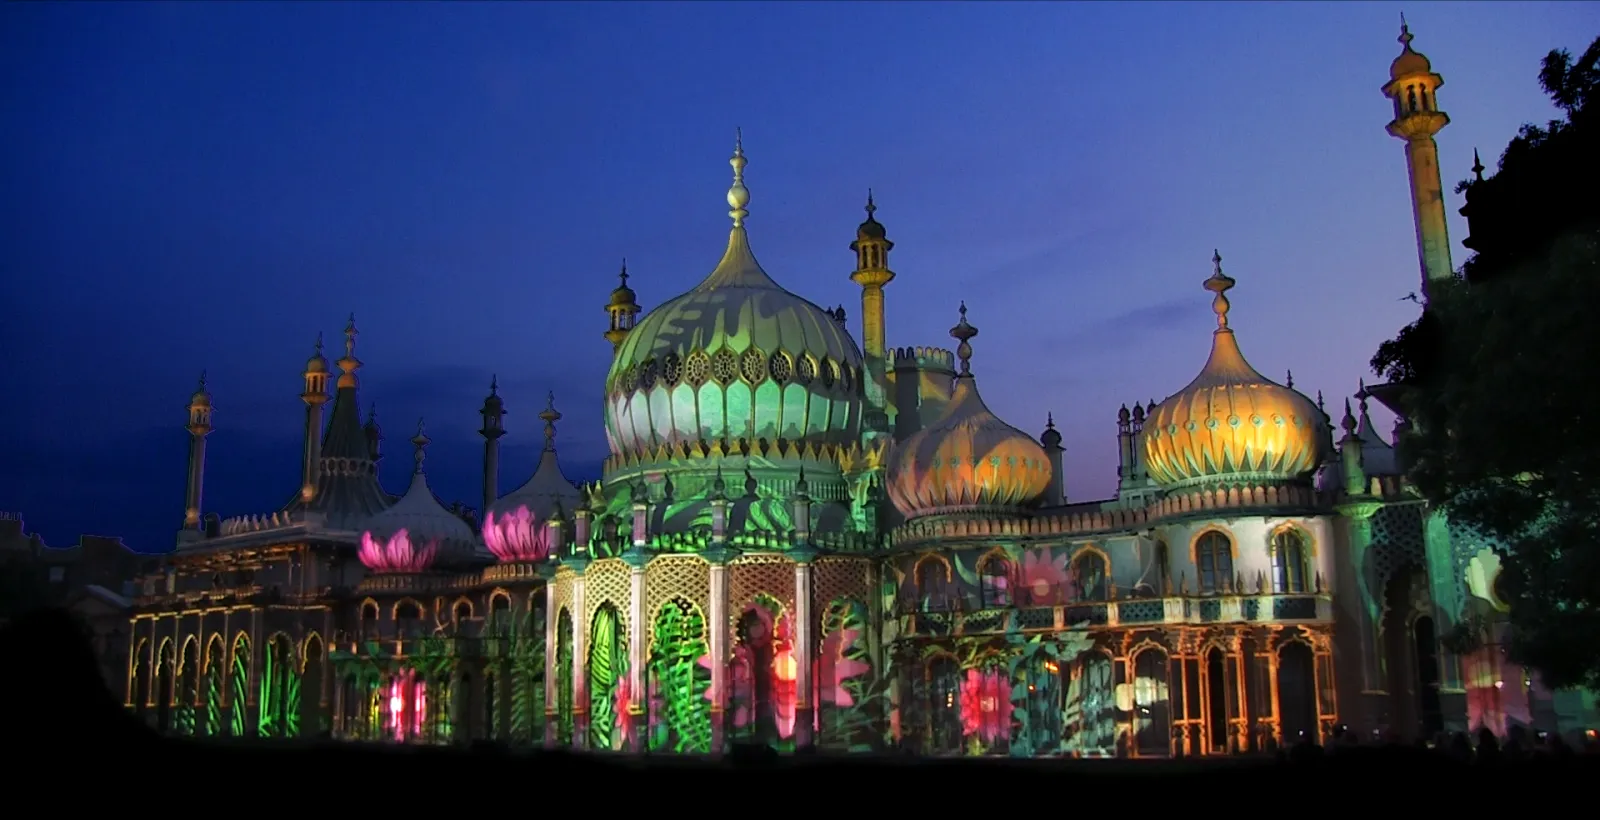
Projection mapping turns an object, a wall, a stage set or a whole building, into a screen, with video fitted to its shape so the surface itself seems to move. The festival shows on cathedrals cost fortunes, but a first project on a box, a doorway or the front of a DJ booth needs one projector, a computer and software that costs nothing to try. This guide covers what projection mapping is and where it came from, everything you need and what it costs, how to choose a projector for mapping, the software from free to professional with prices checked on each vendor's site, what to project, a first project step by step, how to make a mapped surface move with music, and where beginners go wrong.
Projection mapping is video fitted to a shape
Wikipedia defines projection mapping, also called video mapping or spatial augmented reality, as a projection technique that turns objects, often irregularly shaped, into display surfaces for video. The difference from an ordinary projection is the fitting: instead of throwing a rectangle at a wall, you tell the software where each face of the object sits, and it warps and masks the video so every face gets its own picture, lined up with its edges.
The idea is older than most people think. The same article traces an early milestone to Disney's Haunted Mansion ride in 1969, which projected 16 millimetre film of faces onto sculpted busts so they seemed to sing. The technique has not changed in principle since; what changed is that a laptop now does the warping in real time, and projectors got bright and cheap enough for anyone to try it.
What you need, and what it costs
| Part | For a first project | What decides the cost |
|---|---|---|
| Projector | One you already own, or a 1080p model with lens shift | Brightness, throw distance and lens shift |
| Surface | White or light boxes, a wall with a door, a set piece | Size and colour: light, matte surfaces are cheapest to light |
| Computer | A laptop with an HDMI output | How much video you play at once |
| Software | A free trial or a free tool | Number of outputs, projector blending, show control |
| Content | Loops and colour fields you already have | Custom animation made for the surface is the expensive part |
| Mounting | A stable table or stand, in front of the surface | Height and distance; nothing may move once aligned |
The line people underestimate is the last but one. Interactive & Immersive HQ's introduction to projection mapping puts custom 3D content for large events at up to $10,000 or more per minute, while noting that you can start for as little as $70. The projector and software are a one-off cost; content made for a specific building is what makes the big shows expensive.
Three ways to start, by budget
- Nothing to buy. A projector you already own or can borrow, a laptop, VPT 8 or a trial of MadMapper, Resolume or HeavyM, and white boxes. The only limit is the watermark on the trials, which matters for a public show and not for learning.
- A small permanent rig. Add a 1080p projector with lens shift and one paid licence, such as HeavyM Live at €219 or MadMapper from €399, for a booth, a shop window or a small stage.
- Events and venues. Brighter projectors, several outputs with edge blending, and a tool that also performs live, such as Resolume Arena at €799, plus content made for the space.
Choosing a projector for mapping
Brightness decides where you can map. Epson's guidance for ordinary projection is at least 1,500 lumens for a dark room and 2,500 for a room with windows, and Epson notes that colour brightness can be as little as a third of the stated lumens when only white brightness is listed. Mapping usually needs more, because the surfaces are rarely a perfect screen. BenQ's page for a house-mapping projector recommends at least 4,000 lumens for a standard house and 5,000 or more for larger homes, and says its short-throw lens can cover a house about 45 feet wide from 22.5 feet away.
Software maker HeavyM publishes a more aggressive guide: 3,000 to 5,000 lumens for dark indoor spaces, 6,000 to 10,000 for large spaces or some ambient light, and 12,000 to 20,000 outdoors, adding that daylight is hard even at 20,000. Treat those as the upper end; a first project on a box in a dark room works with far less.
Work out the throw before you buy. BenQ defines throw ratio as distance divided by image width, so a projector with a ratio of 1.2 needs 3.6 metres of distance to make a picture 3 metres wide, and one with a short-throw ratio of 0.5 needs only 1.5 metres. Measure the space you have, divide by the width you want to cover, and you know which lenses fit before you look at any brightness figure.
- Lens shift beats keystone. Epson explains that lens shift moves the picture optically with no loss of quality, while keystone correction alters the image digitally. For mapping, where every pixel counts, place the projector square to the surface and use lens shift, then let the mapping software do the warping.
- Short throw helps in tight spaces. A short-throw lens fills a big surface from close up, so people walking past do not block the beam. HeavyM warns against ultra-short-throw lenses on flexible surfaces such as fabric, where any movement distorts the picture.
- Several projectors need blending. Resolume describes edge blending as stitching the output of two or more overlapping projectors into one continuous picture, and recommends at least 15 percent overlap. One projector needs no blending at all.
Mapping software from free to professional
Prices below are from each vendor's own site, read in September 2026. Some sites showed euros; where a checkout page showed a price including a country's VAT, that is noted.
| Software | Price | Runs on | Trial or free version |
|---|---|---|---|
| MadMapper | From €399 excl. tax, or from €39 a month | macOS 11+, Windows 10+ | Every feature, with watermarked output |
| Resolume Arena | €799 per computer (Avenue €299 has no mapping) | macOS, Windows | No time limit, with a watermark and a robotic voice |
| HeavyM | Live €219, Pro €439, Pro+ €539 (German checkout, incl. VAT) | Windows, macOS 10.15+ | Watermark; saving and loading unavailable |
| Millumin | From €29 for 7 days; lifetime from €399 | macOS 11+ only | 30-day trial |
| QLab 5 (video) | $599, or $8 a day | macOS | Free tier has video cues; mapping tools need the paid licence |
| TouchDesigner | Non-Commercial free; Commercial $600 | Windows, macOS 13+ | Free, limited to 1280 by 1280, not for paid work |
| VPT 8 | Free | macOS, Windows | Free; its author calls it the last release |
What each one is for
- MadMapper is built for mapping, video and LEDs, and is one of the best-known dedicated tools. Its trial has every feature, but the video output is watermarked and DMX blacks out every 30 seconds.
- Resolume Arena is a VJ program first. Resolume's comparison page lists projection mapping, edge blending, slice transforms, DMX and timecode as Arena-only, so Avenue at €299 will not map. If you also want to perform live, this is the one that does both.
- HeavyM aims at beginners: its Live tier is one output up to 1920 by 1200, while Pro adds unlimited outputs, projector blending and NDI.
- Millumin is a Mac show-control tool that you can rent by the week.
- QLab runs show cues on a Mac; its paid video licence adds custom geometry, masking, edge blending and keystone correction.
- TouchDesigner includes mapping tools, Kantan Mapper and stoner, in its palette. It is the most flexible and has the steepest learning curve.
- VPT 8 is free for Mac and Windows. Its author describes it as the last release, from 2018, with later compatibility updates, so it works but is not being developed.
Which one to pick first
- You want to learn for free: VPT 8, or any trial; the watermark does not matter while you learn.
- You want the simplest paid tool: HeavyM Live, built for beginners, with one output.
- You want a dedicated mapping tool with room to grow: MadMapper, and its trial shows every feature before you buy.
- You also perform live visuals: Resolume Arena, which maps and mixes clips to music in one program.
- You work in theatre: QLab or Millumin, where mapping sits inside show cues.
Tools to be careful with
Some names in older tutorials are gone or frozen. Lightform, whose Creator software was free, now says on its website that it is permanently closed. MapMap, a free open source tool, has not had a tagged release since 2018; its code is on GitHub, but its old web address redirected to an unrelated site when we checked, so do not follow links to it. And a new category has appeared: iPad apps for mapping, such as Lazy Lighting, ProjectX and Pro Mapper, most launched in 2025 and 2026. Lazy Lighting, the most reviewed, is free with a 4.5-star rating from about 330 reviews on the US App Store. They are young, but for a first project with a tablet and a projector they are worth a look.
Masking and warping, the two words every tool uses
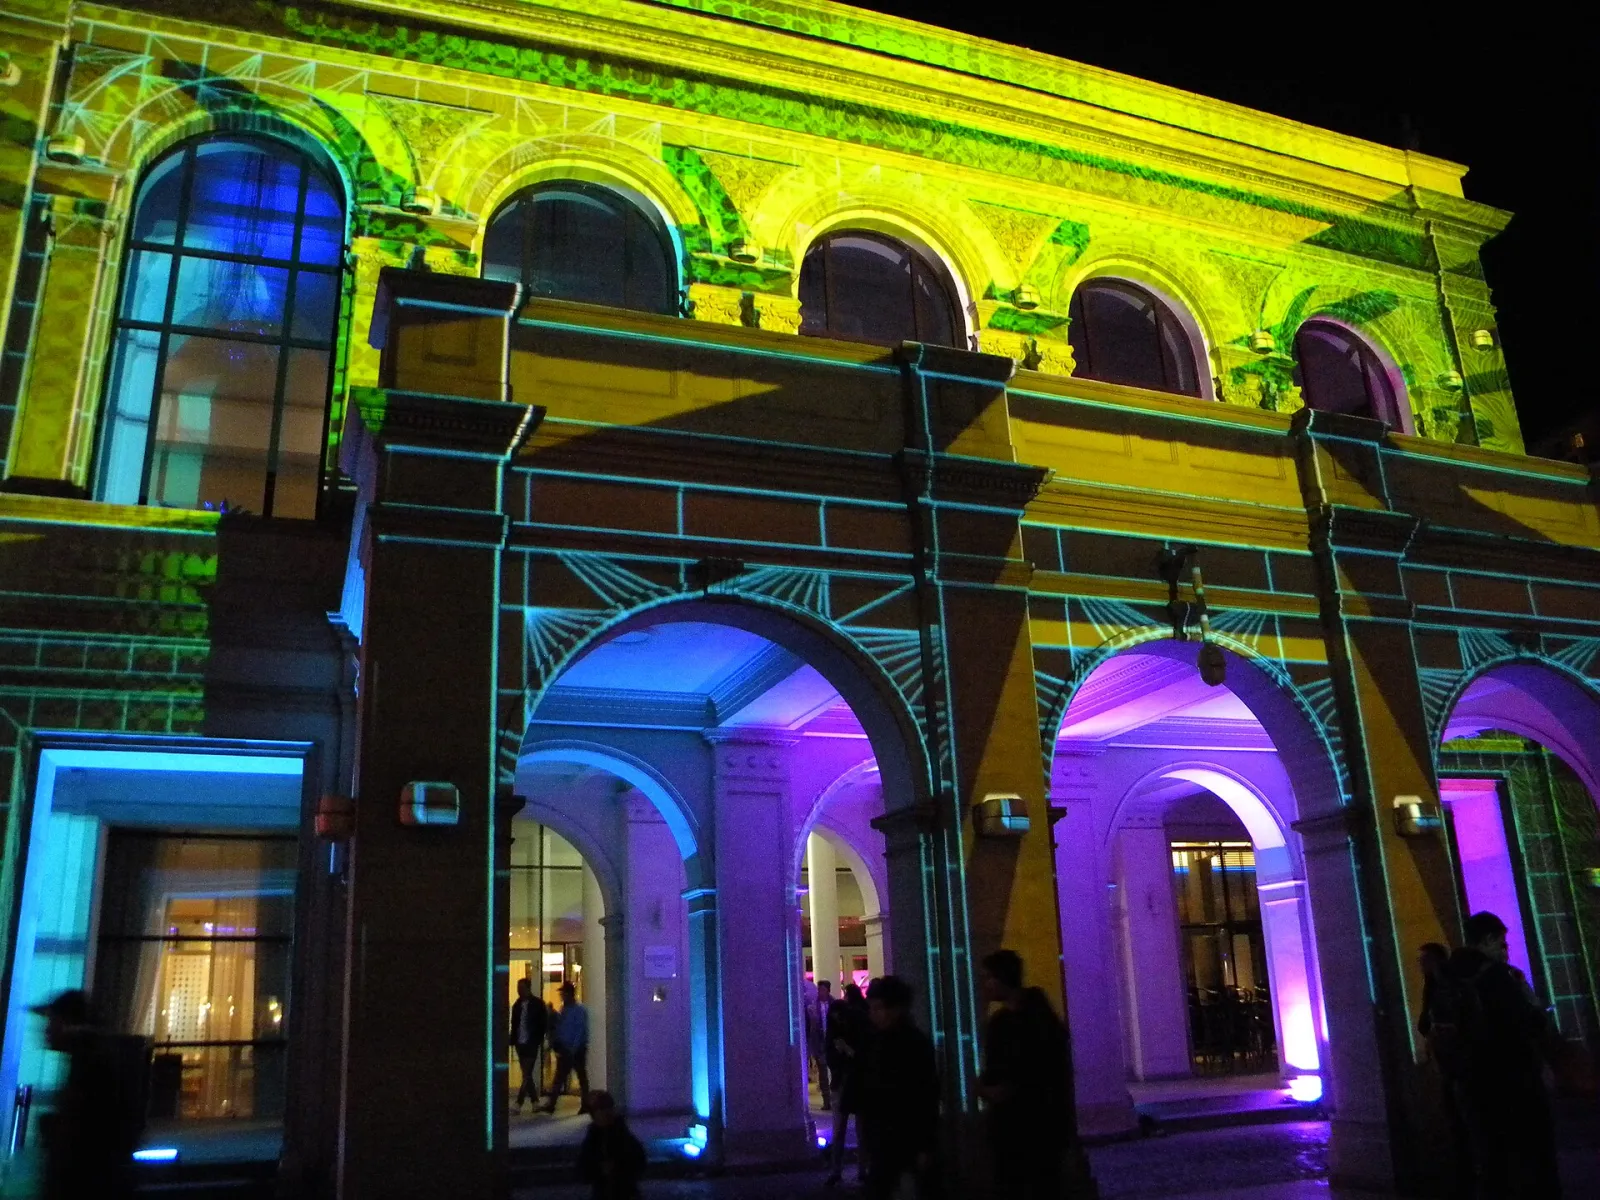
Every mapping tool does two things to the video. Warping bends the rectangle of video to fit a face you see at an angle, so a square face viewed from the side still gets a square-looking picture. Masking cuts the video to the exact outline of a face, so nothing spills onto the wall behind it. Flat faces seen straight on need only masking; faces at an angle need warping too. Most beginners' problems are one or the other: a picture that looks skewed needs more warping, and light on the wall behind the object needs a tighter mask.
What to project: content that respects the shape
The best mapping content is made for the surface: animation that traces the edges, makes a flat wall seem to open, or runs light along a building's lines. That is also the expensive part. For a first project, three kinds of content work well without custom animation:
- Colour and light. Each face in a different colour, changing slowly, already reads as mapping, because the colours stop exactly at the edges.
- Loops, masked to each face. Abstract loops fill surfaces well. Our free VJ loops are 4K and 1080p, CC0, so you can use them in a paid show with no credit, and their thermal, glitch and dither looks read clearly on a projected surface.
- Your own footage. Clips of the event, the band or the venue, masked onto the set, make the surface part of the story.
Two practical rules help any content. Dark backgrounds with bright shapes look better than full-frame colour, because the unlit parts of the surface stay dark and the object seems to glow. And motion near the edges sells the illusion more than motion in the middle of a face.
A test render helps here too: export ten seconds of each loop at the projector's resolution and play them from the mapping tool before the show, so any stutter shows up in rehearsal rather than in front of an audience.
Finally, keep the source files at the resolution of your projector. Content much larger than the output only costs playback performance, and content smaller than a face, stretched to fit, turns soft exactly where the audience looks.
A first project, step by step
- Pick a simple object. Two or three white boxes stacked at different angles, or a wall with a door and a window. Flat faces are easiest to map.
- Place the projector and lock it down. Square to the object, high enough that nobody walks through the beam, and on something that will not be bumped. Any movement after alignment means aligning again.
- Connect and extend the display. The mapping software outputs to the projector as a second screen; the computer's own screen keeps the controls.
- Draw a shape for each face. In the software, add a surface, usually a quad or a mask, for each face and drag its corners onto the real corners you see in the projected image.
- Assign content to each shape. A colour, a loop or a clip per face. Keep it simple for the first run.
- Use a grid to align. Most tools can show a test grid or an outline on each shape. Align with that rather than with the content, because straight lines show errors that moving video hides.
- Refine the edges. Zoom into each corner on the projected image and nudge until the content stops exactly at the edge, with no spill onto the wall behind.
- Run it in the dark, then save. Watch it from where the audience will stand, adjust brightness, and save the project so the alignment survives a restart.
Making a mapped surface move with the music
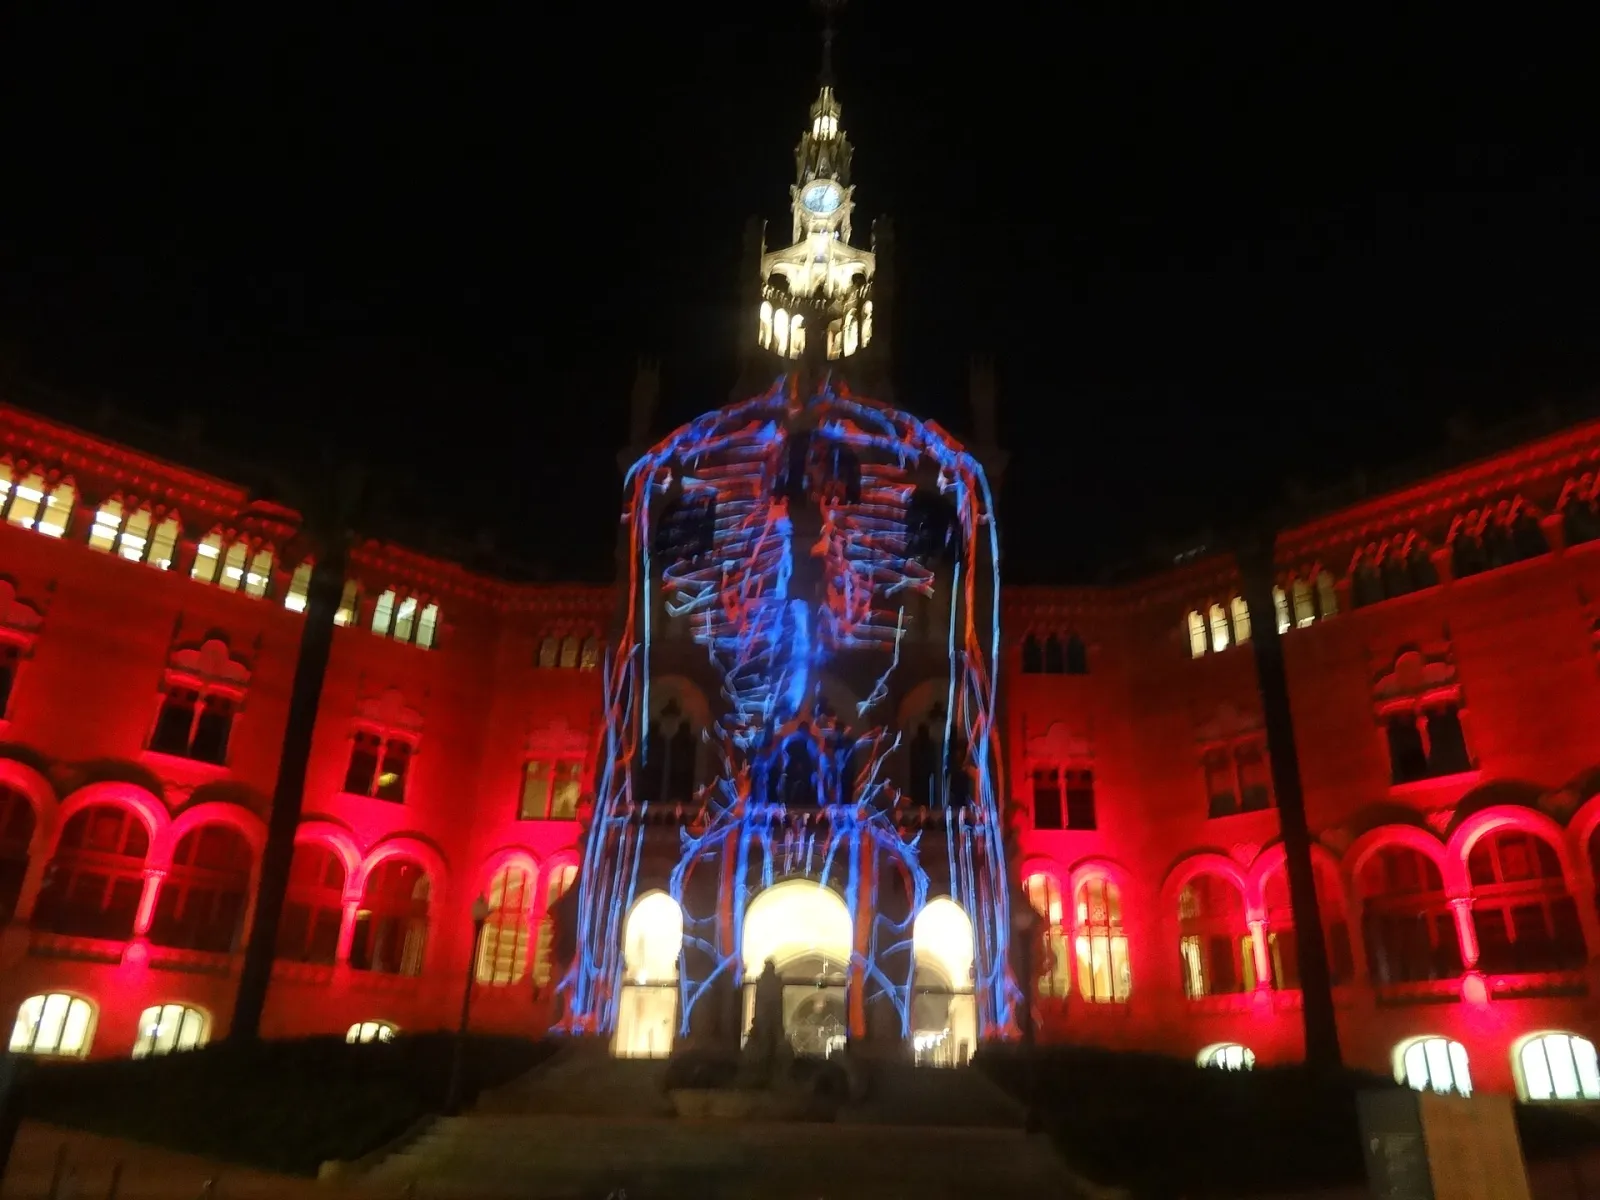
Mapping for a party, a DJ set or a band is different from mapping for a festival show: the content should react to the music rather than play a fixed animation. There are two ways to get there.
- A mapping tool that listens. Resolume Arena maps and performs in the same program, and its effects can follow an audio input through an FFT, split into low, mid and high bands, so the mapped faces pulse with the kick. TouchDesigner can do the same, with more building.
- Audio-reactive content, mapped afterwards. Make the reactive video first, then use it as content in any mapping tool. Our app, ImmerGround, moves your own clips and photos with the bass, mids, highs and beats of a song, and every session can be re-rendered as a 16:9 video at up to 4K. That render becomes a clip you mask onto the surface in the mapping software. It is not live, but it syncs to the song you rendered it with.
A simple music-reactive plan
For a DJ booth or a band's set, map three groups of faces and give each a job. The biggest faces carry a slow background loop that changes only between songs. The middle faces pulse with the kick, a brightness or zoom change on every beat. The smallest faces, edges or strips, flash only on the drops. The result reads as one piece that breathes with the music, and it is easy to run live because only the middle group reacts all the time.
An honest note on what our app does not do: it does not map onto shapes itself, and it does not send its picture to mapping software over NDI or Syphon. On a flat wall or a screen, where no mapping is needed, it drives a projector directly over HDMI or AirPlay with the controls on the iPad. For a mapped object, pair a mapping tool with content, from our app or anywhere else.
Where beginners go wrong: starting with a building
The usual inspiration is a cathedral covered in light, and the usual mistake is starting there. A building needs tens of thousands of lumens, permission, weather luck, and content designed for its every window. A shelf of boxes in a dark room needs one projector and an evening, and teaches every skill the building needs.
- Ask before projecting on someone else's building. A public facade or a venue's wall belongs to someone, and some places have rules about projecting in public. Get permission before a public show, and keep cables and stands where nobody can trip on them.
- Brightness is not the first problem, stability is. A projector nudged by a centimetre ruins an hour of alignment. Lock it down before you start.
- Surfaces matter as much as projectors. A dark or glossy surface swallows light and reflects hotspots. Paint or cover the object in matte white or light grey if you can.
- Less content, better placed. A simple colour change that stops exactly at each edge impresses more than a busy animation that spills onto the wall.
- Trials are generous; use them. MadMapper, Resolume and HeavyM all let you try with a watermark, and VPT 8 is free. Learn on a trial before buying.
Where to get it: free content and tools
- Free VJ loops. Loops made with ImmerGround's effects, 4K and 1080p, 120 BPM, CC0, no email: ready content for mapped surfaces.
- Live audio visualizer. Free, in your browser: try audio-reactive effects on a clip or photo, recorded up to 60 seconds with a small immer ground mark.
- ImmerGround for iPhone, iPad and Mac. Our app, free to download; ImmerGround Pro is $6.99 a week or $39.99 a year. Audio-reactive visuals on your own footage, sent to a projector for flat surfaces or re-rendered as 16:9 video at up to 4K for use as mapping content.
- MIDI tester. Free, in Chrome, Edge or Firefox: check what a controller sends before mapping it to cues in your show software.
Our guide to a live visuals setup with an iPad and a projector covers the projector side in more depth, from lumens to input lag.
What to do next
- Stack a few boxes in a dark room. That is your first surface.
- Download a trial or VPT 8. Pick one tool and stay with it for the first project.
- Map each face in a flat colour. Get the edges exact before adding any video.
- Add loops or your own clips. Mask them to the faces and watch from the audience's position.
- Then make it move with music. Use an audio-reactive tool, or render reactive video and map it.
.jpg)
.JPG)
